3D Computer Controlled Machining
Introduction
3D machining is using all 3 axes of the machine, X Y Z in tandem to create a 3D part. For this assignment, we used the same stepcraft machine we used for PCB milling to mill a 3D object out of dense foam, which we will then mold and cast in the next assignment.
Making the model
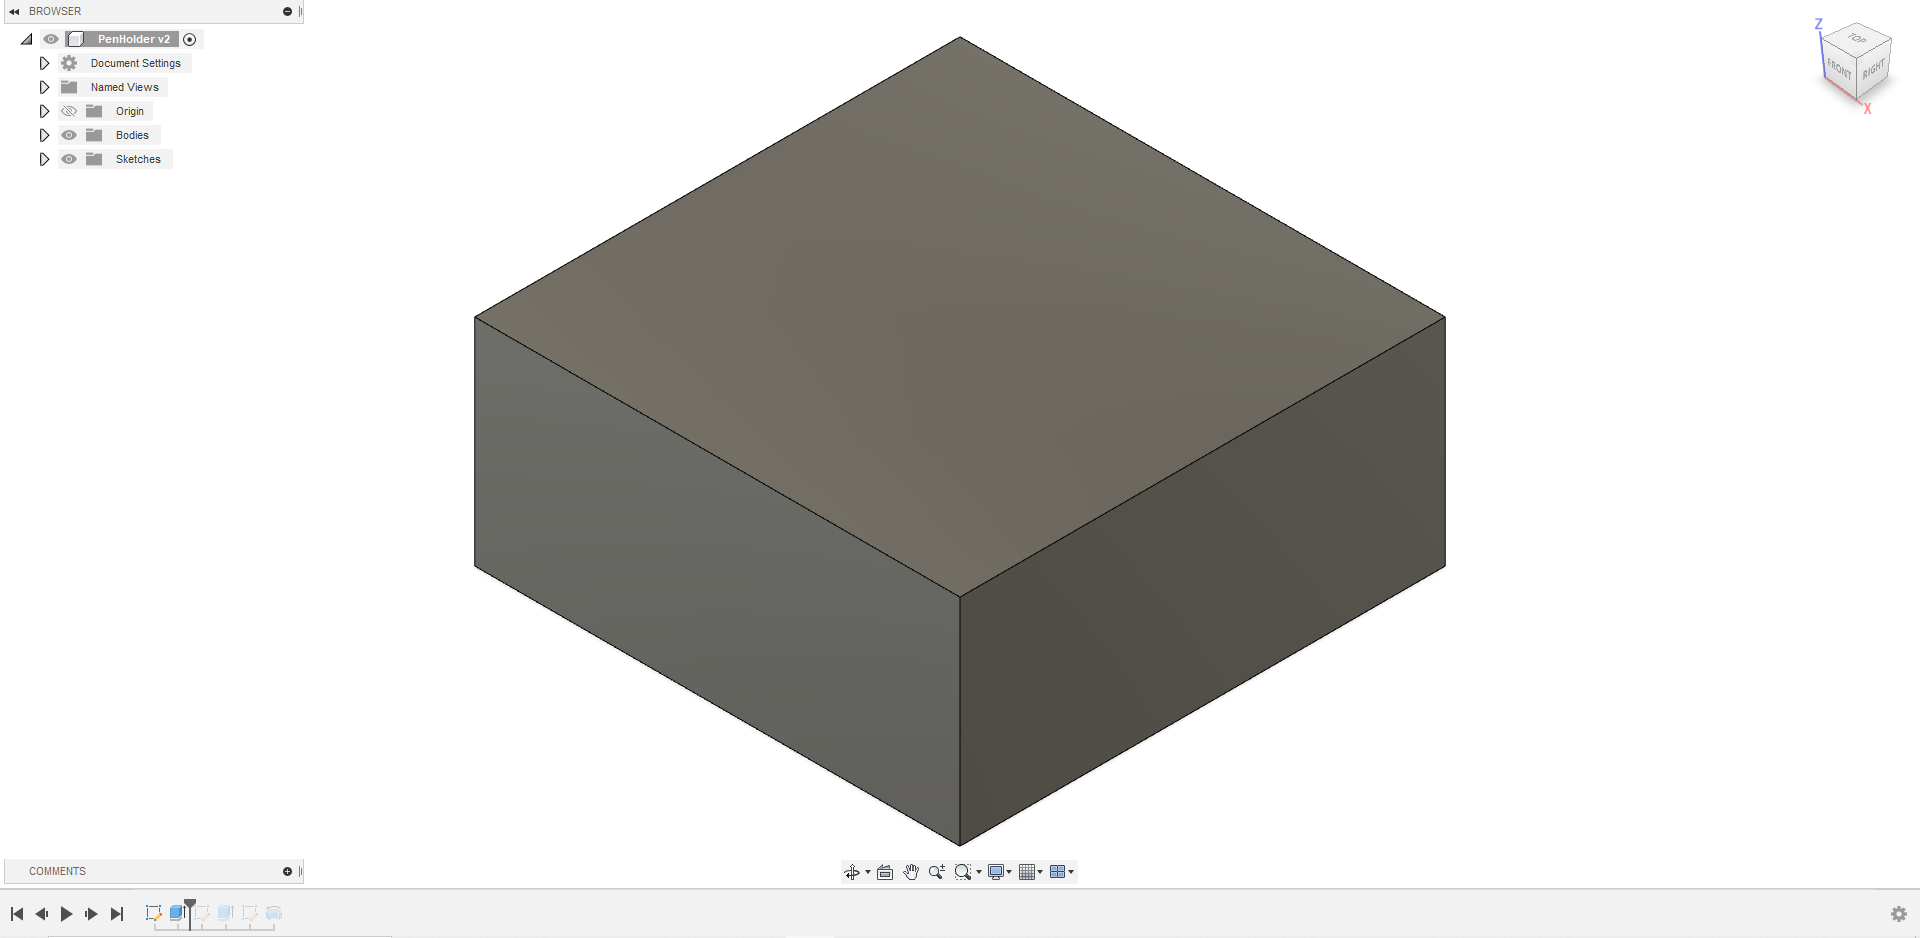
We were to model a 3D model that roughly fits in a 50x50x30mm area. Considering the size, I decided to make a drawing tablet pen holder. I started by making a stock model, which is just a rectangle 45x45x20, as the model I plan to make is not that big and I wanted to save material.
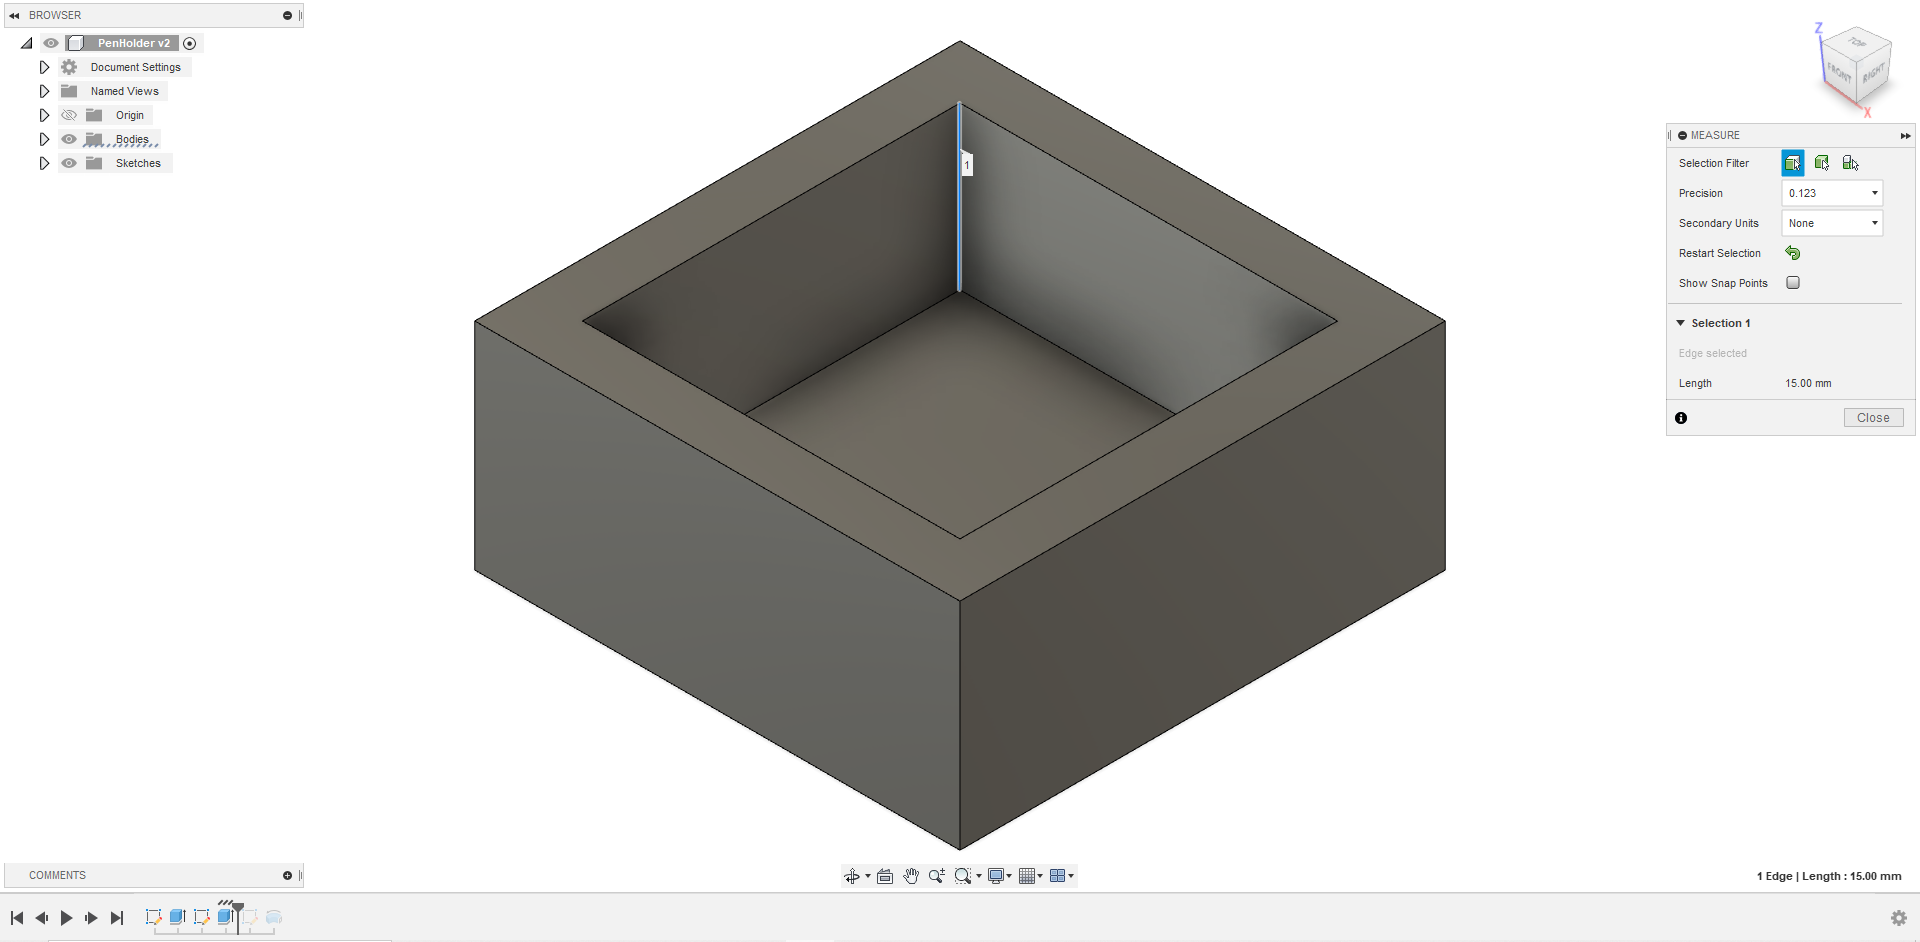
I then offset the outer wall in by 5mm and made a cavity 15mm deep. This is the walls of the negative mold that I plan to make.
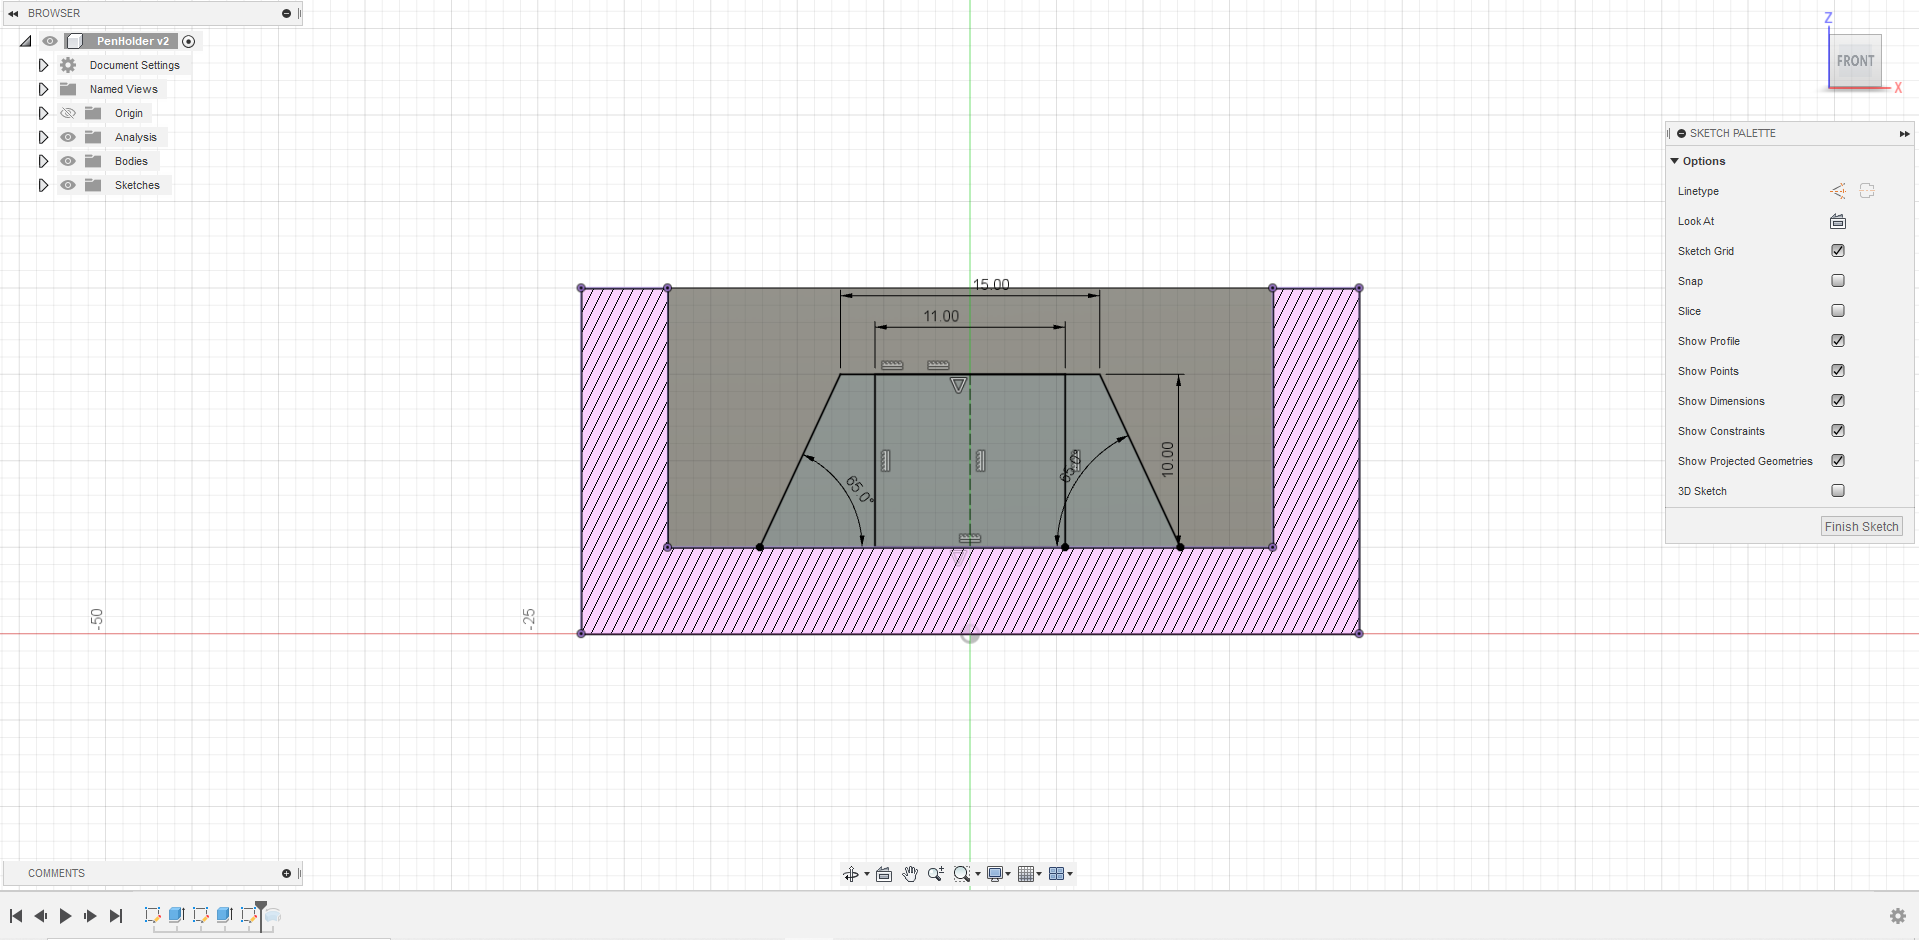
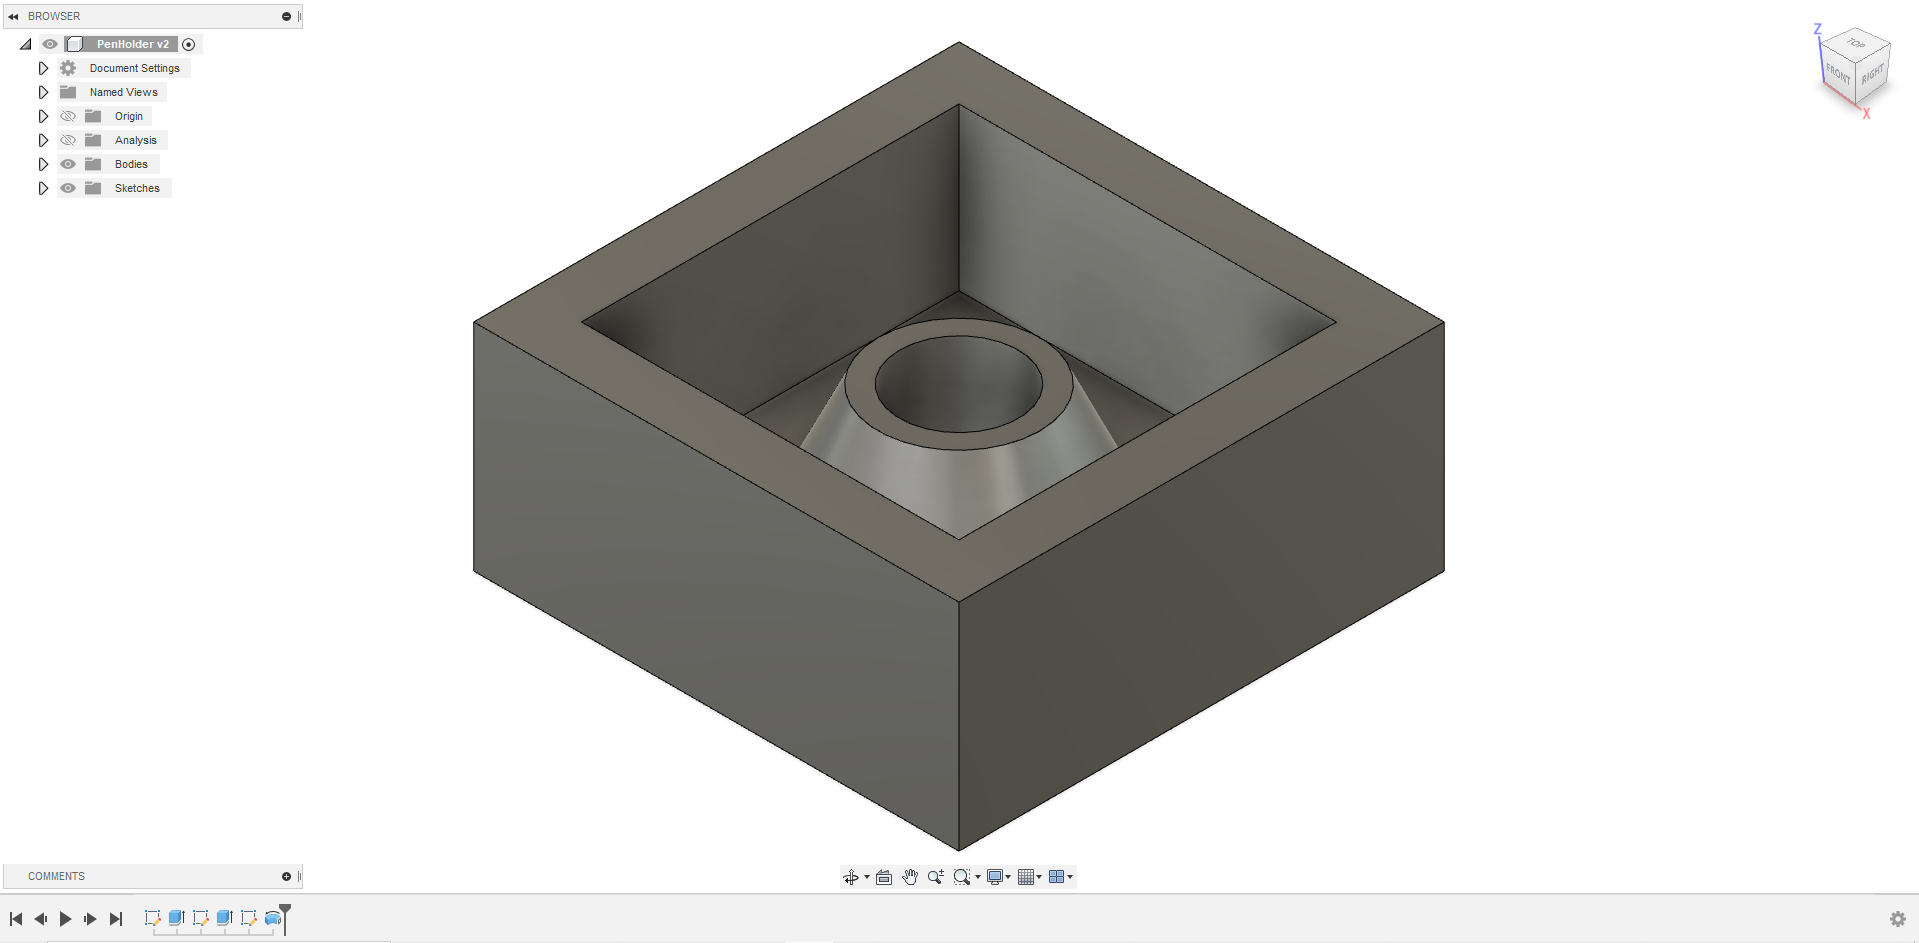
Then I made this sketch in the midplane of the stock. The pen holder I am making is like a flat top volcano, hence the shape and angles.
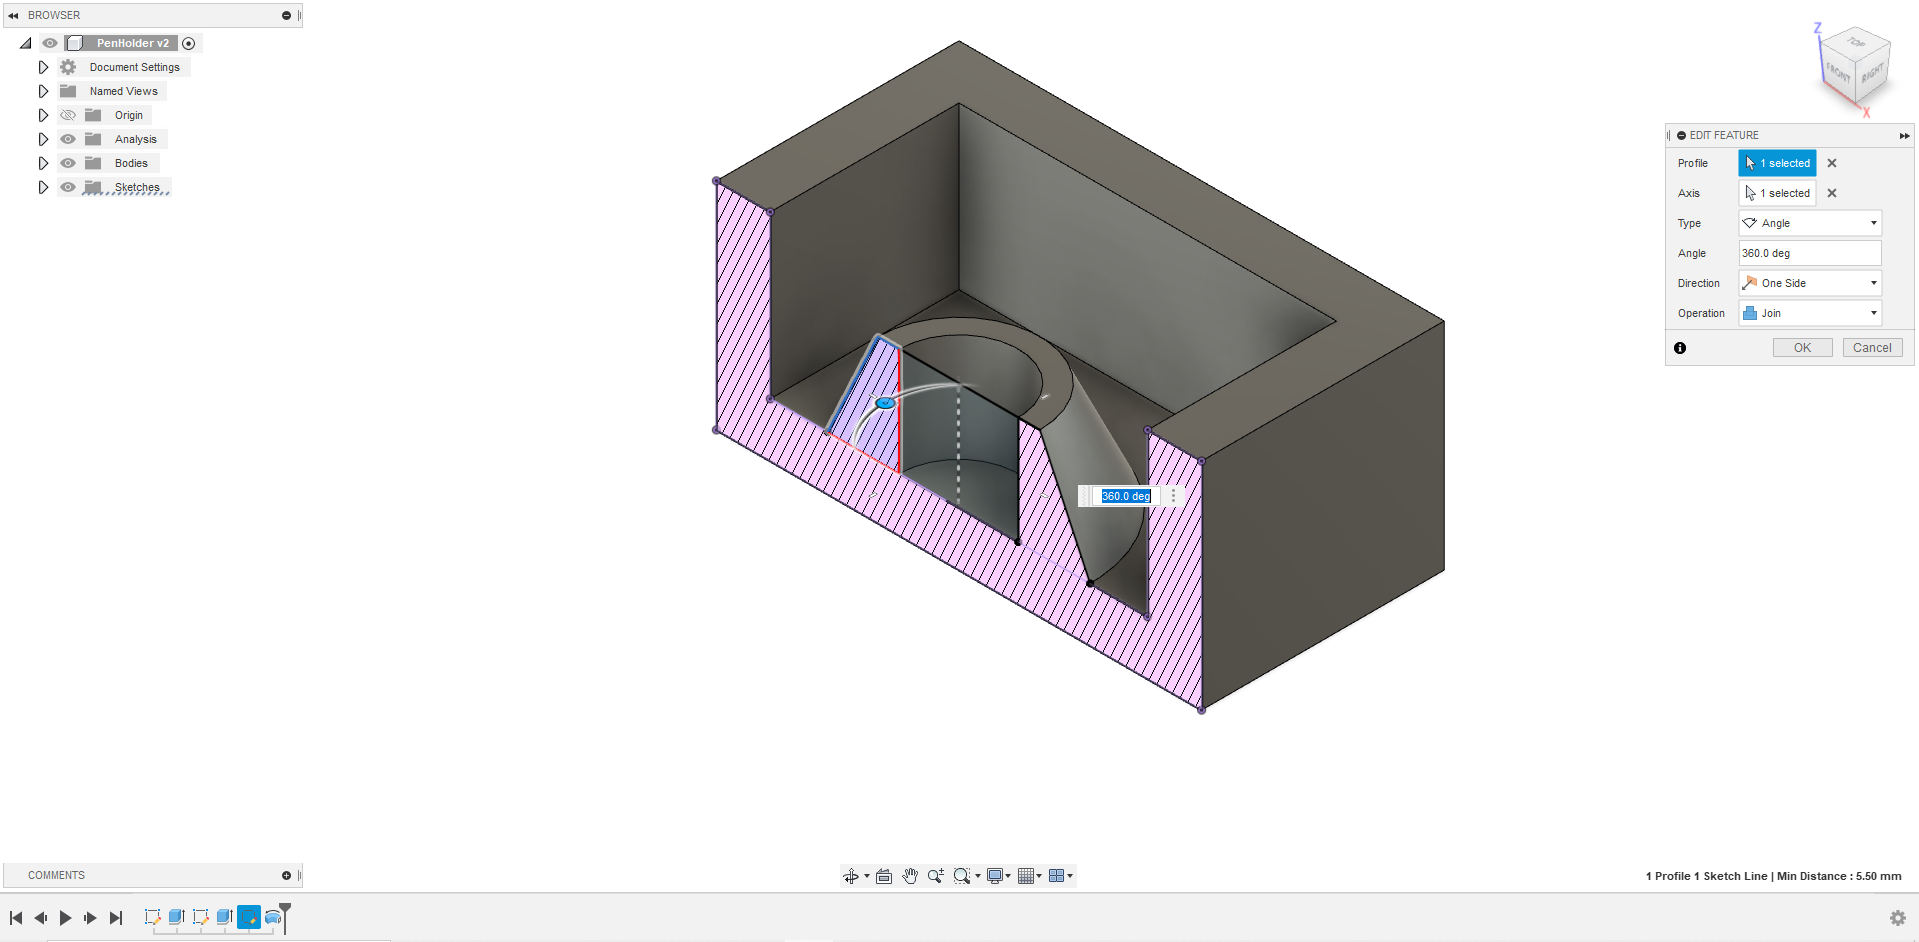
Finally, I revolved the side wall part 360 degrees around the center line and the mold is done.
Generating G-Code
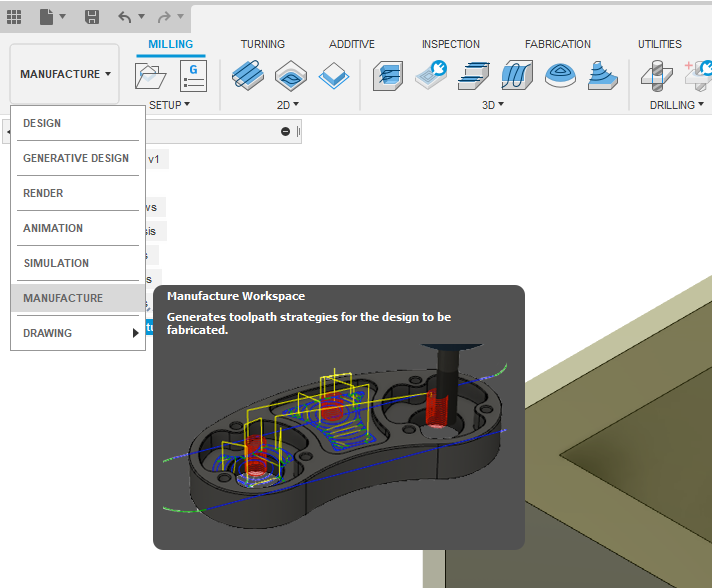
After modeling, I went to the manufacture tab, found at the top left of the navigation.
Then, I went to search libraries on Fusion360, and searched for STEPCRAFT UCCNC post processer, and unzipped the stepcraft uccnc.cps file into my Fusion 360 CAM post processor folder. I followed this tutorial to install the post processor in Fusion360.
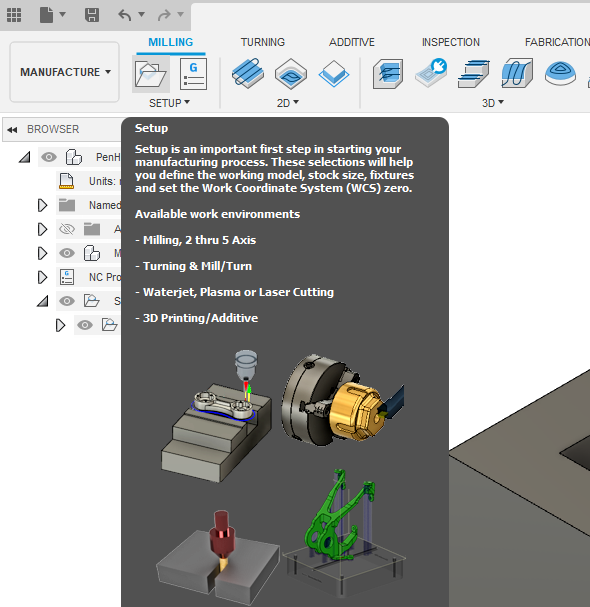
I made a new set up by clicking the setup button.
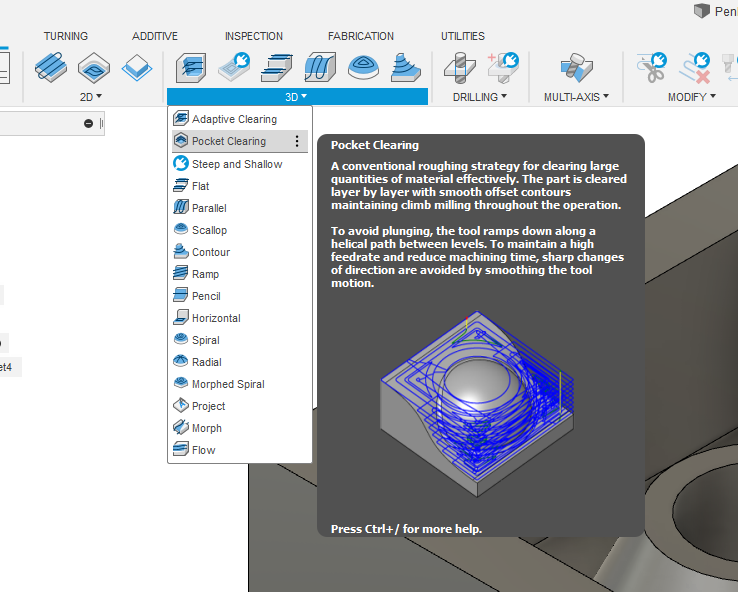
After the setup, I clicked on pocket to start the toolpath operation. The toolpath can be found under 3D.
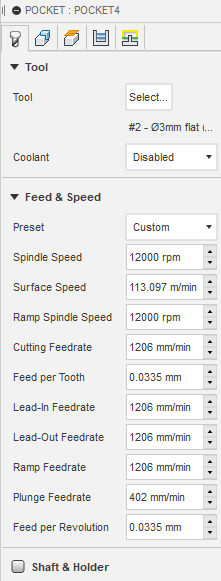
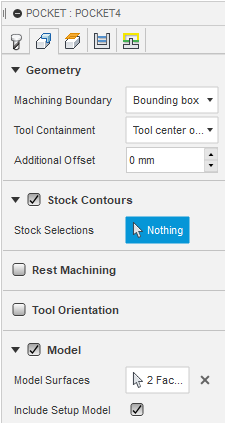
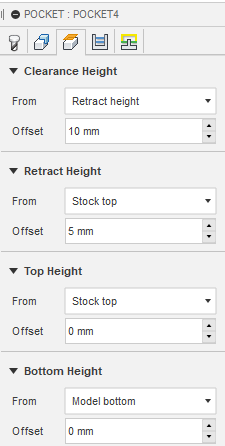
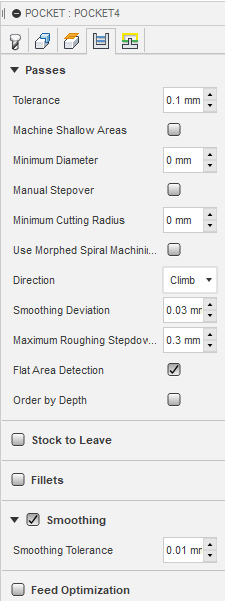
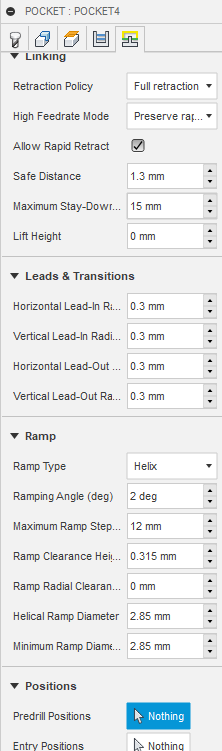
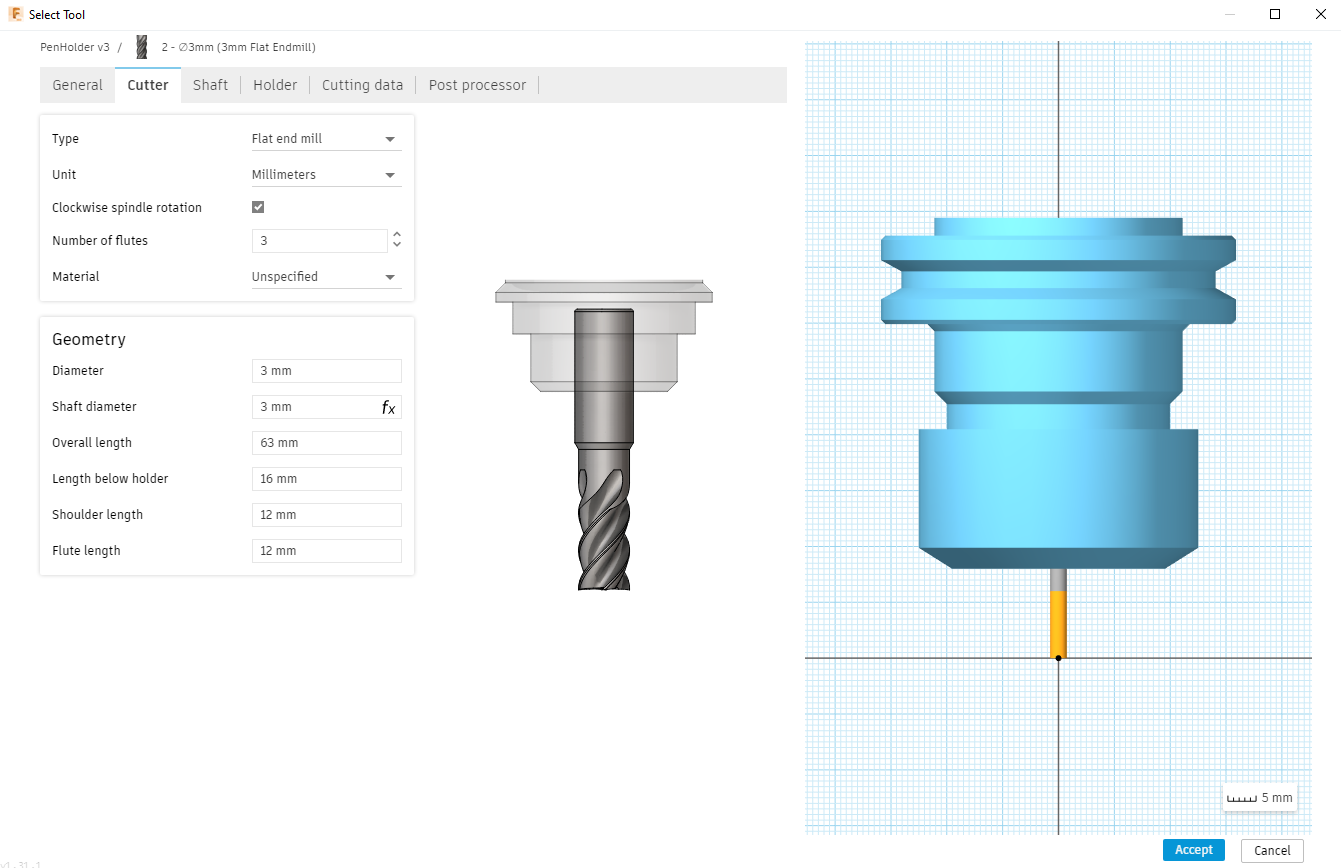
Here are the settings and tool used to generate the G-Code.
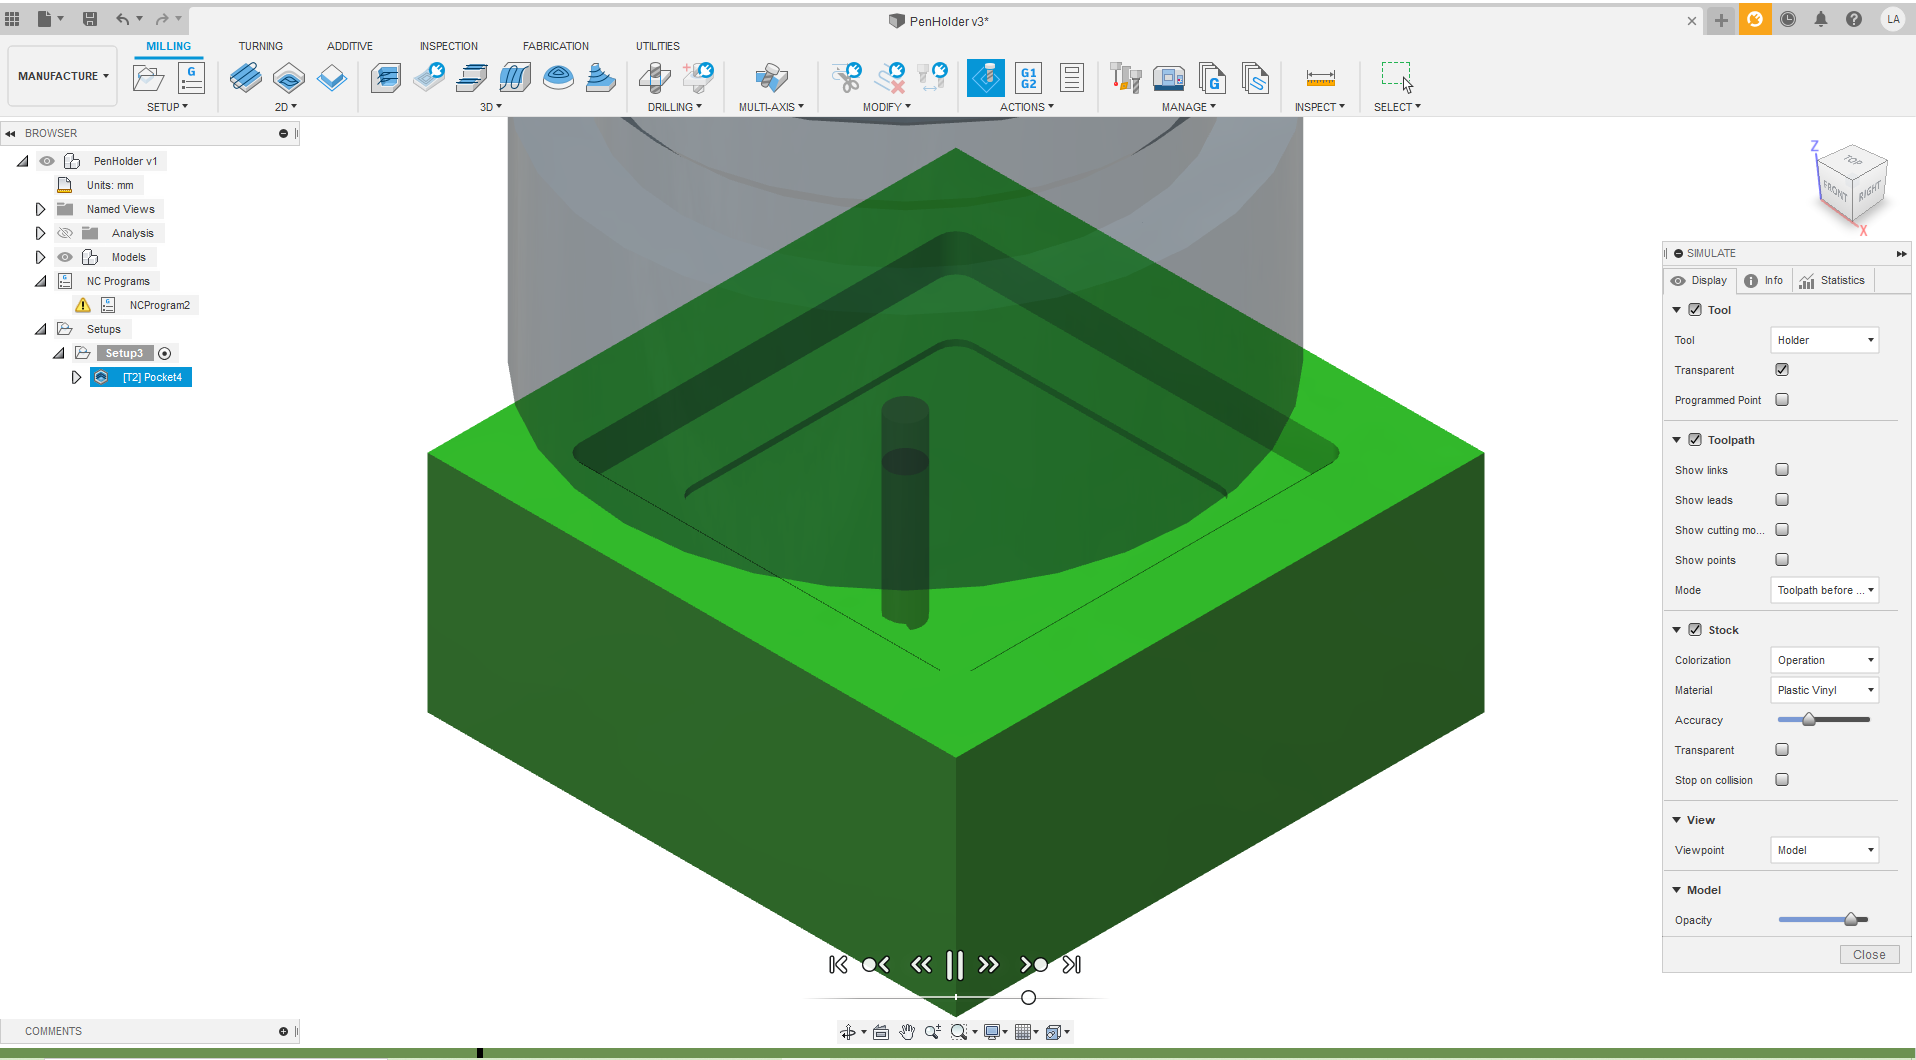
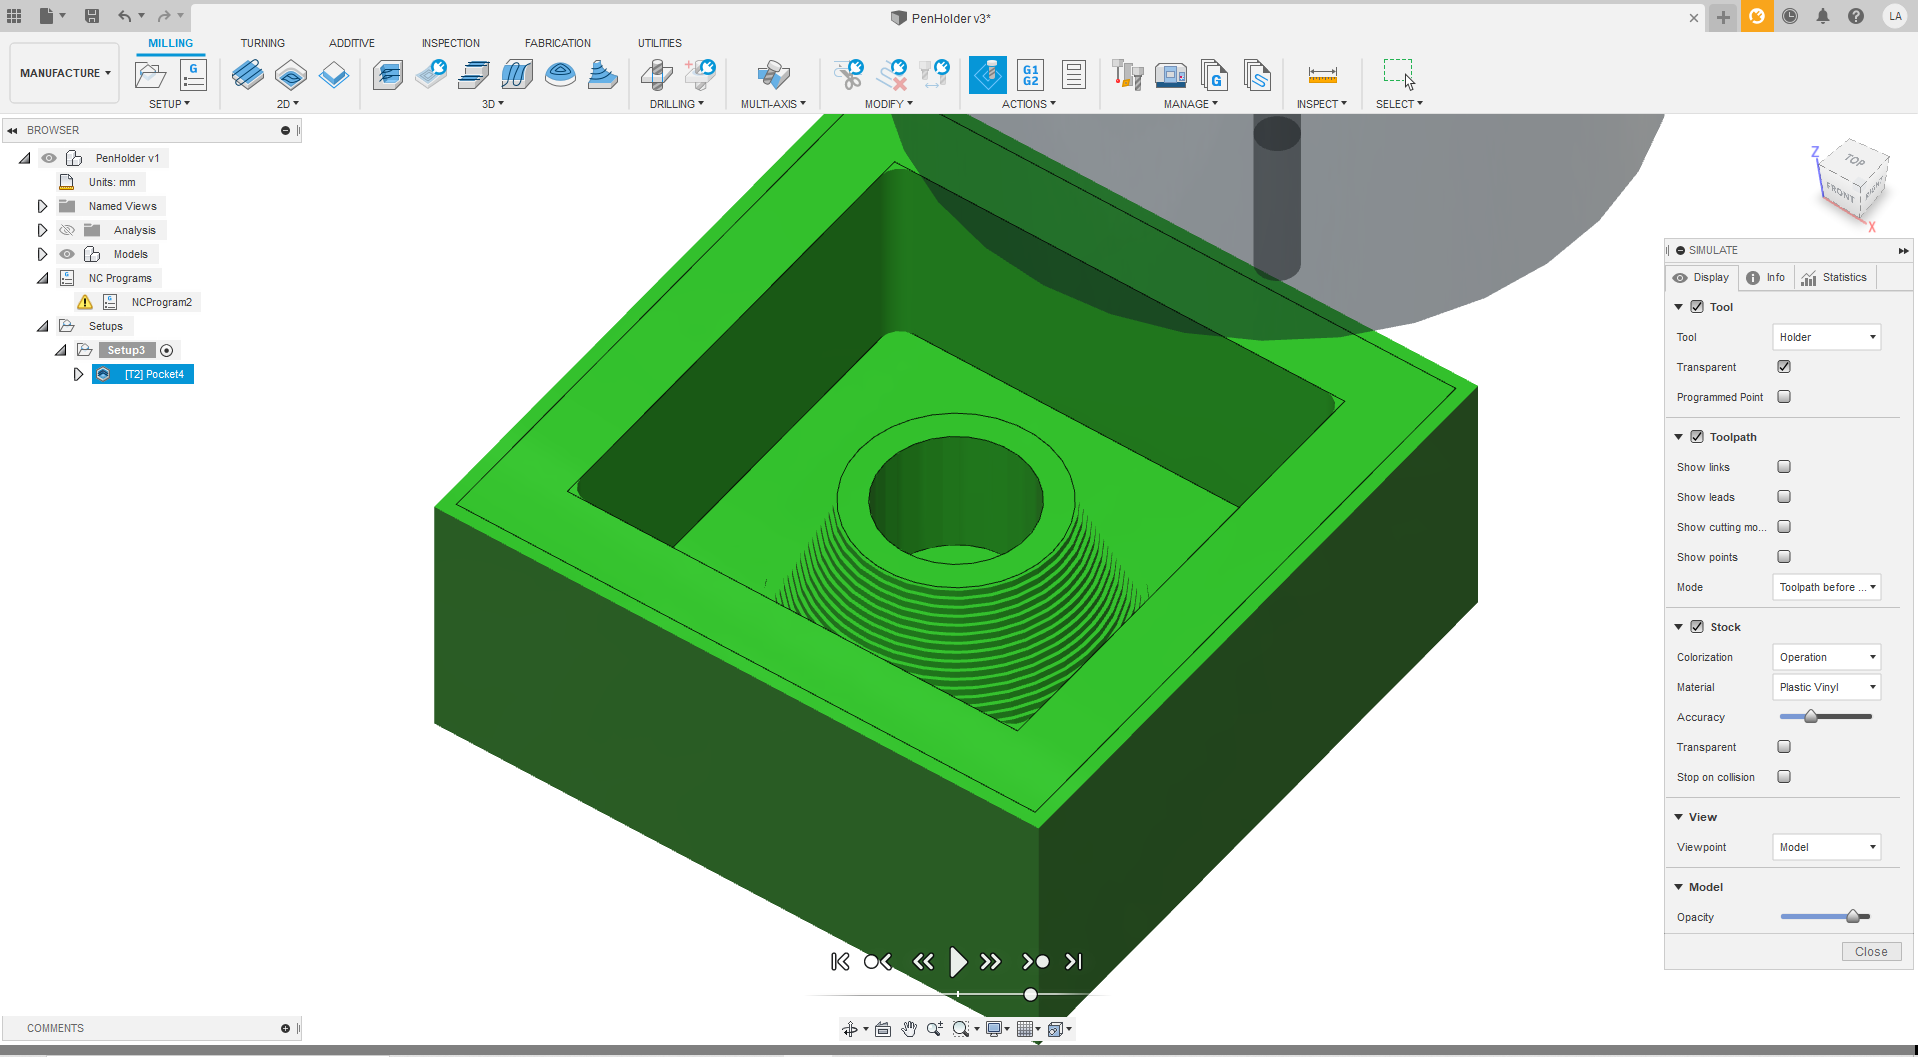
After I finish setting the pocketing operation, I right clicked the operation and clicked simulate to check the toolpath.

Here, I can view the toolpath and check to see if it is expected. I can also see the final result of the milling and how long it will take (under info on the right)
After the toolpath is generated, I clicked the post process button found on the top navbar, and selected the stepcraft UCCNC that I installed earlier in "post"
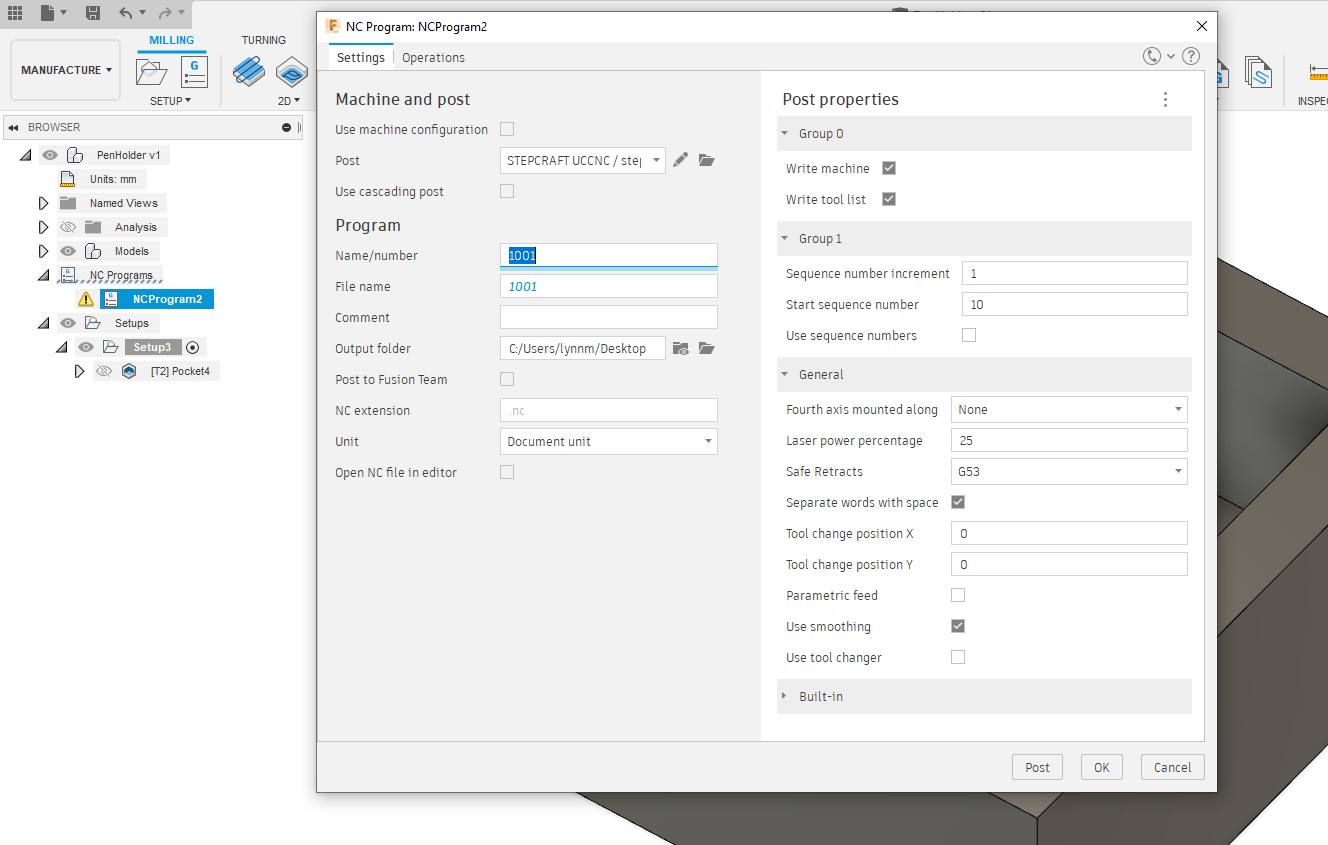
After that, I saved the file location then clicked the "post" button. With that, the g-code generation was done. I then headed to the stepcraft CNC
Milling
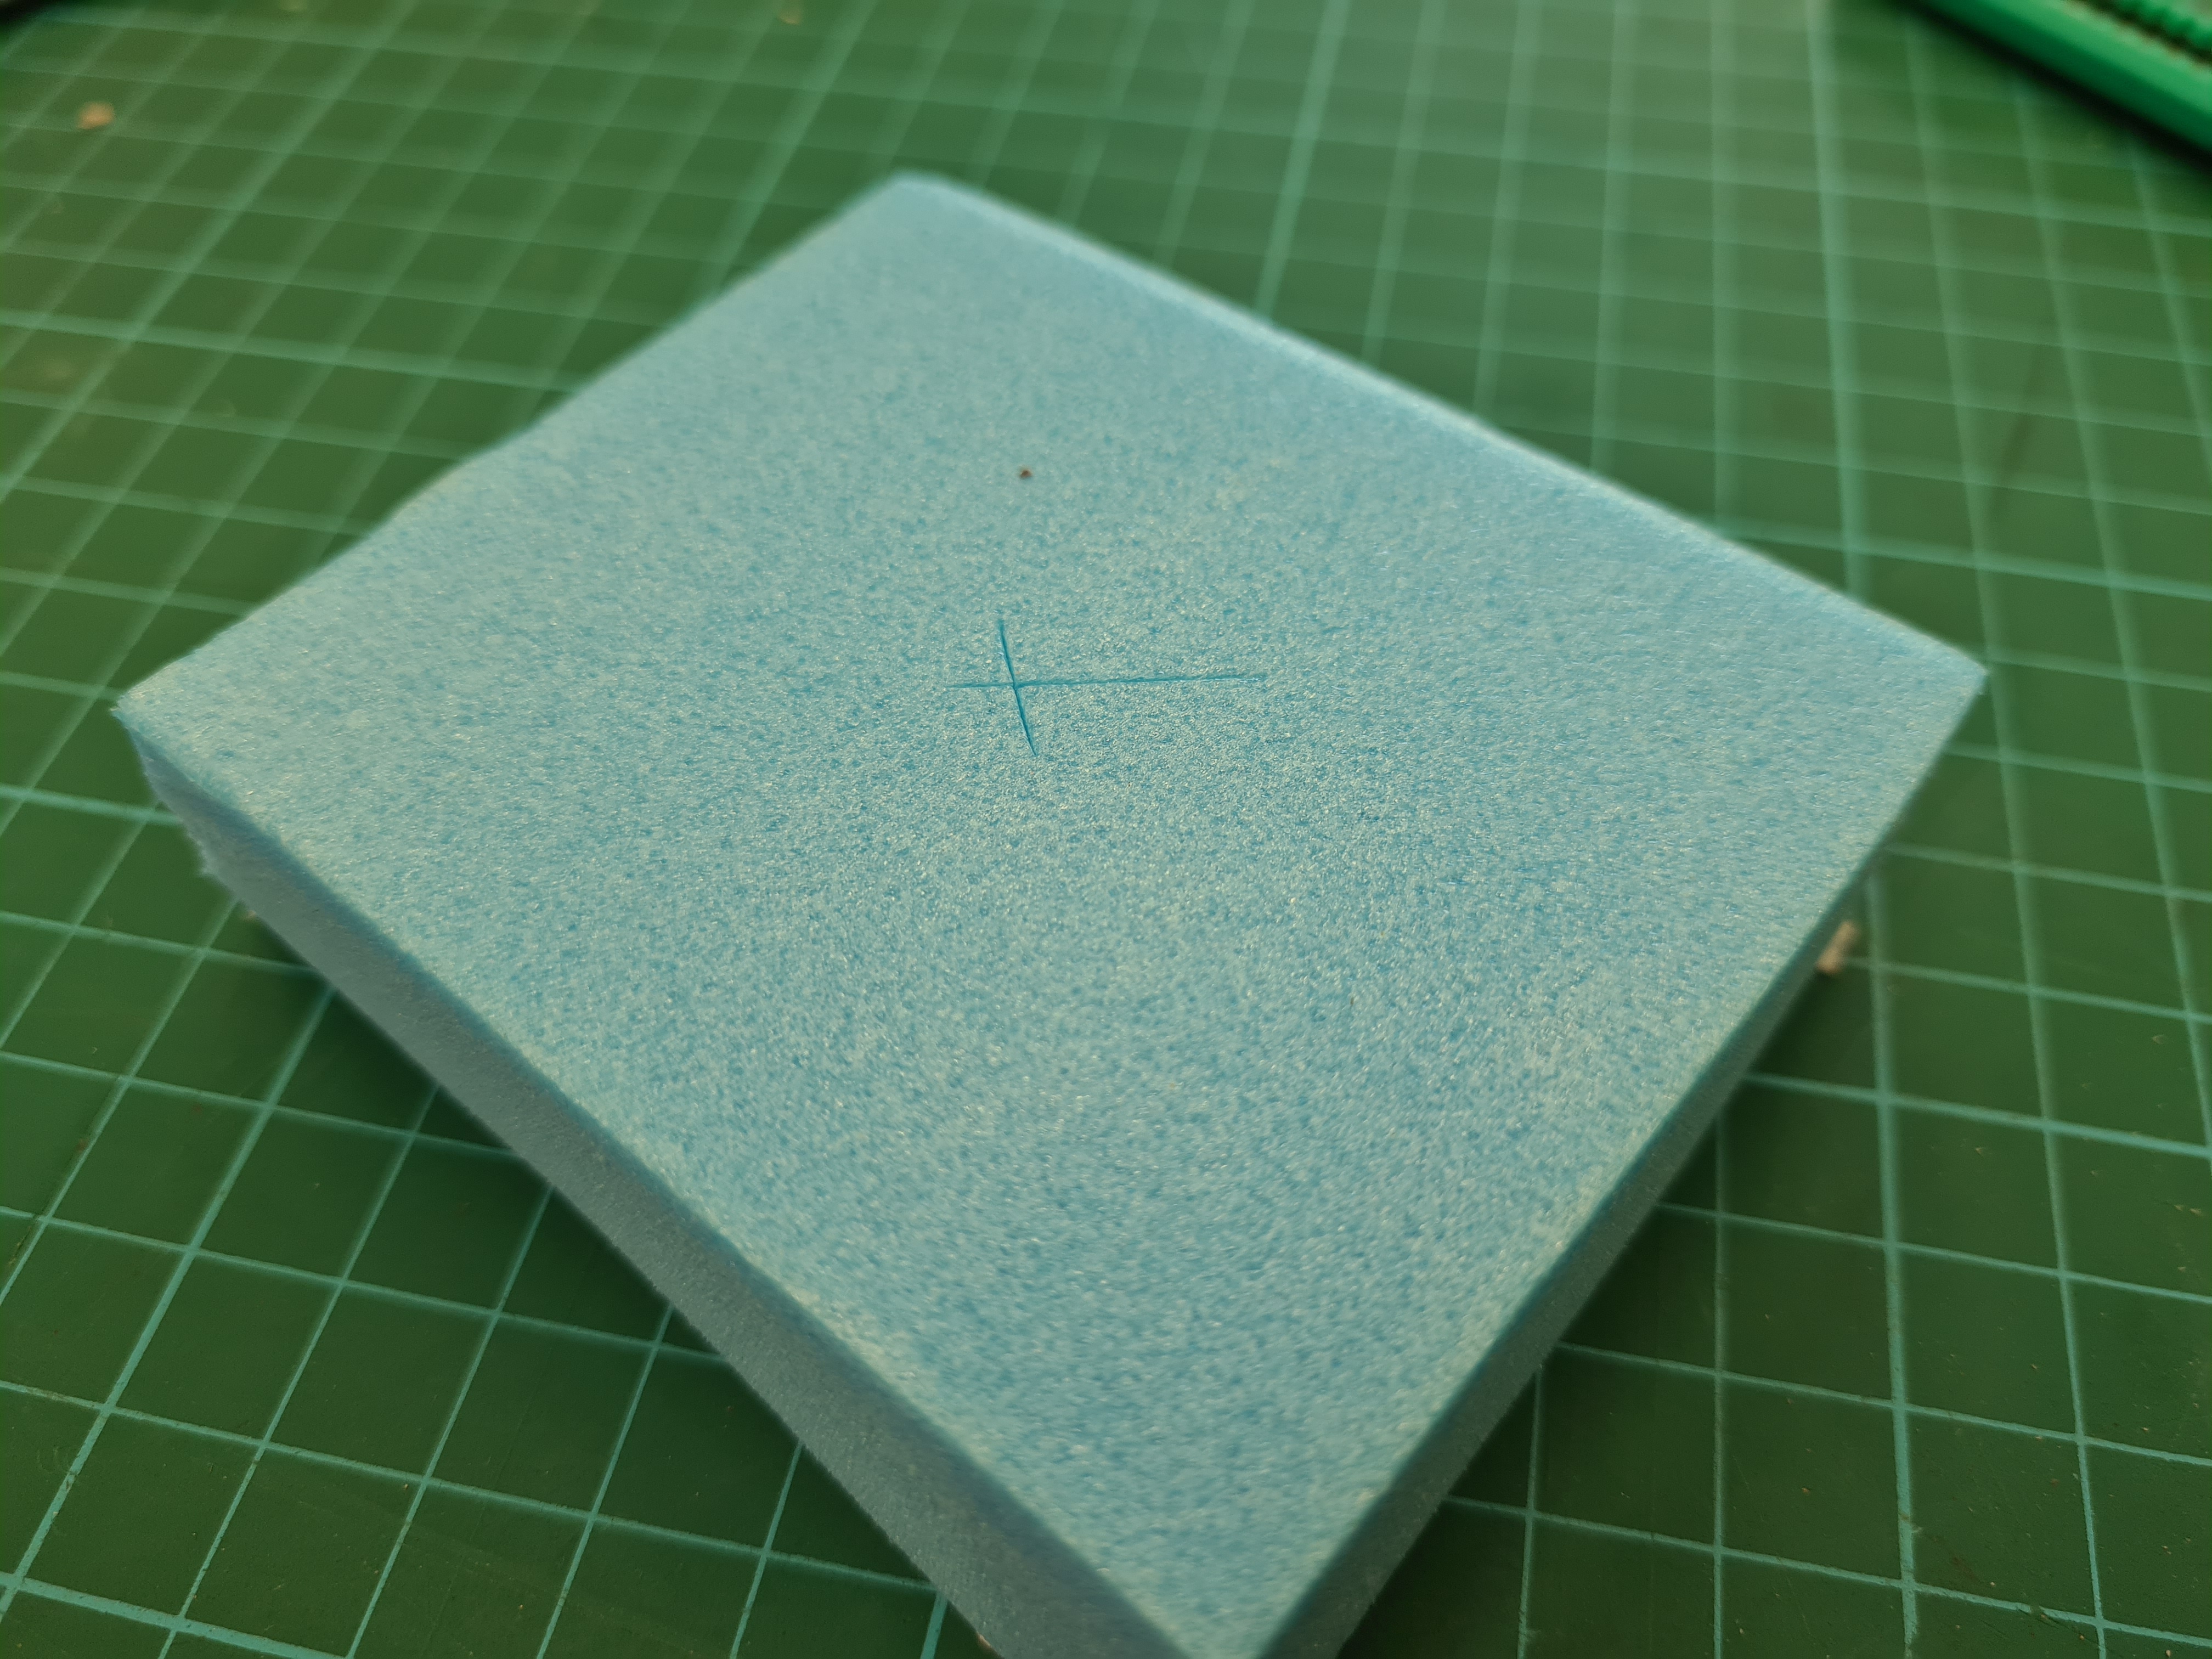
To setup the stock for the milling, I got a block of blue dense foam, just large enough for my piece. I first marked the rough center using a knife and a ruler.
After that, I set up the machine. I used double sided tape to stick onto the machine bed. A 3mm bit was used to mill the piece. X and Y 0 were set to the center I marked earlier, and Z 0 was set by just estimating on the mark as it need not be accurate. Afterwards, I just turned on the dremel and cycle started.

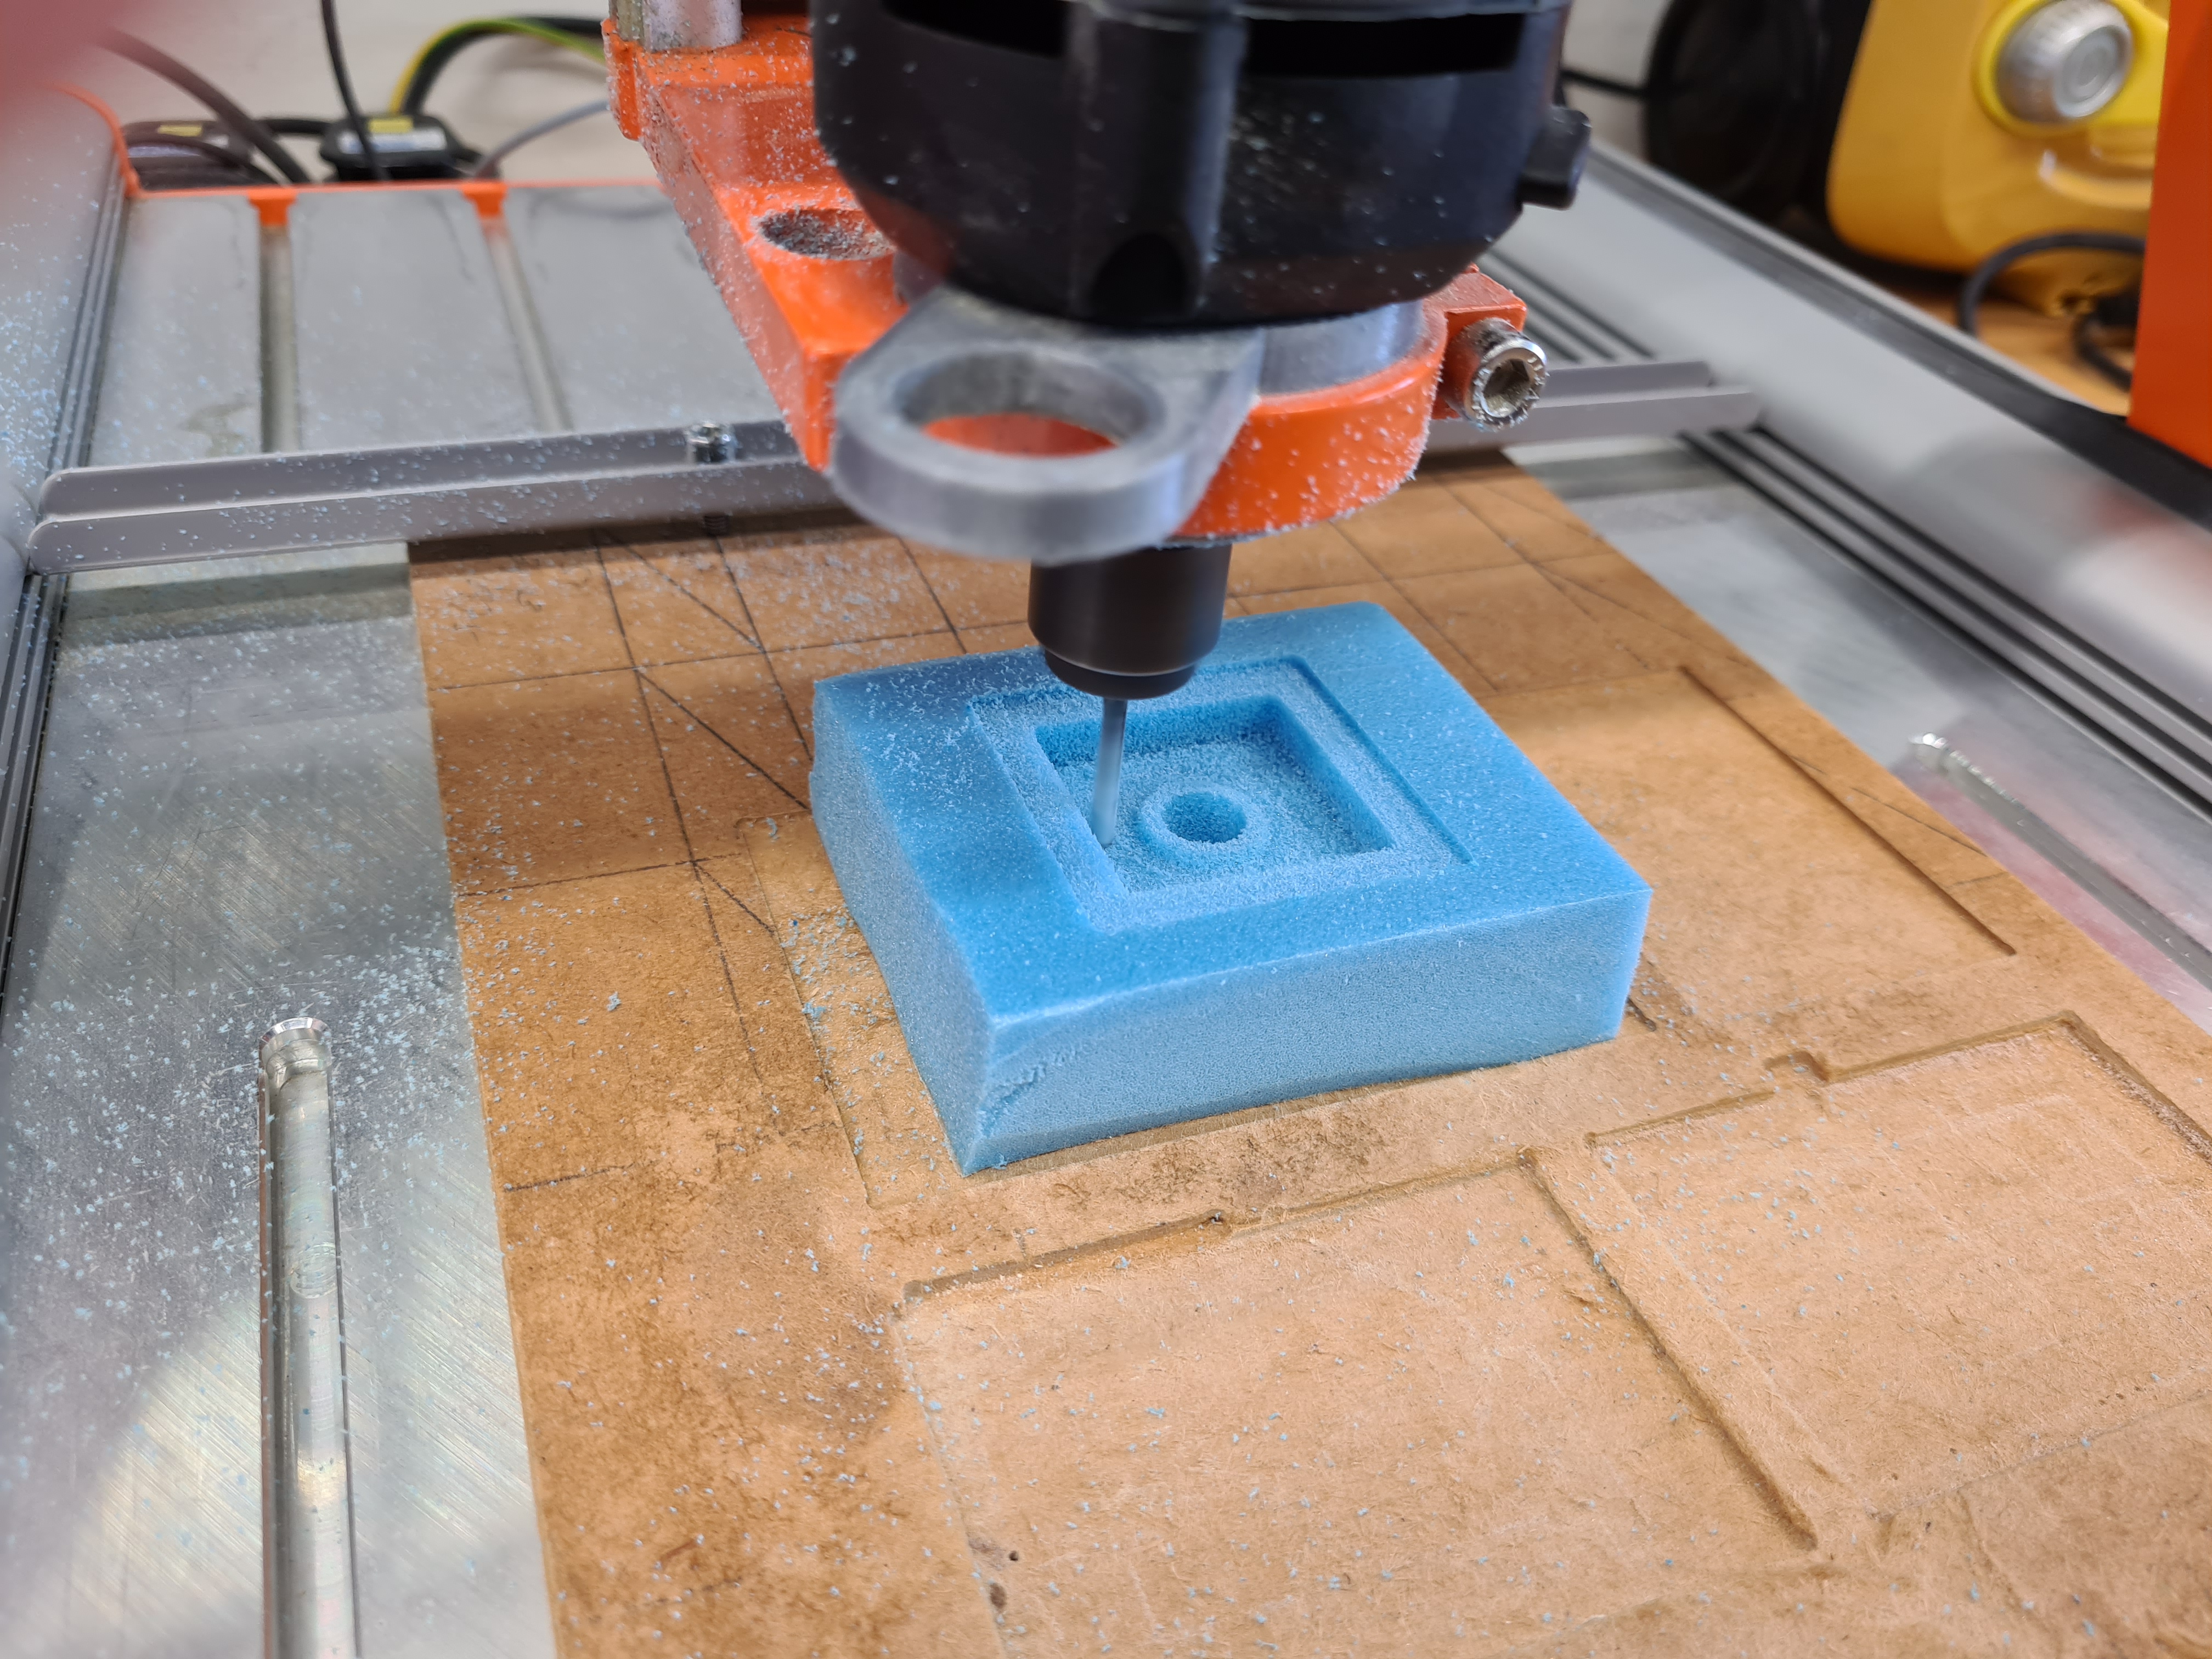
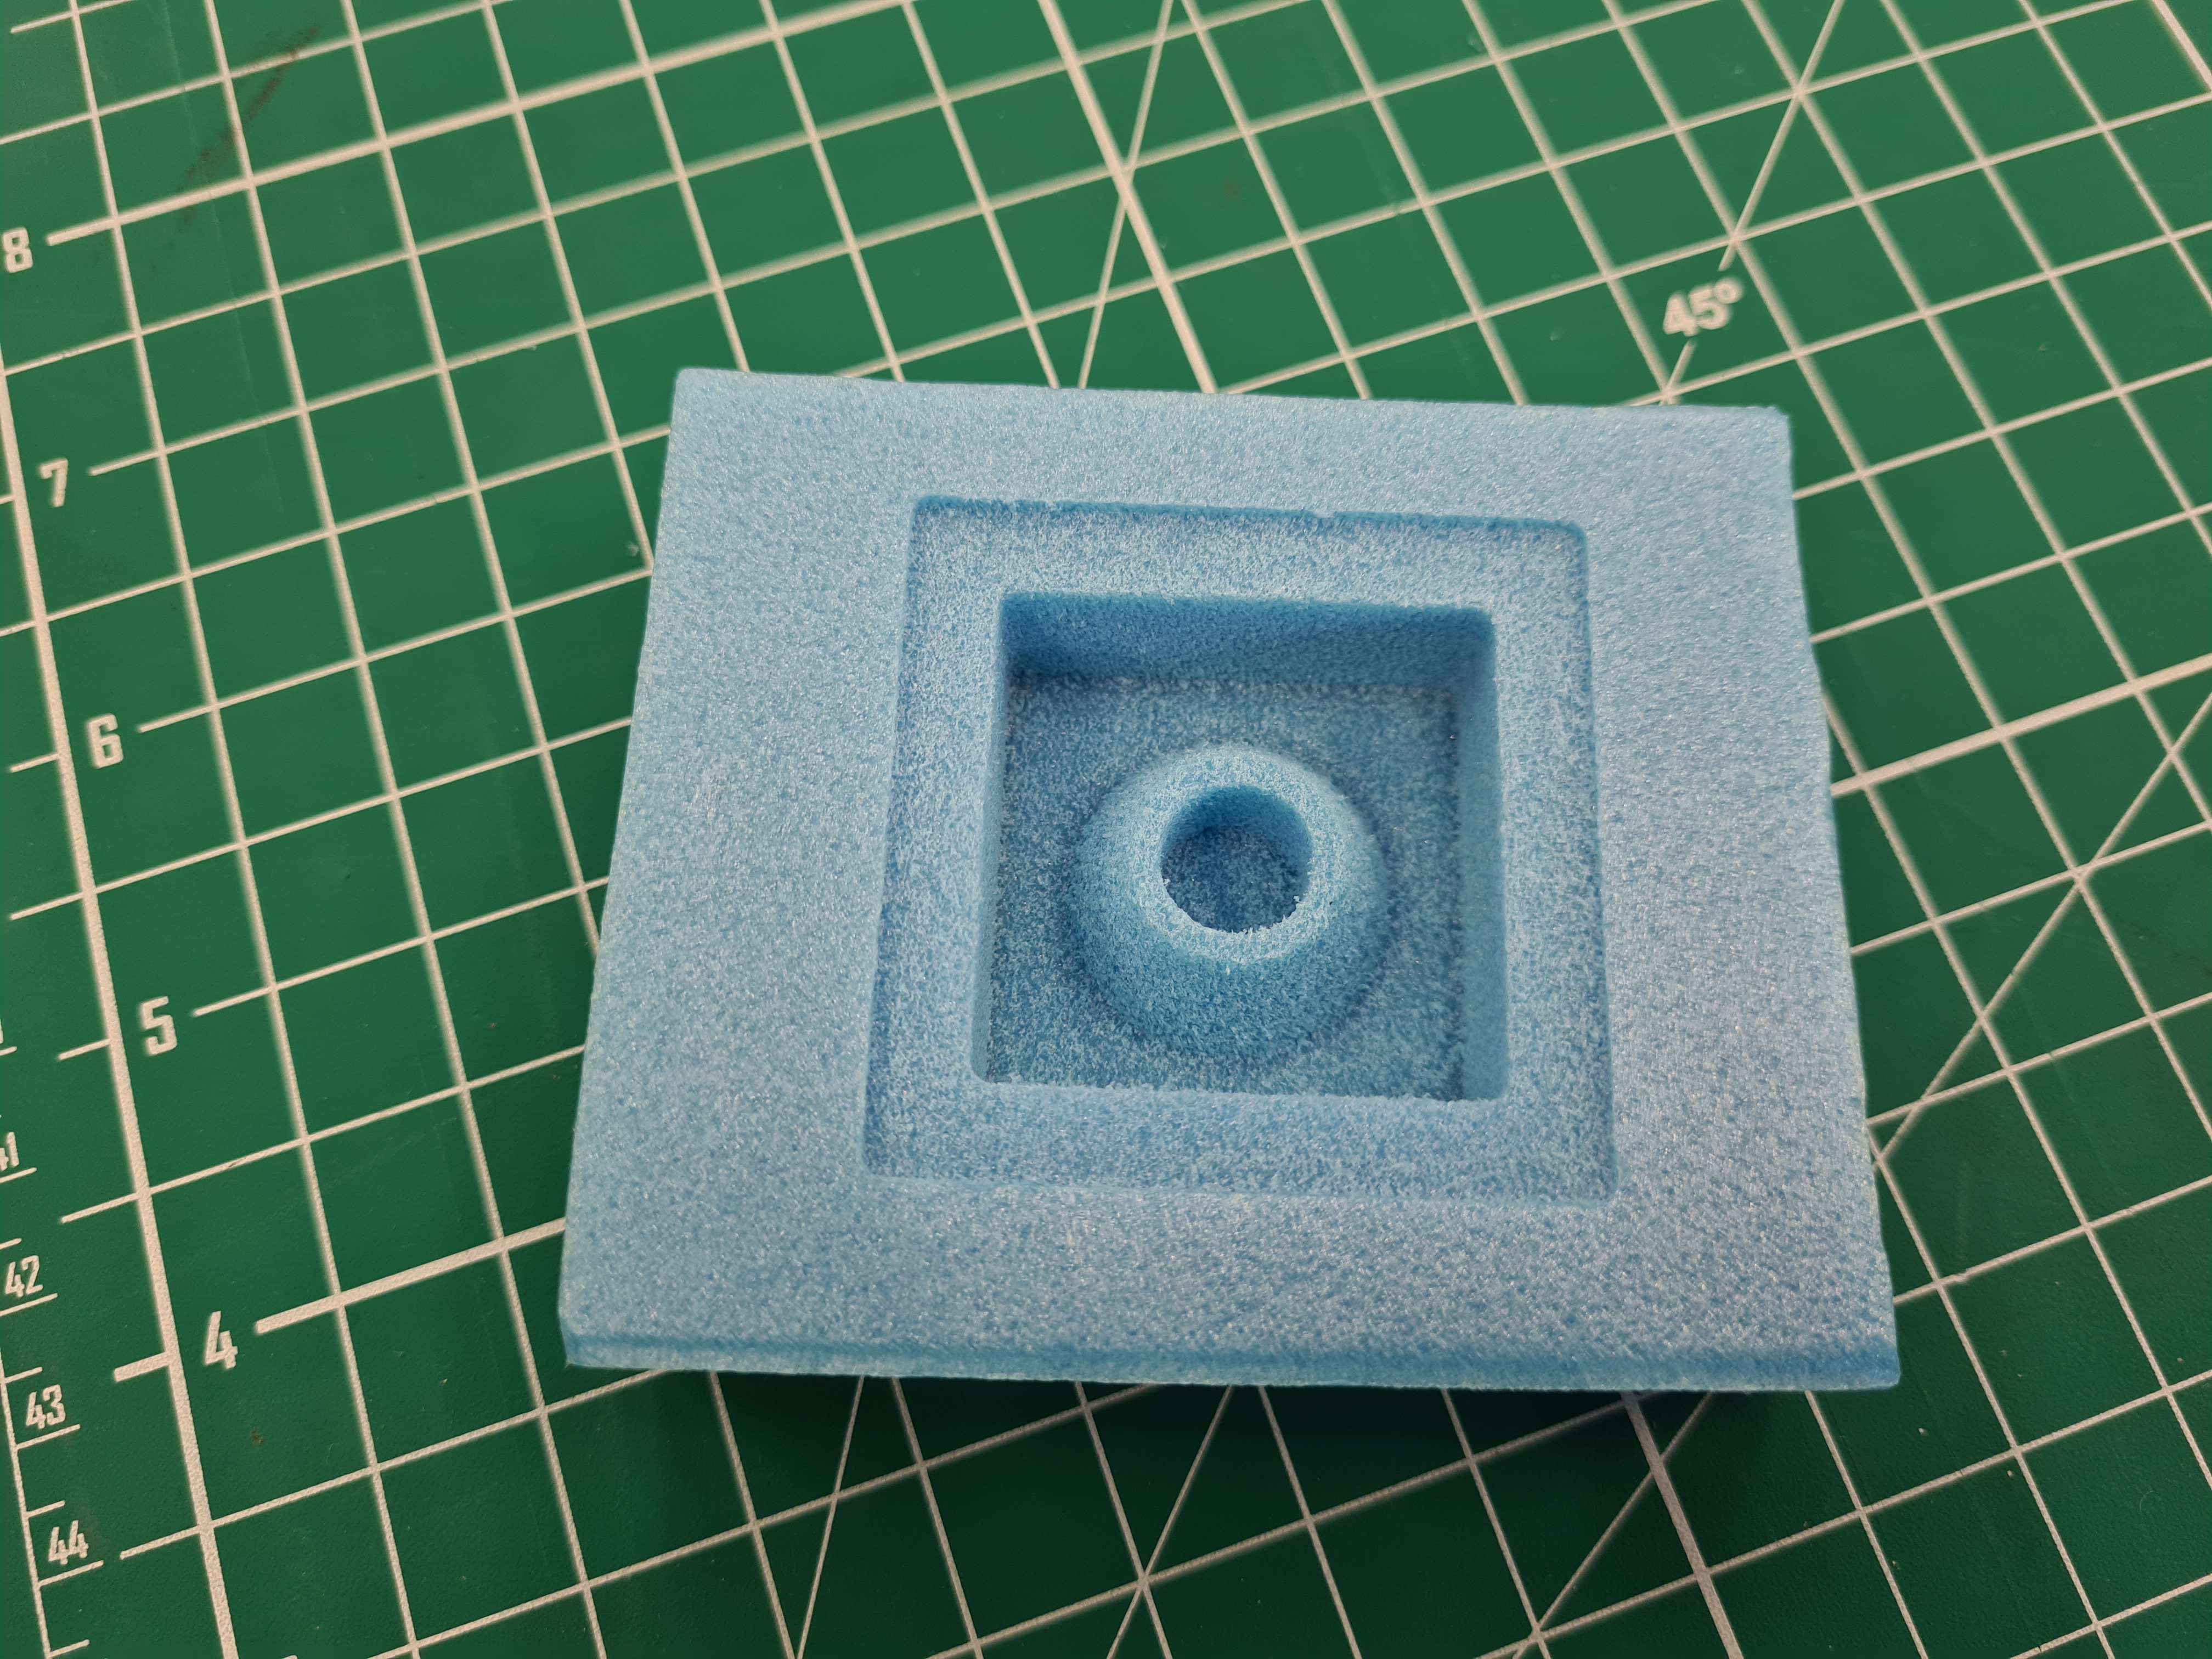
After 45 minutes (or so), the machining was done. I vacuumed up the debris, took out the piece and this was the result of the milling.

Thoughts
After the milling was done, it was time to make a mold and cast a new pen holder. I made some mistakes during the assignment that I need to keep in mind for next time. One being that I used a finishing pass for the entire milling process. Because of this, the machining time was very long considering the small amount of material I am removing. In the future I would try to set up 2 toolpaths, one roughing pass and one finishing pass. I also need to get used to the manufacture tab of Fusion360 as I am still unfamiliar with most of the features.