Molding and Casting
Introduction
Molding and casting is the creation of a negative mold using silicon of a part that needs to be copied or produced in large quantities, and the positive casting of said part using liquid plastic or resin.
Molding
In order to make a positive cast of my part, I first had to make a negative mold of the 3d cnc milled foam block I made using silicon. The silicon I am using is a 2 part silicon rubber RTV-620.
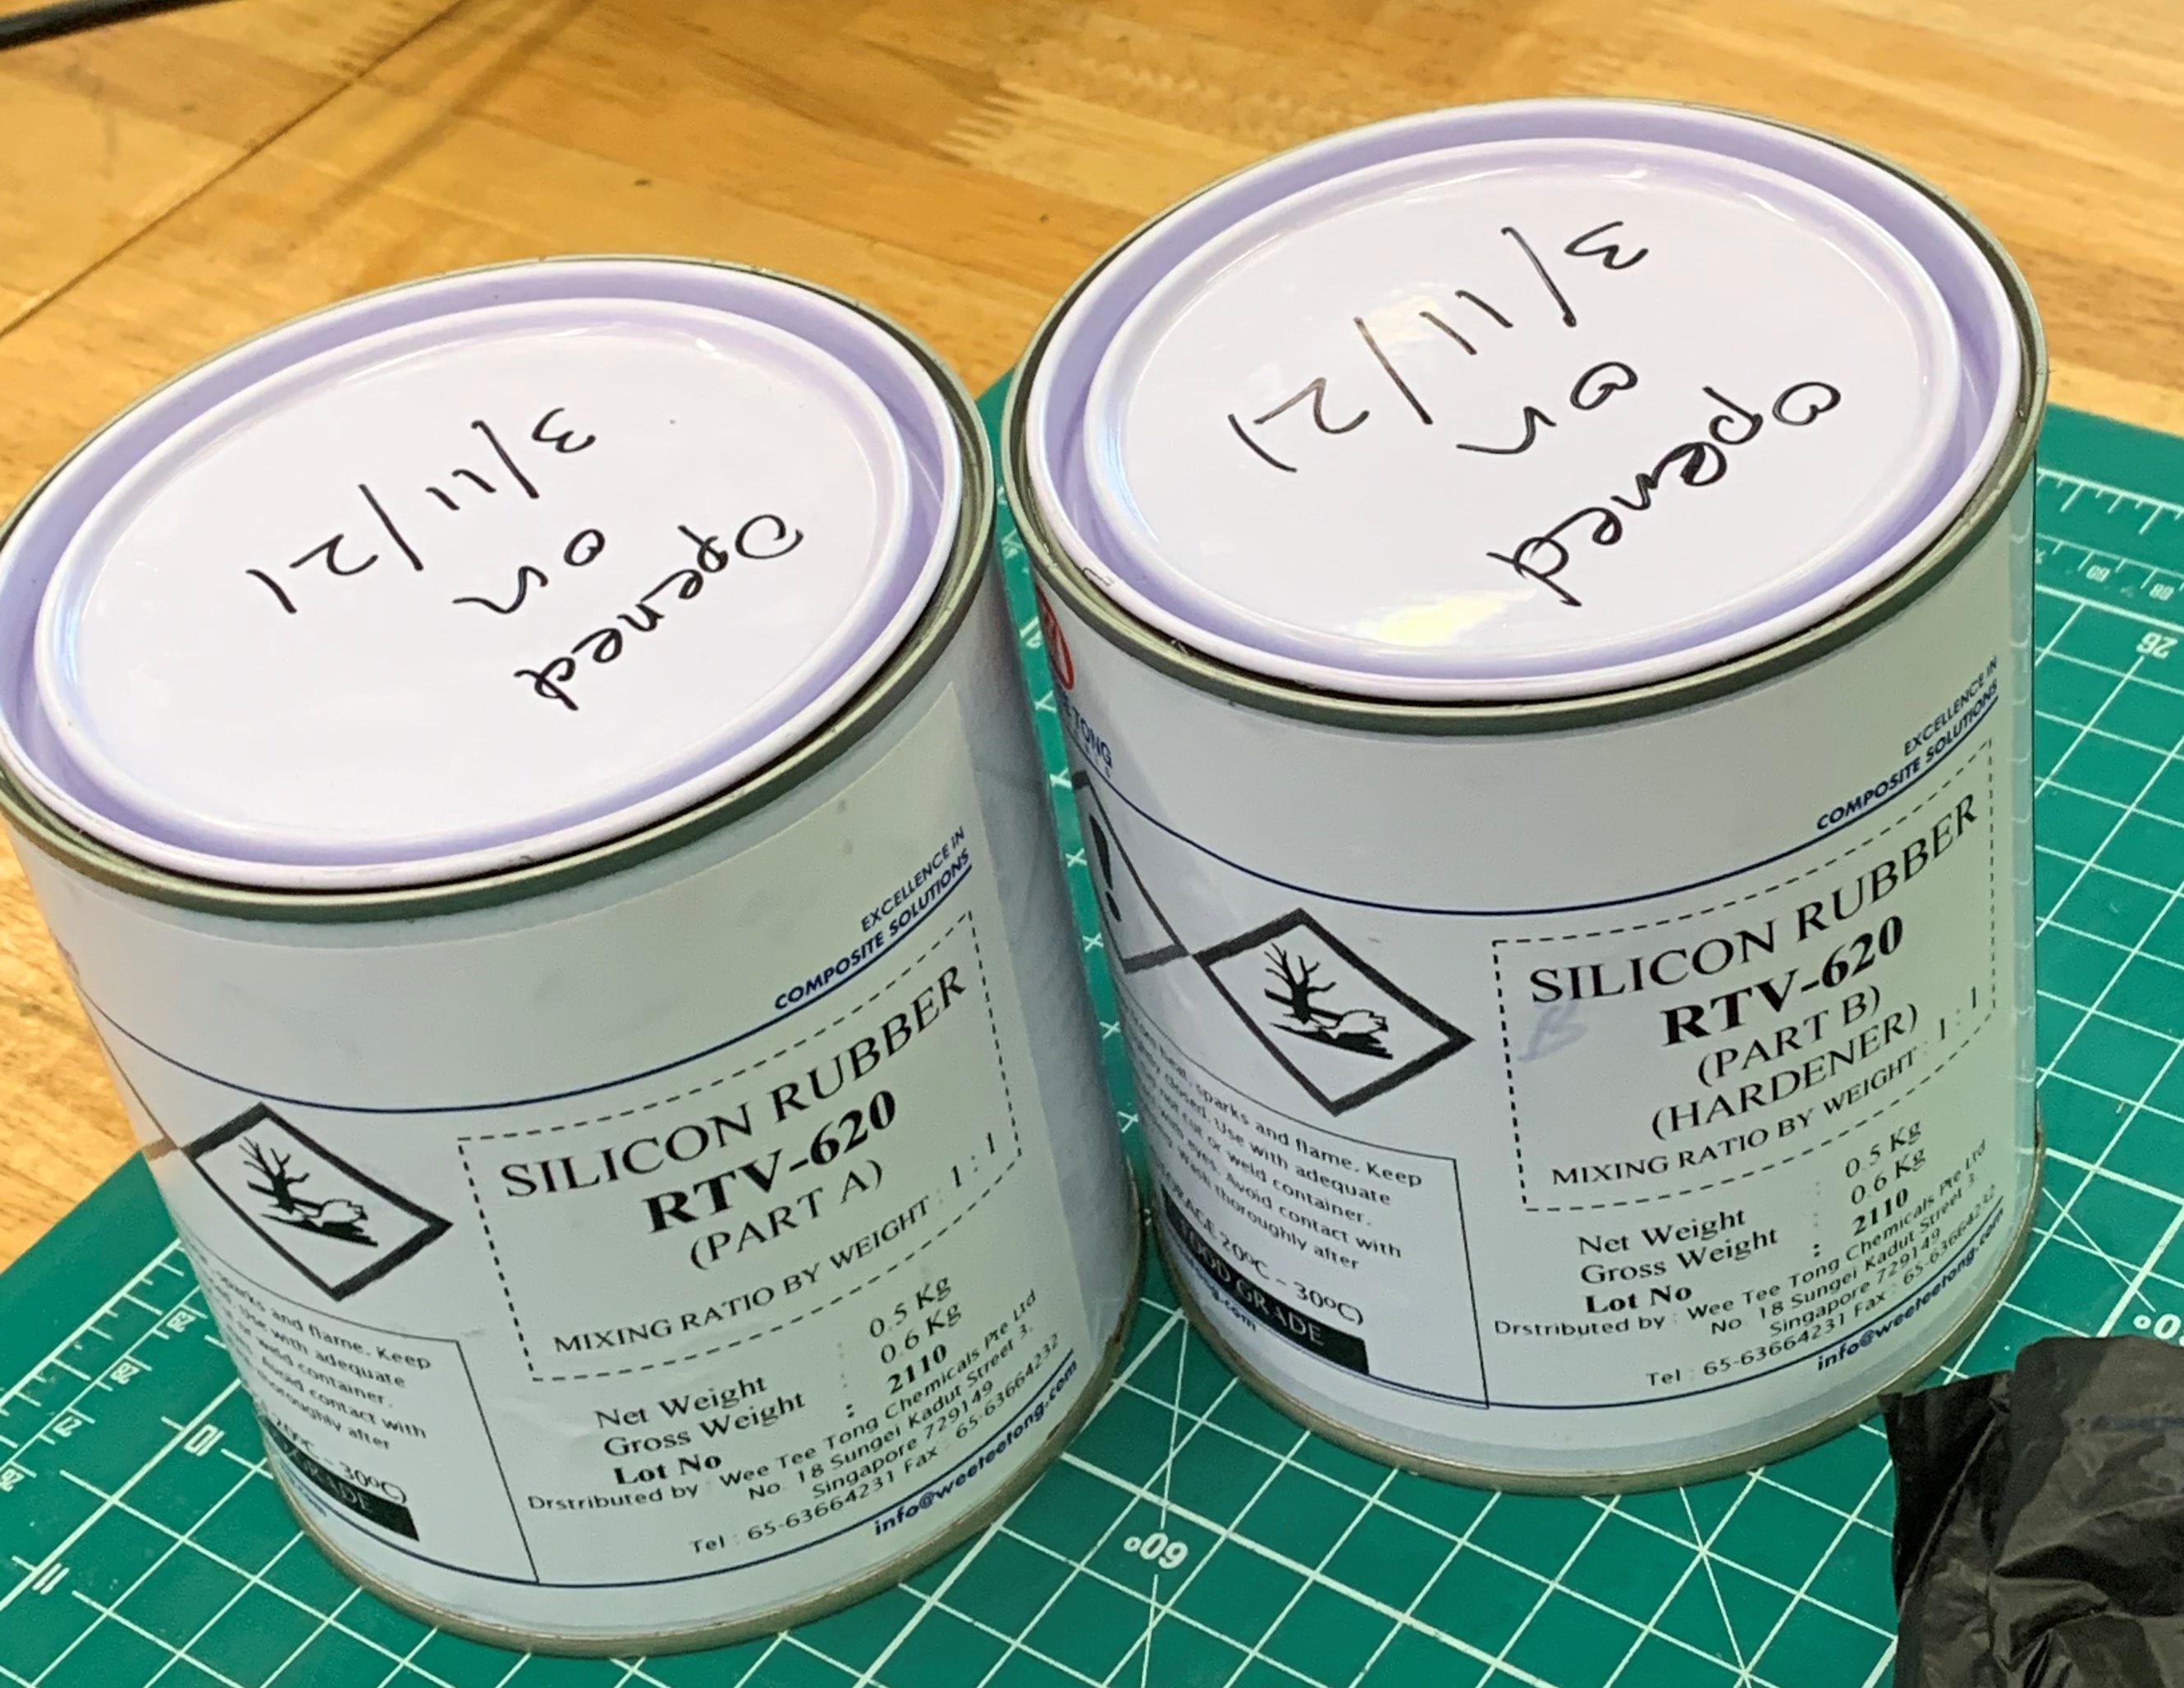
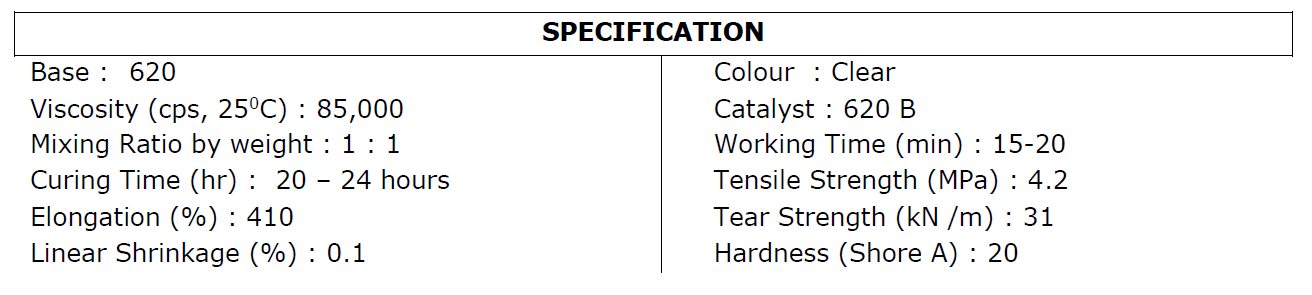
From the Material Safety Data Sheet (MSDS) of the RTV-620 found here, the mixing ratio 1:1 by weight and it would take a day to fully dry.
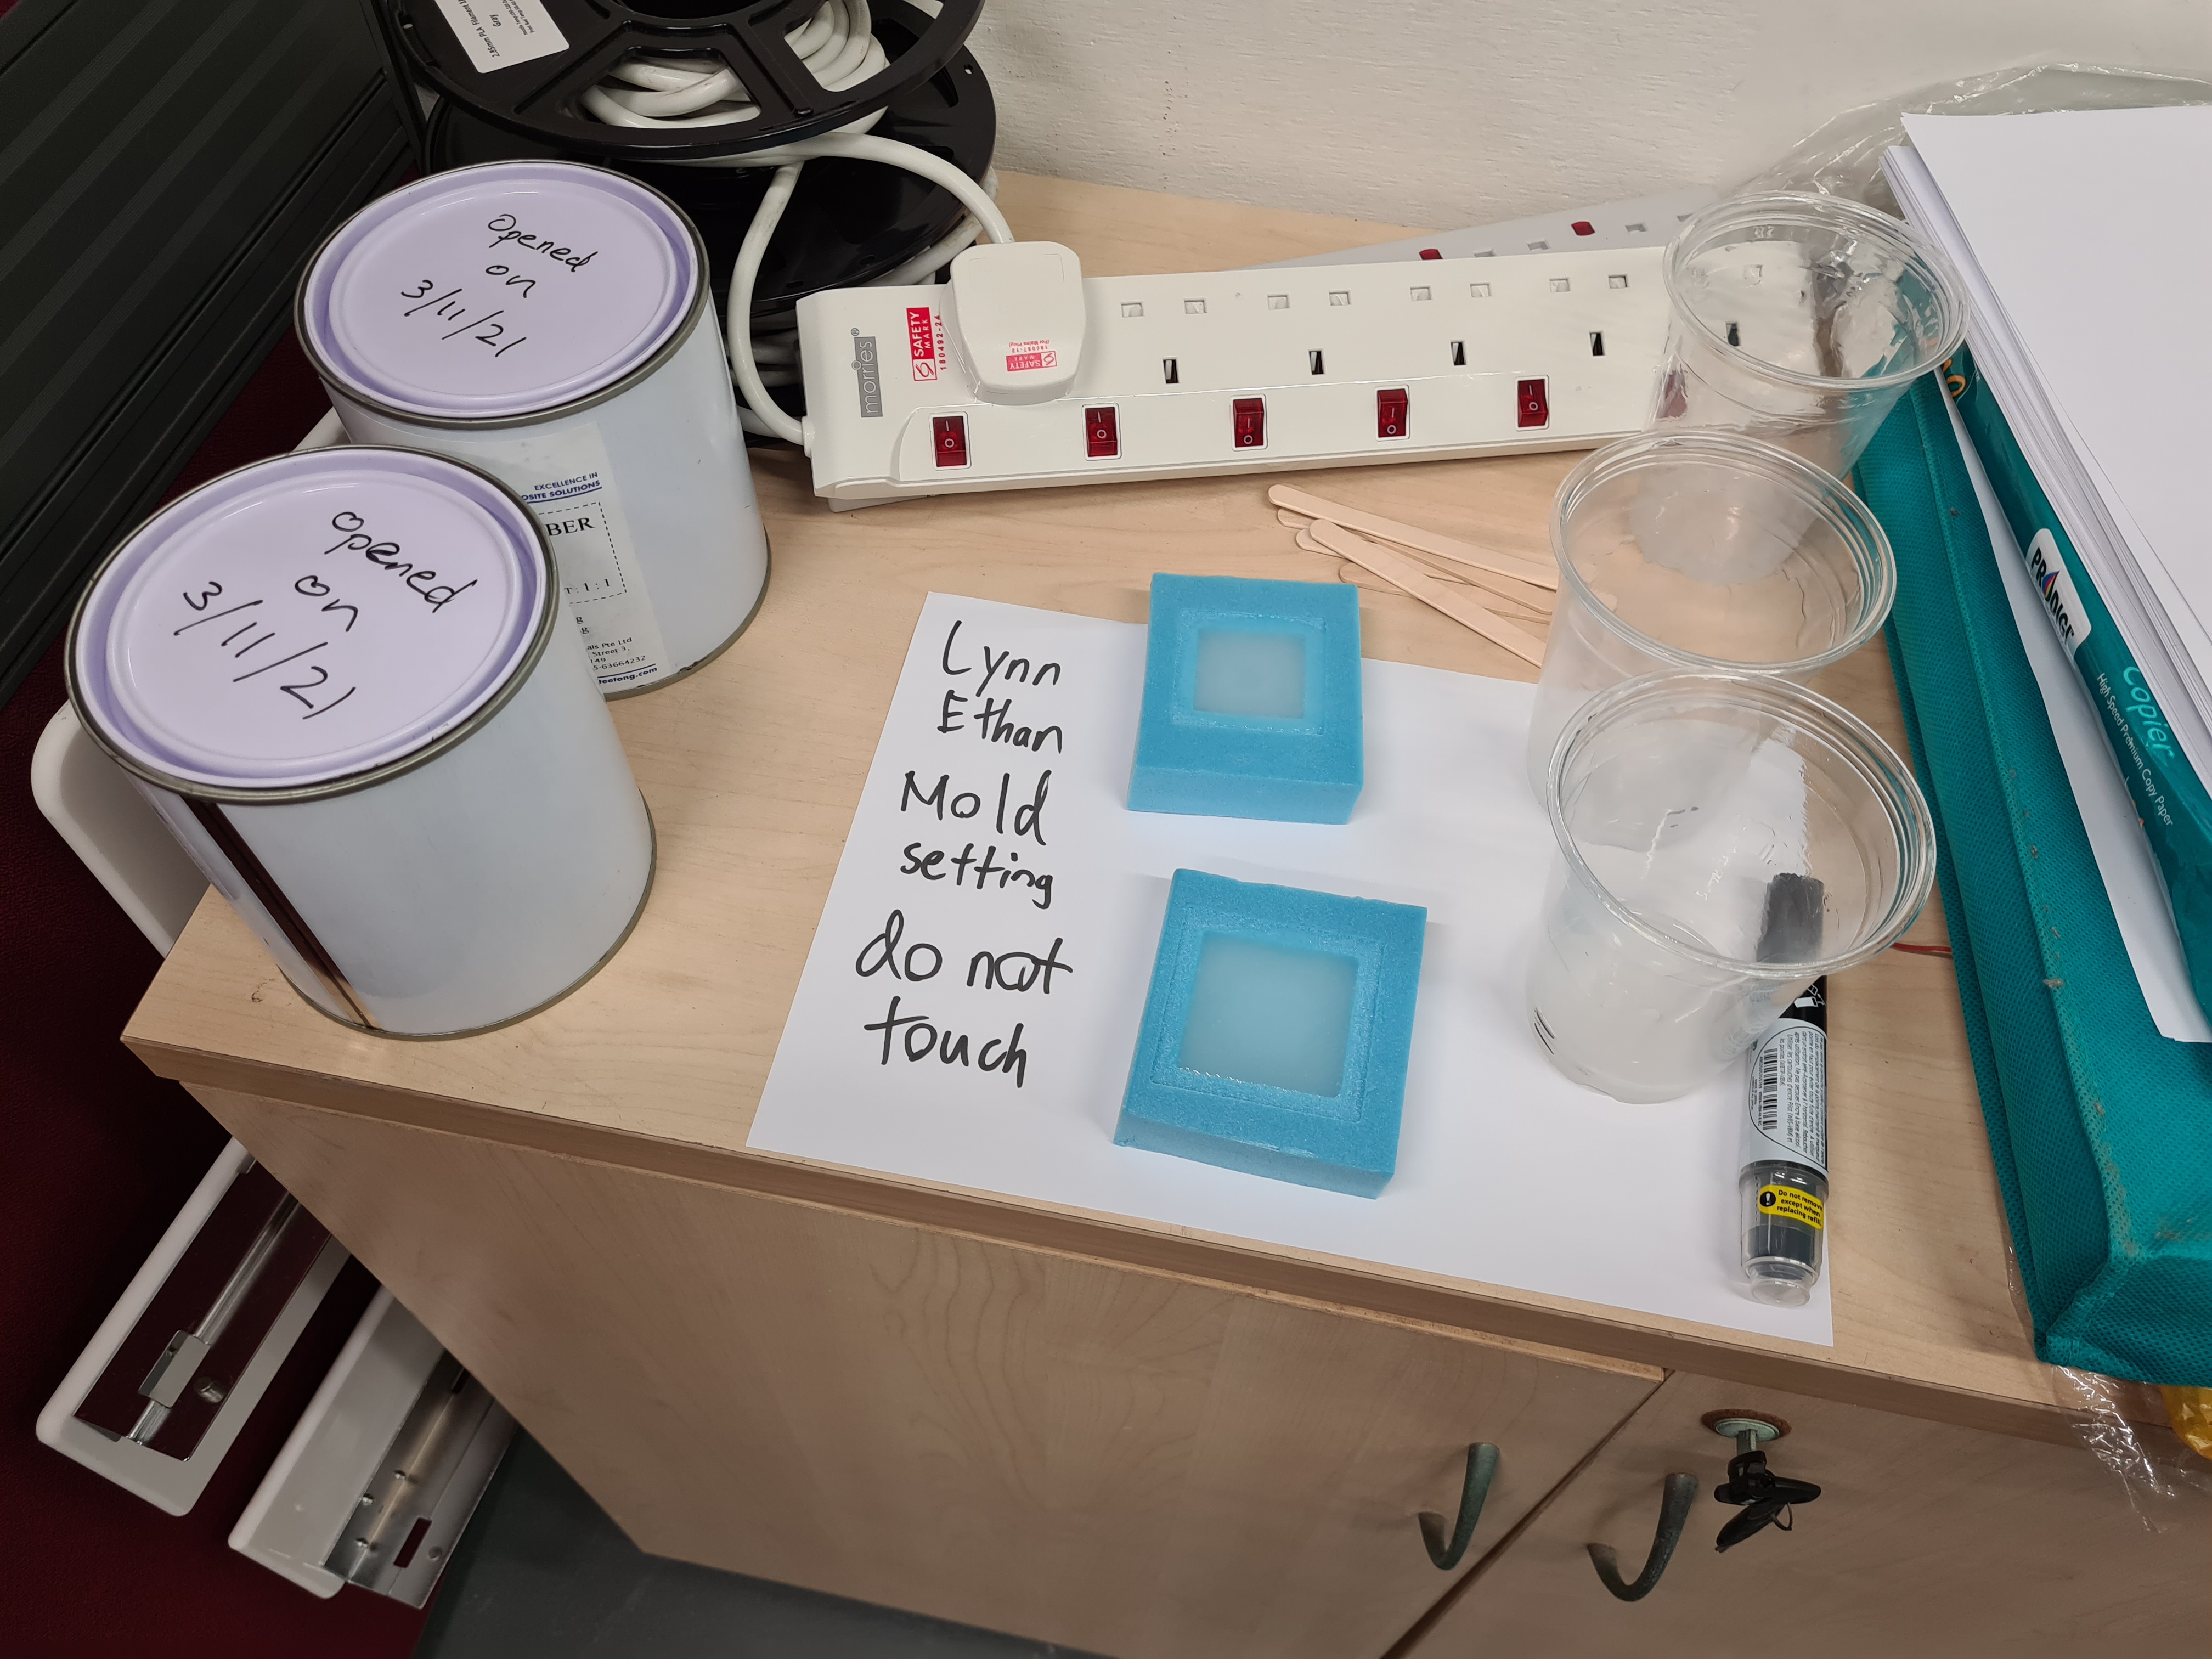
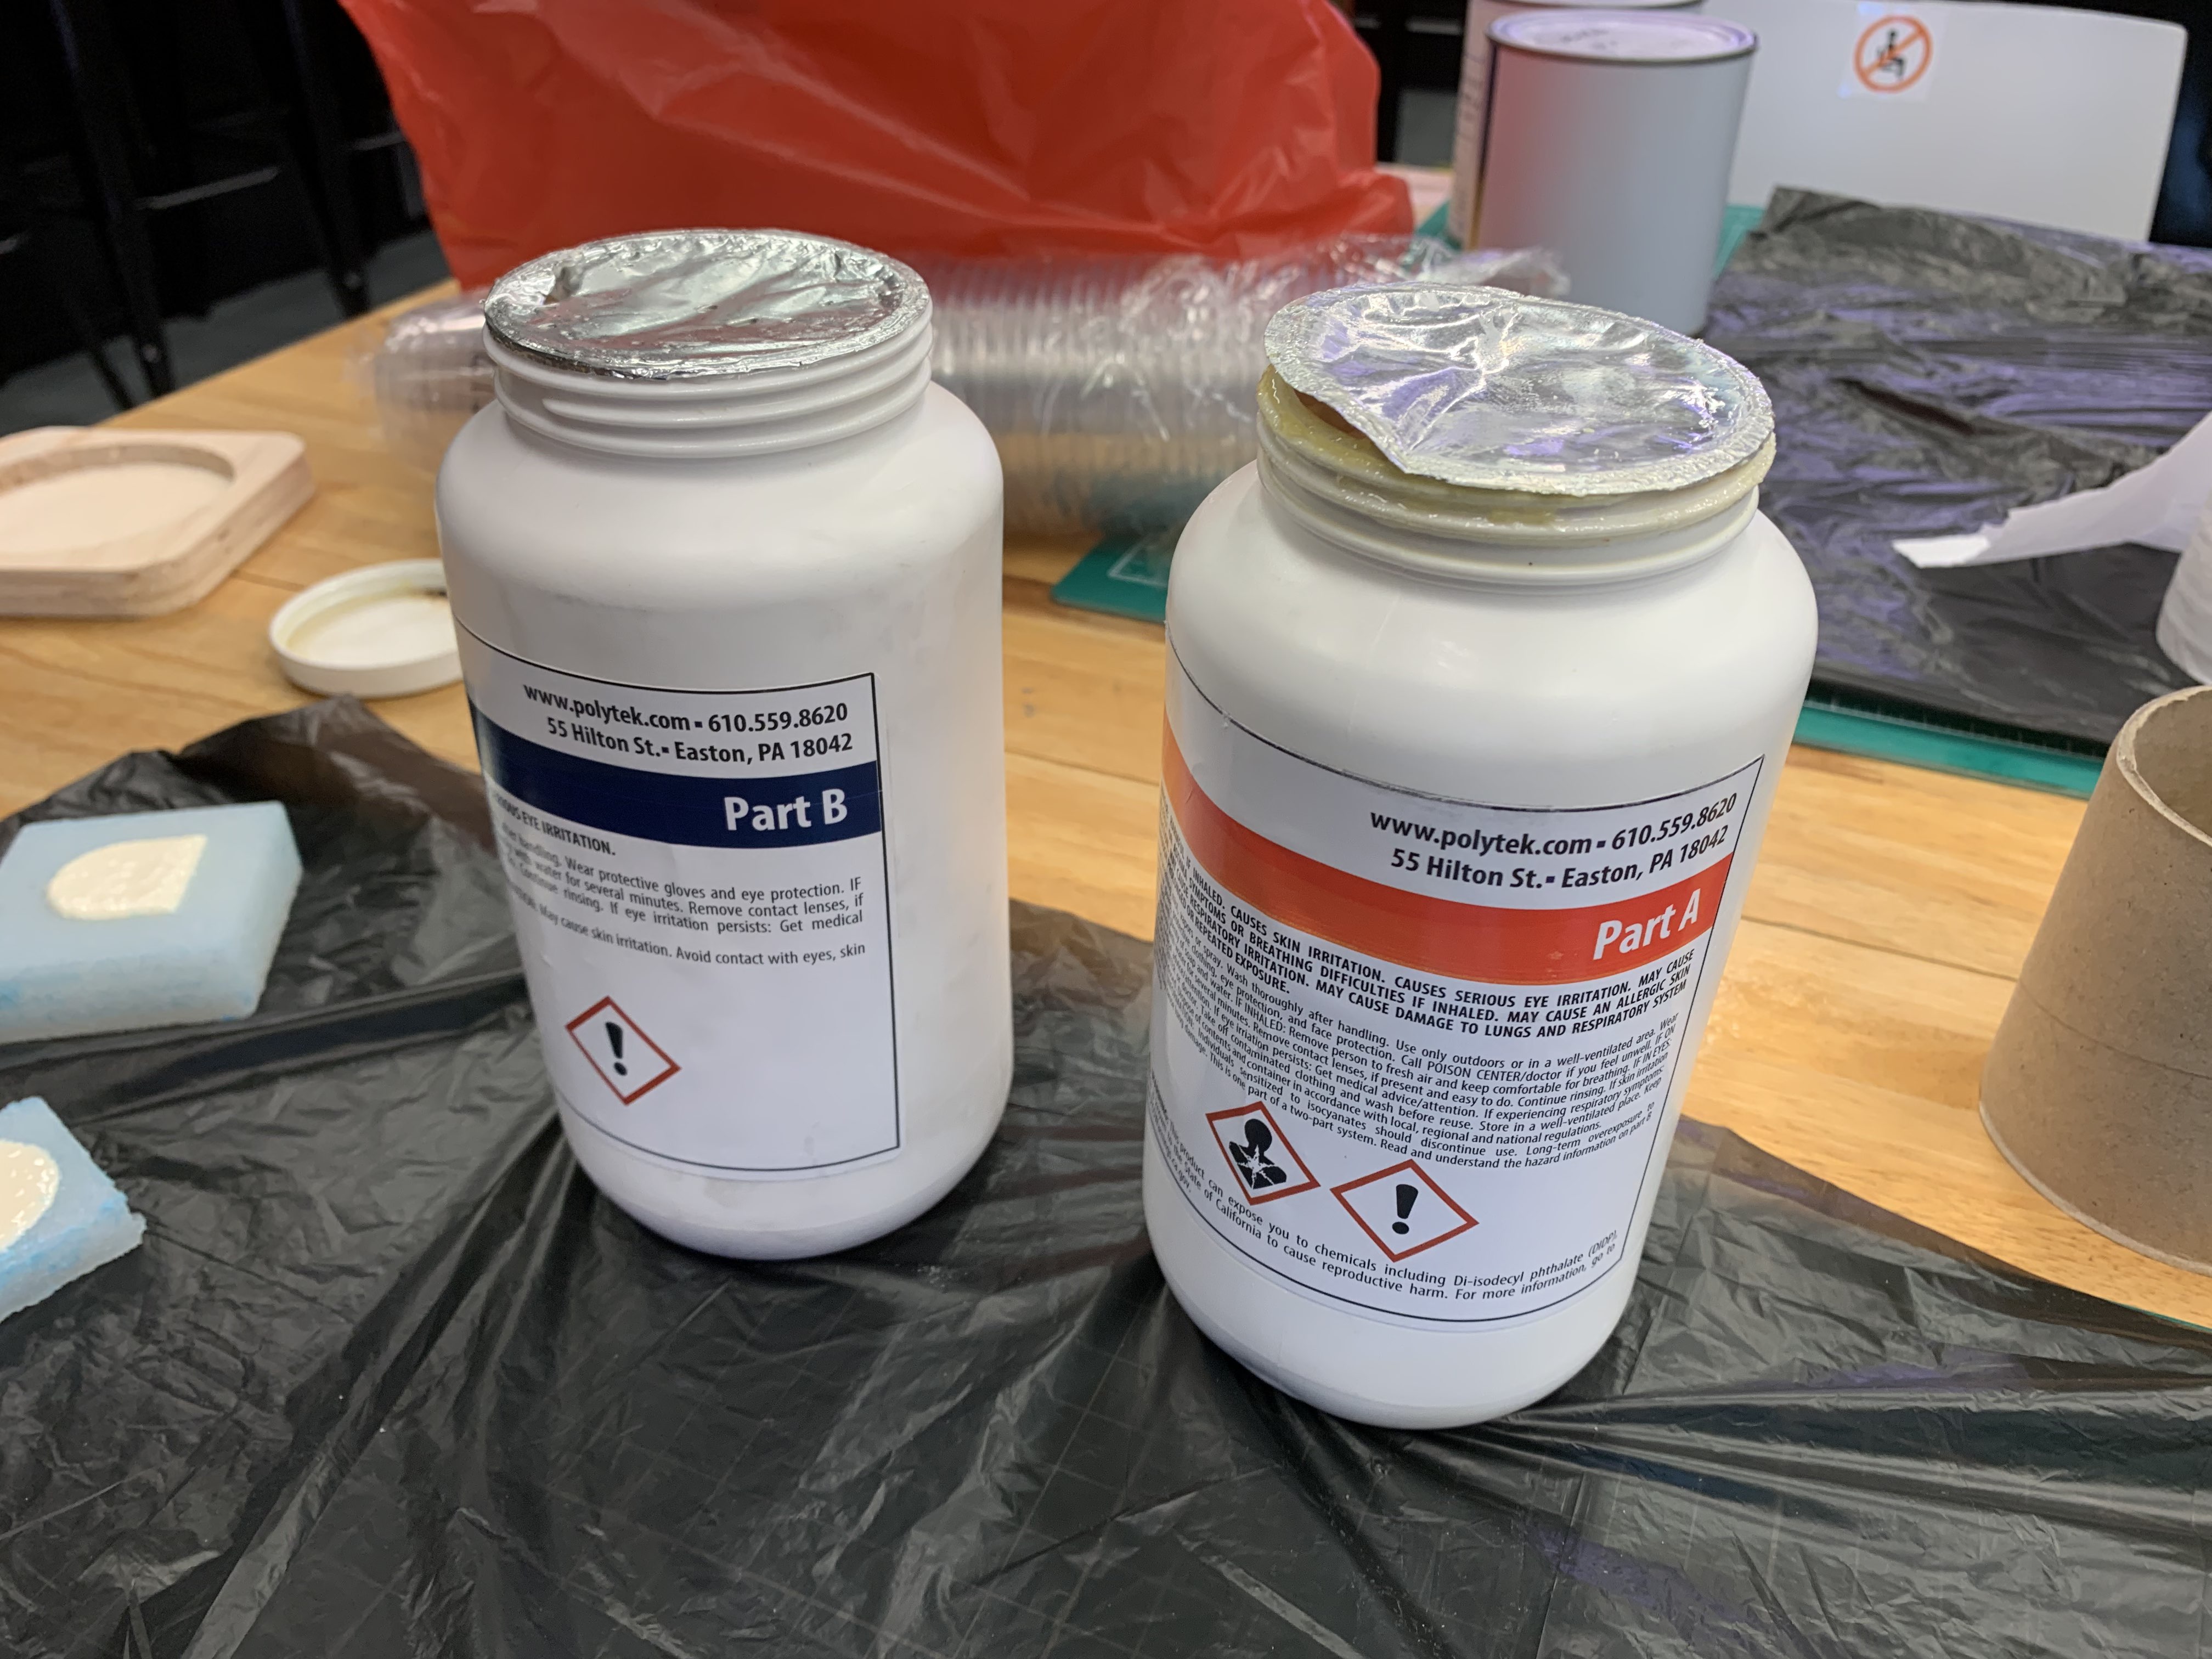
As precaution, all the subsequent steps were done wearing gloves and the table was covered with a plastic tarp. I used disposible cups and ice cream sticks to do the mixing, using a kitchen scale to get the weight. Because the mixing and initial curing process is going to be quite fast, I opened up both part containers of the silicon so that I can be prepared.
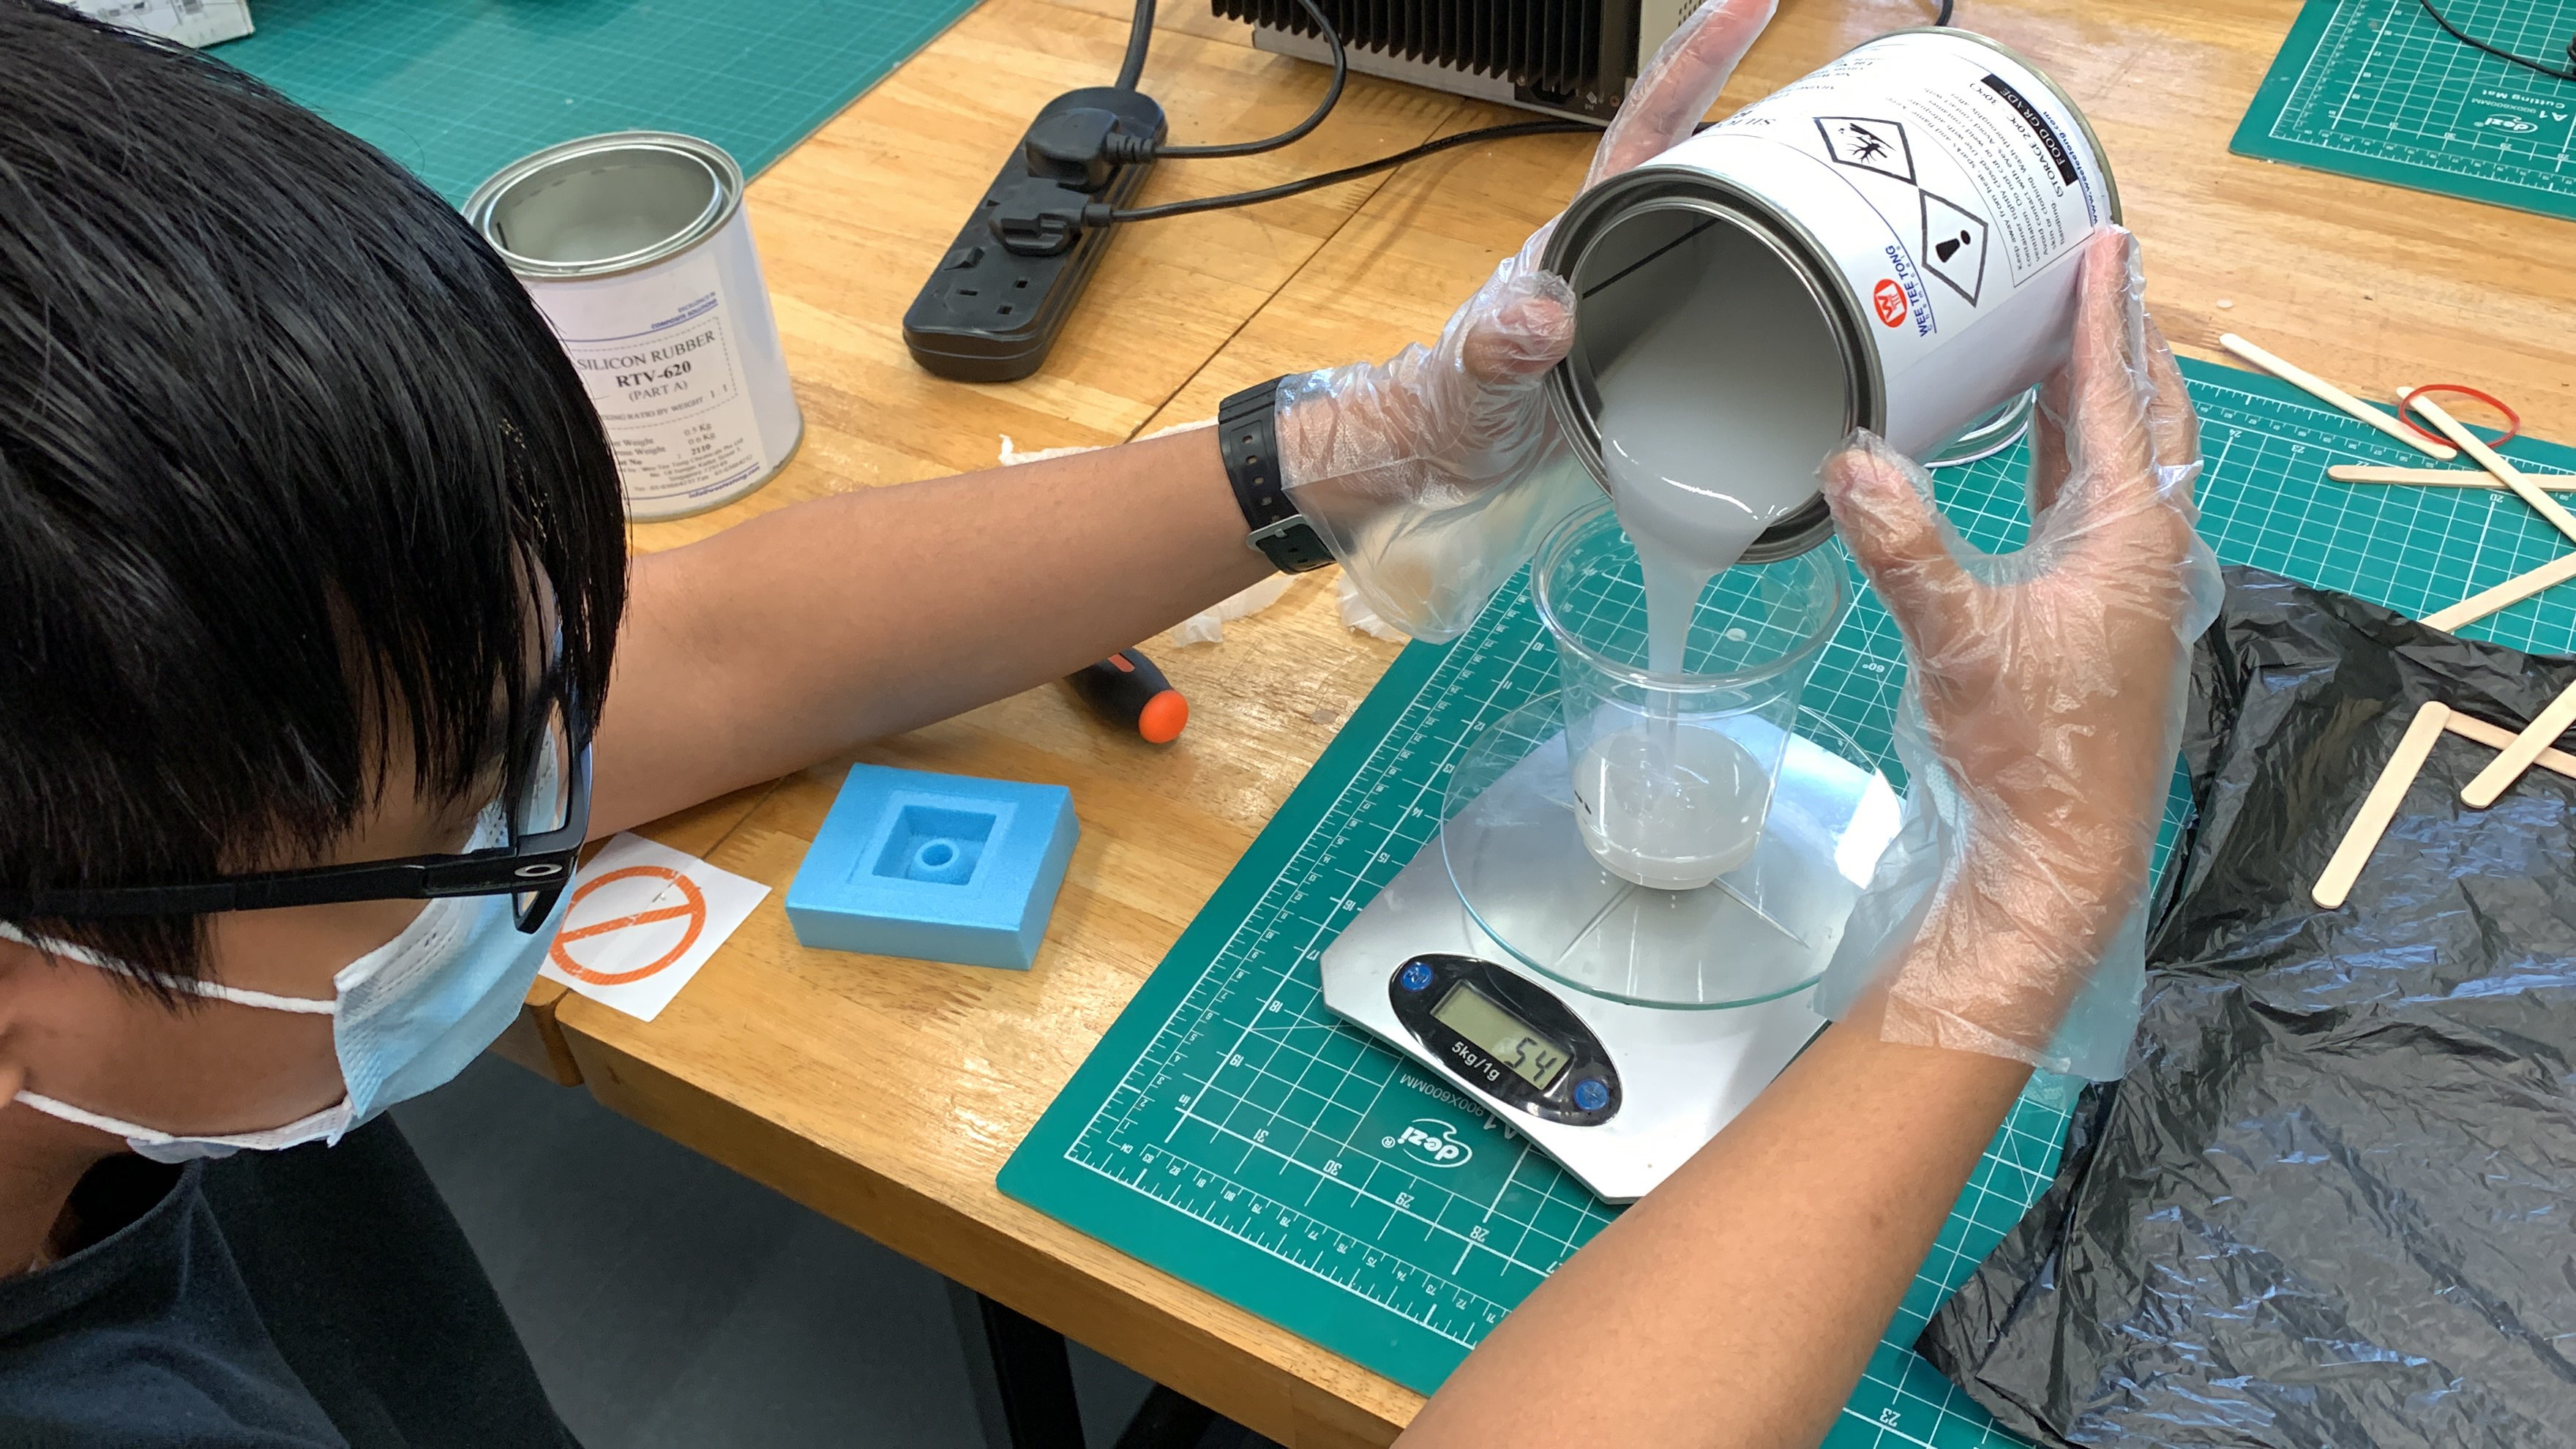
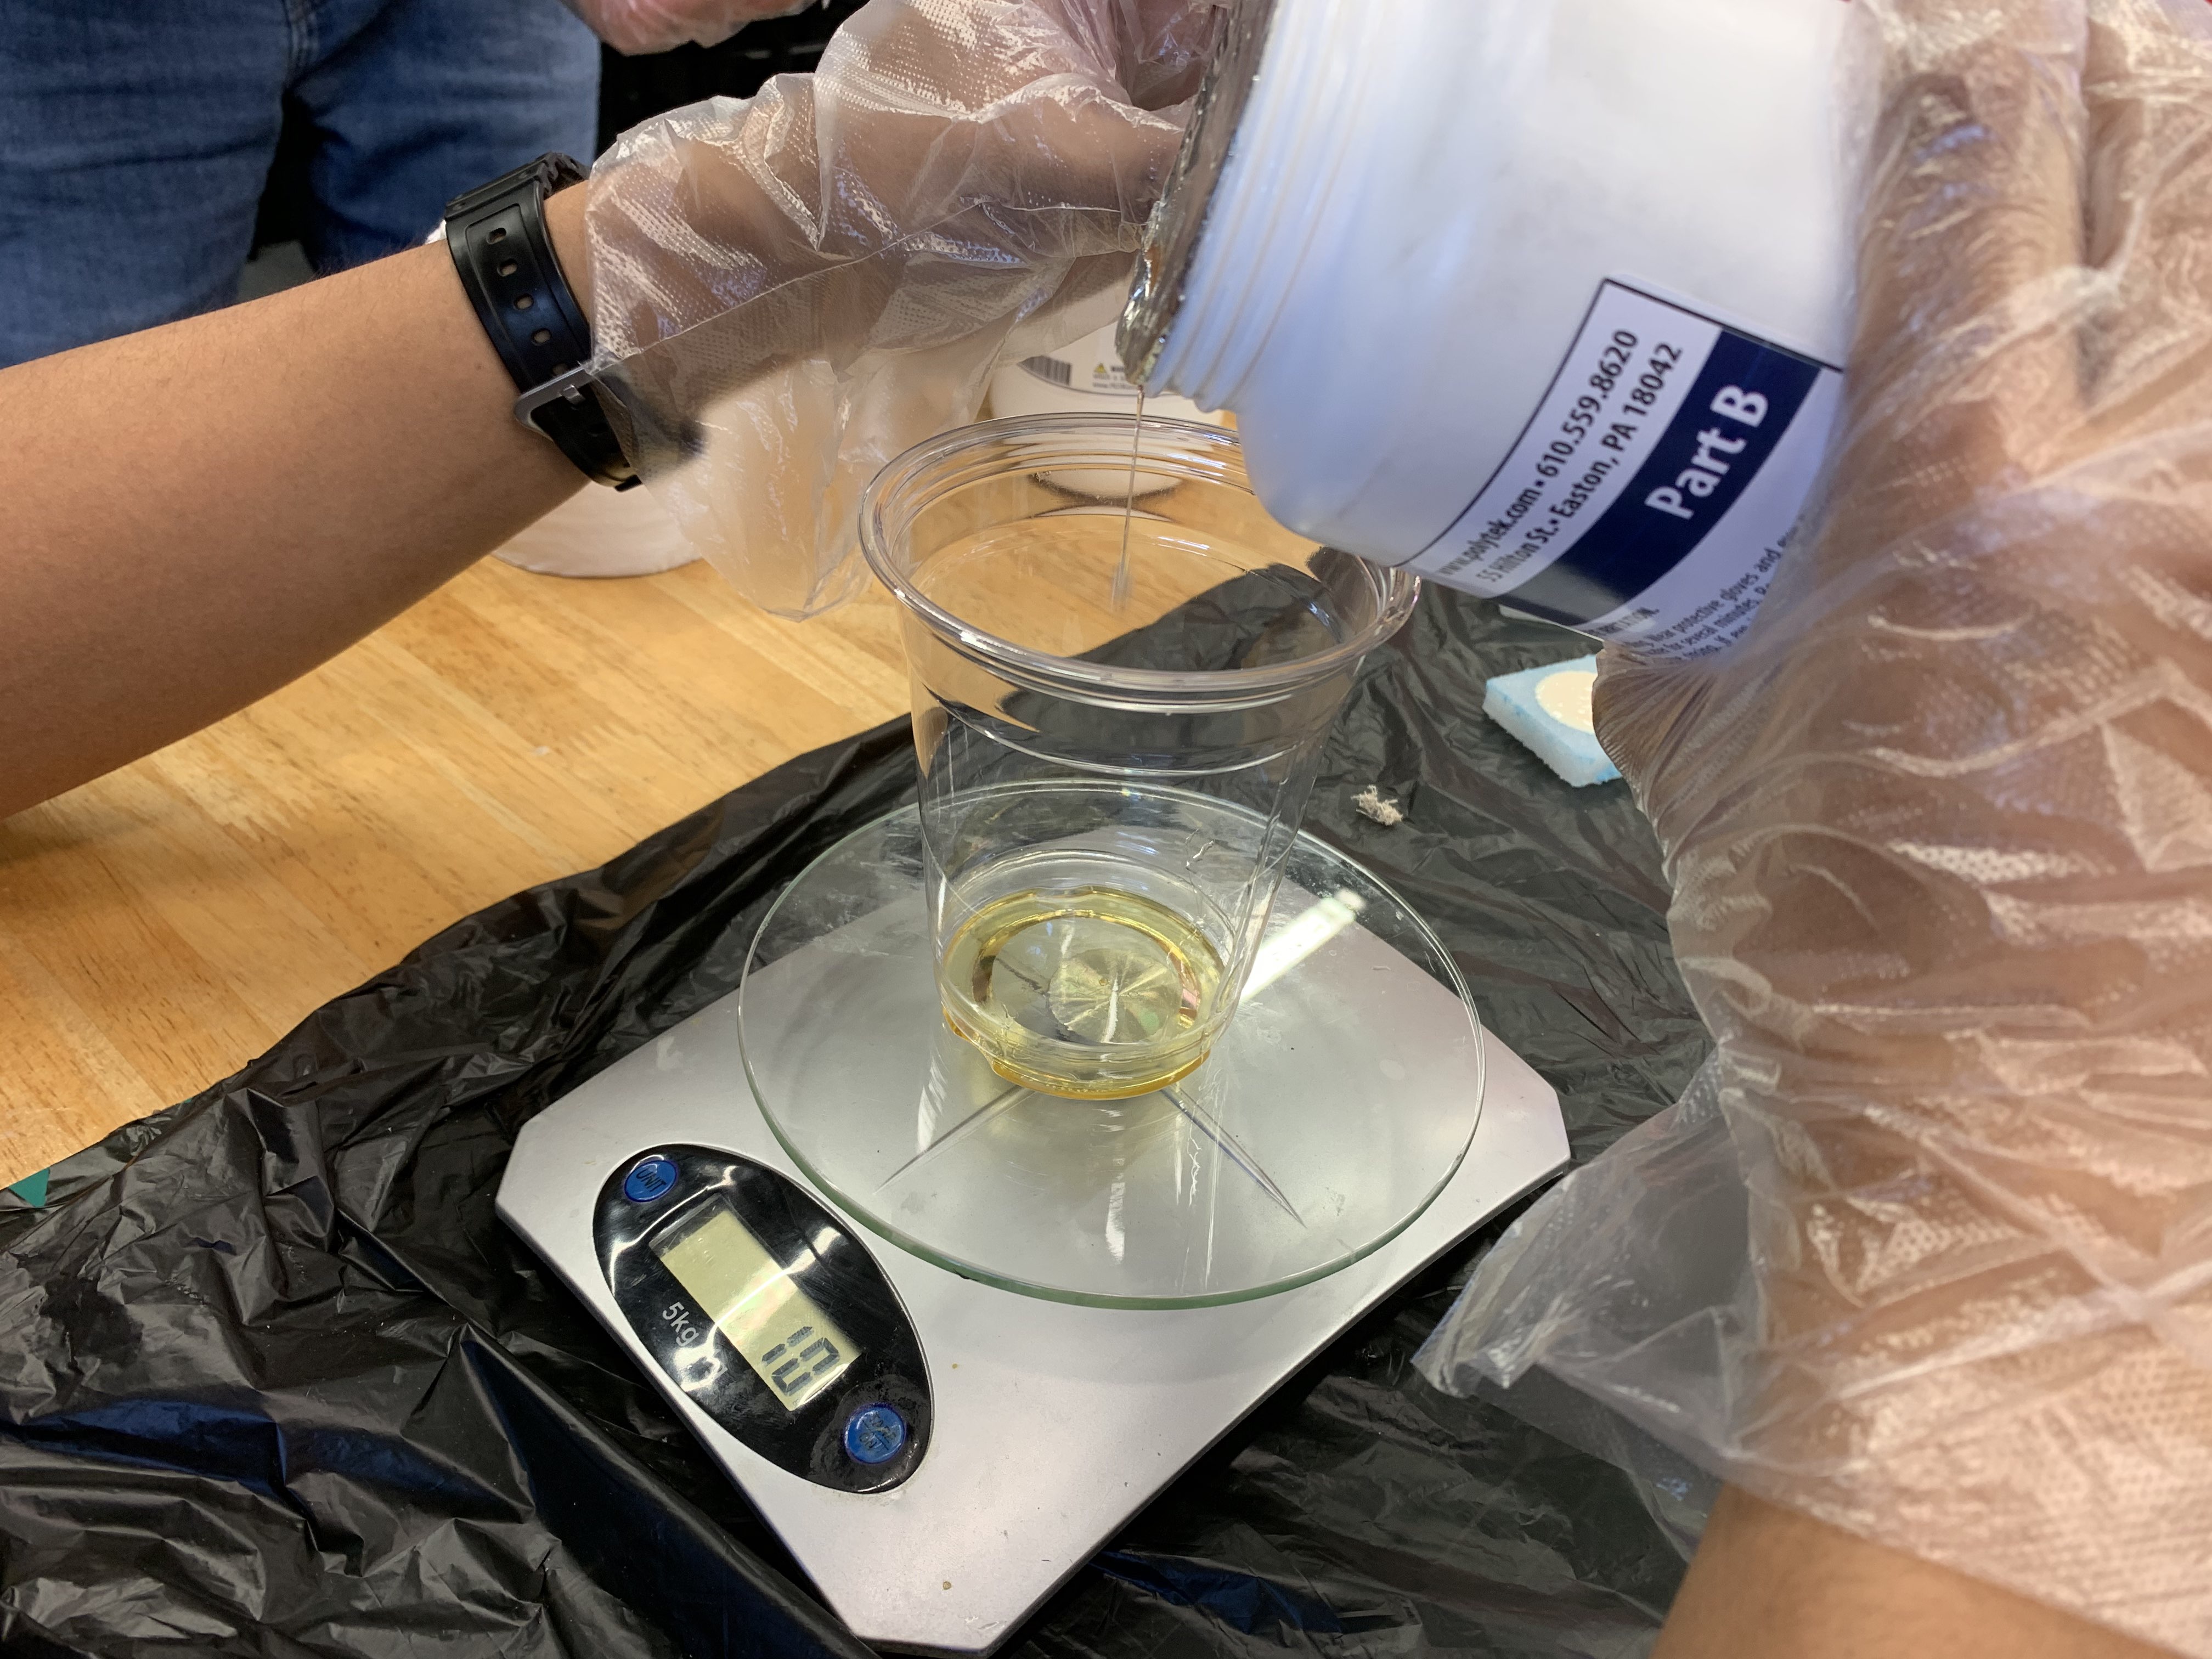
I first estimated the volume needed in the cup, marked it with a permanent marker, then marked roughly half of it. Afterwards, I placed the cup on the scale, zeroed the scale and poured part A in to the first line marked. It roughly ended up being 30g of part A.
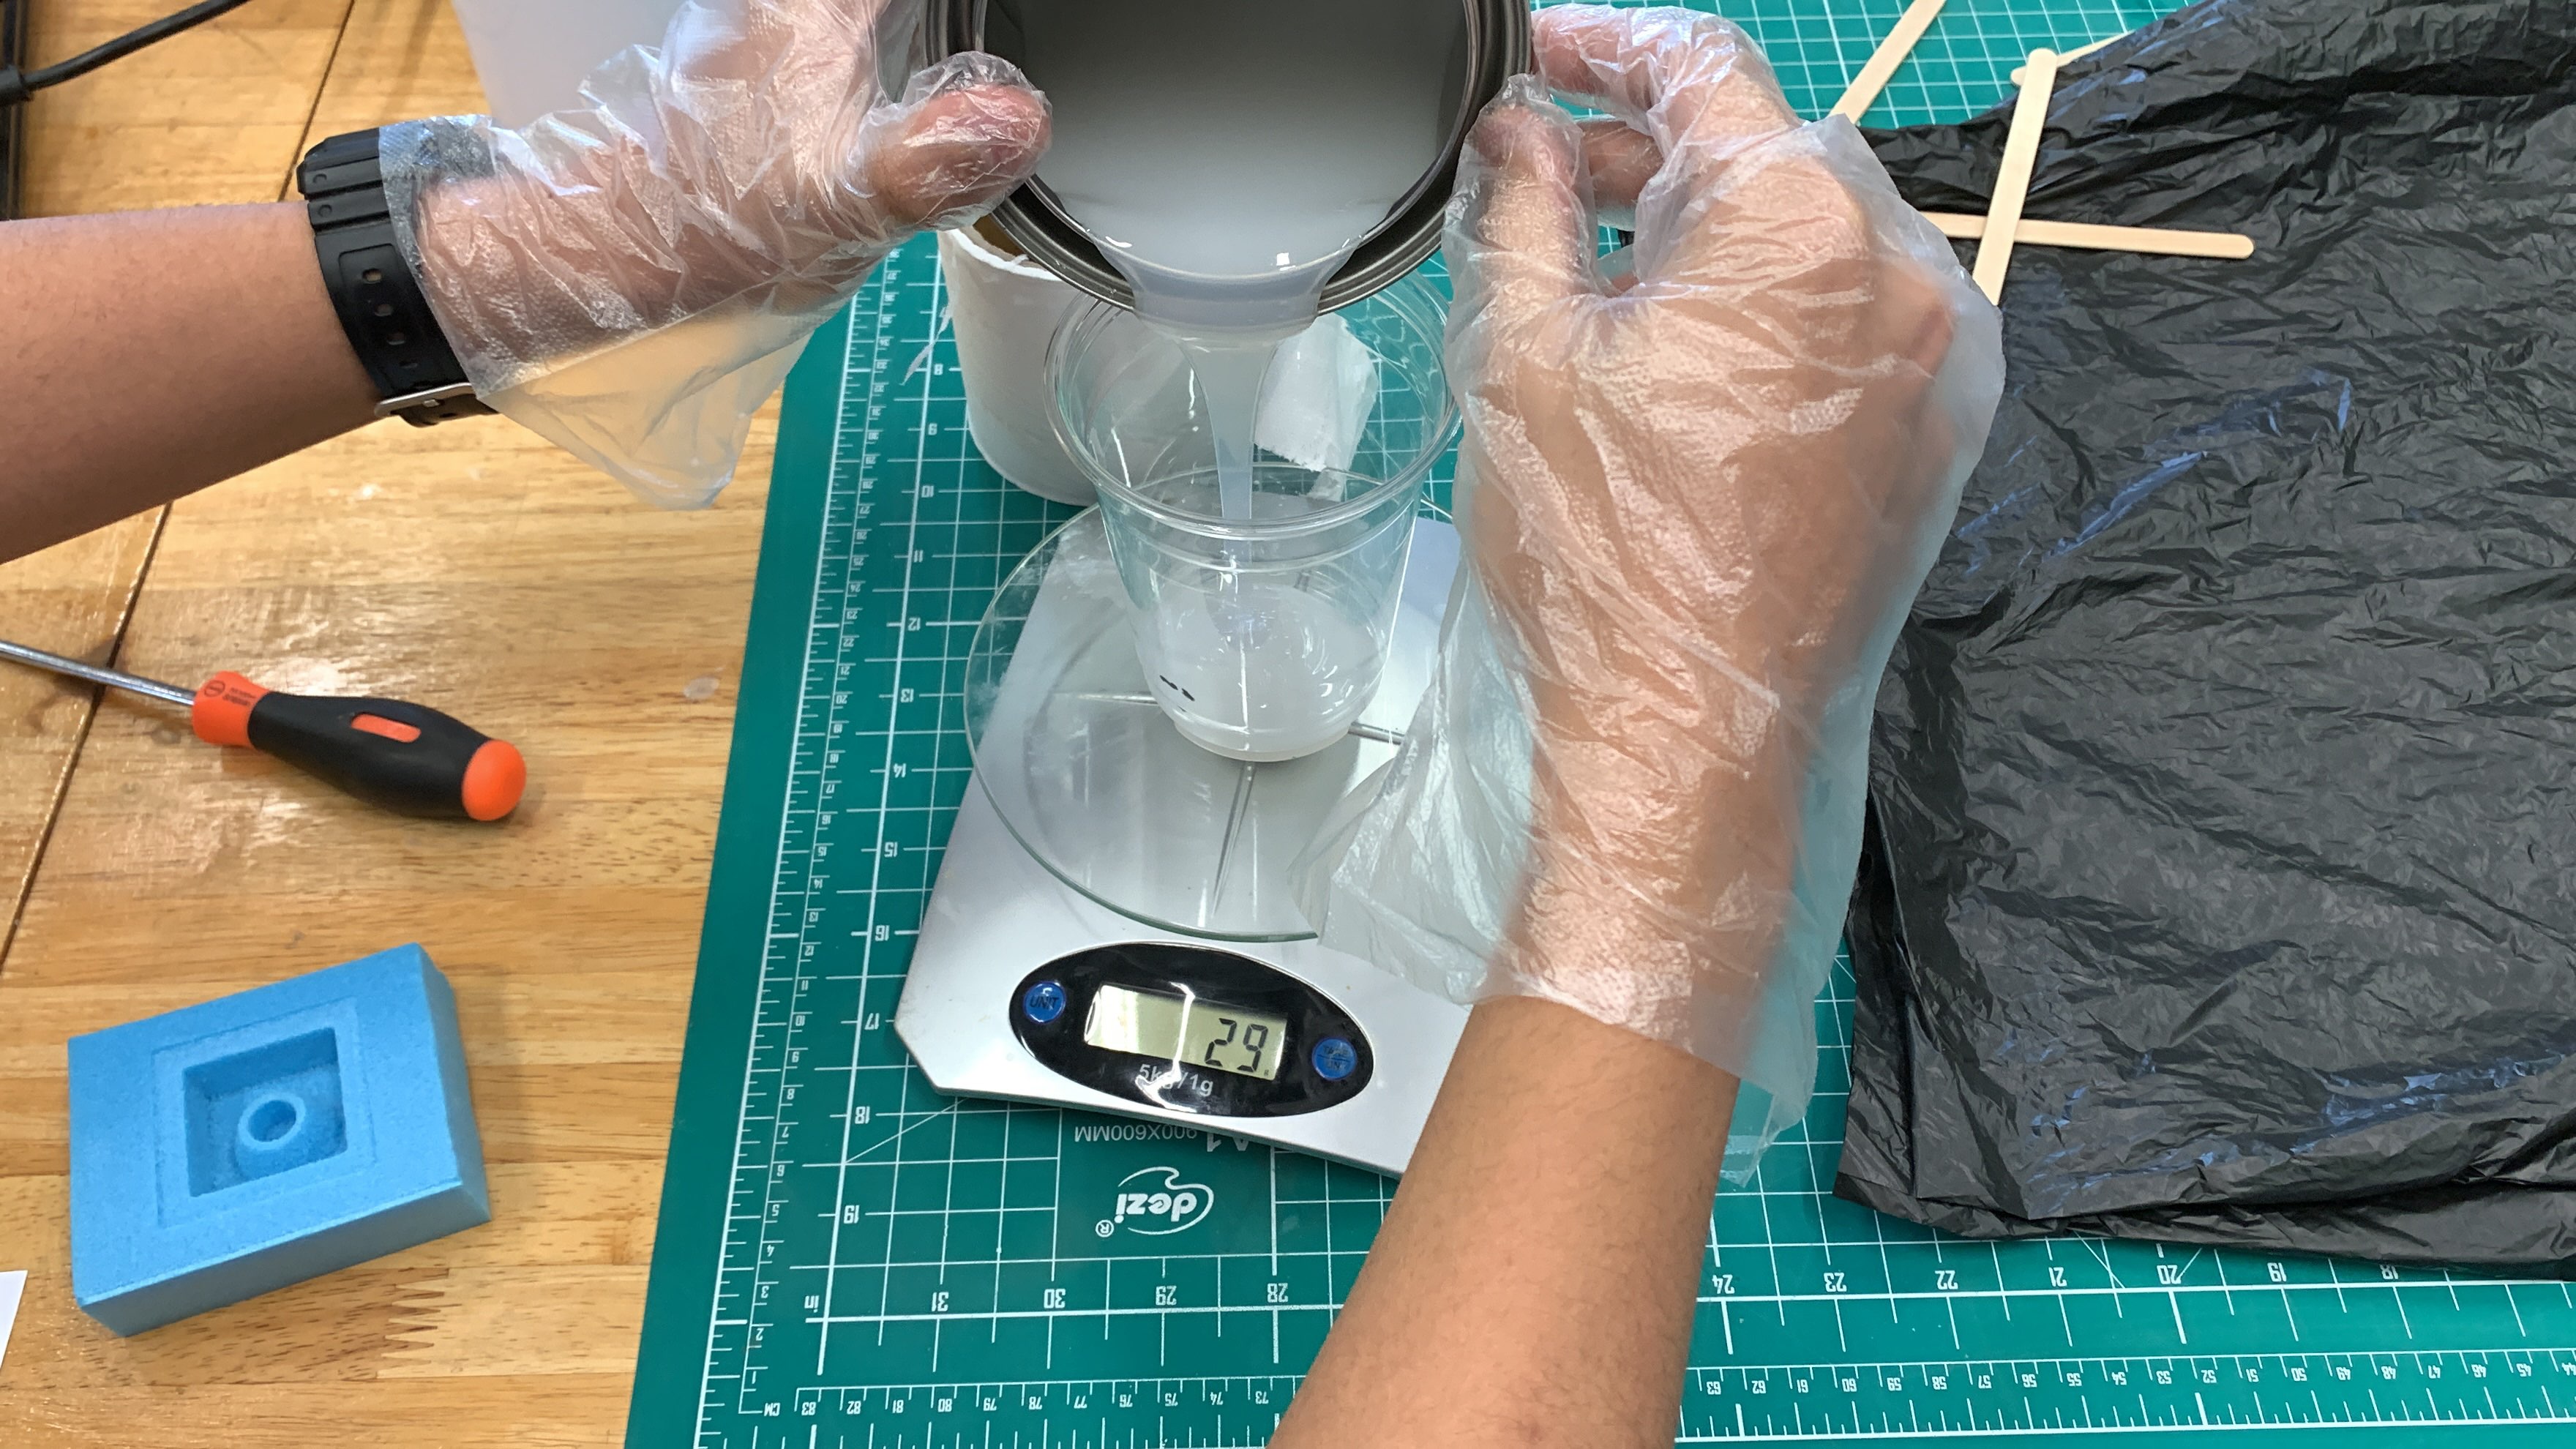
Afterwards, I poured in 30g of part B, disregarding the original volume line and went by weight. As part B is the hardener, I was reccomended to put in slightly more as a precaution, in case the silicon was not properly mixed. In total I ended up with 30g of part A and 32g of part B. After this, I was taught that I should zero the scale after I pour in A to be more accurate with the weight of B.
Using the icecream stick, I started to mix the 2 parts together. Instead of rigourous mixing, it was more like folding as I did not want to introduce many air bubbles into the mixture. I made sure to rotate the cup every now and then, and to scrape the sides of the walls. The issue with this silicon is that part A and B are the same color, as such I cannot tell when the silicon is thoroughly mixed.

After 5 minutes of mixing, I assume that the silicon is thoroughly mixed, and poured it into my cnced mold. I poured the silicon slowly into the lowest point, allowing the silicon to slowly spread and reduce introduced air. At this point, I realised that I made too much silicon. I only needed half of the silicon I made, and left the rest to cure as a puck in the cup.
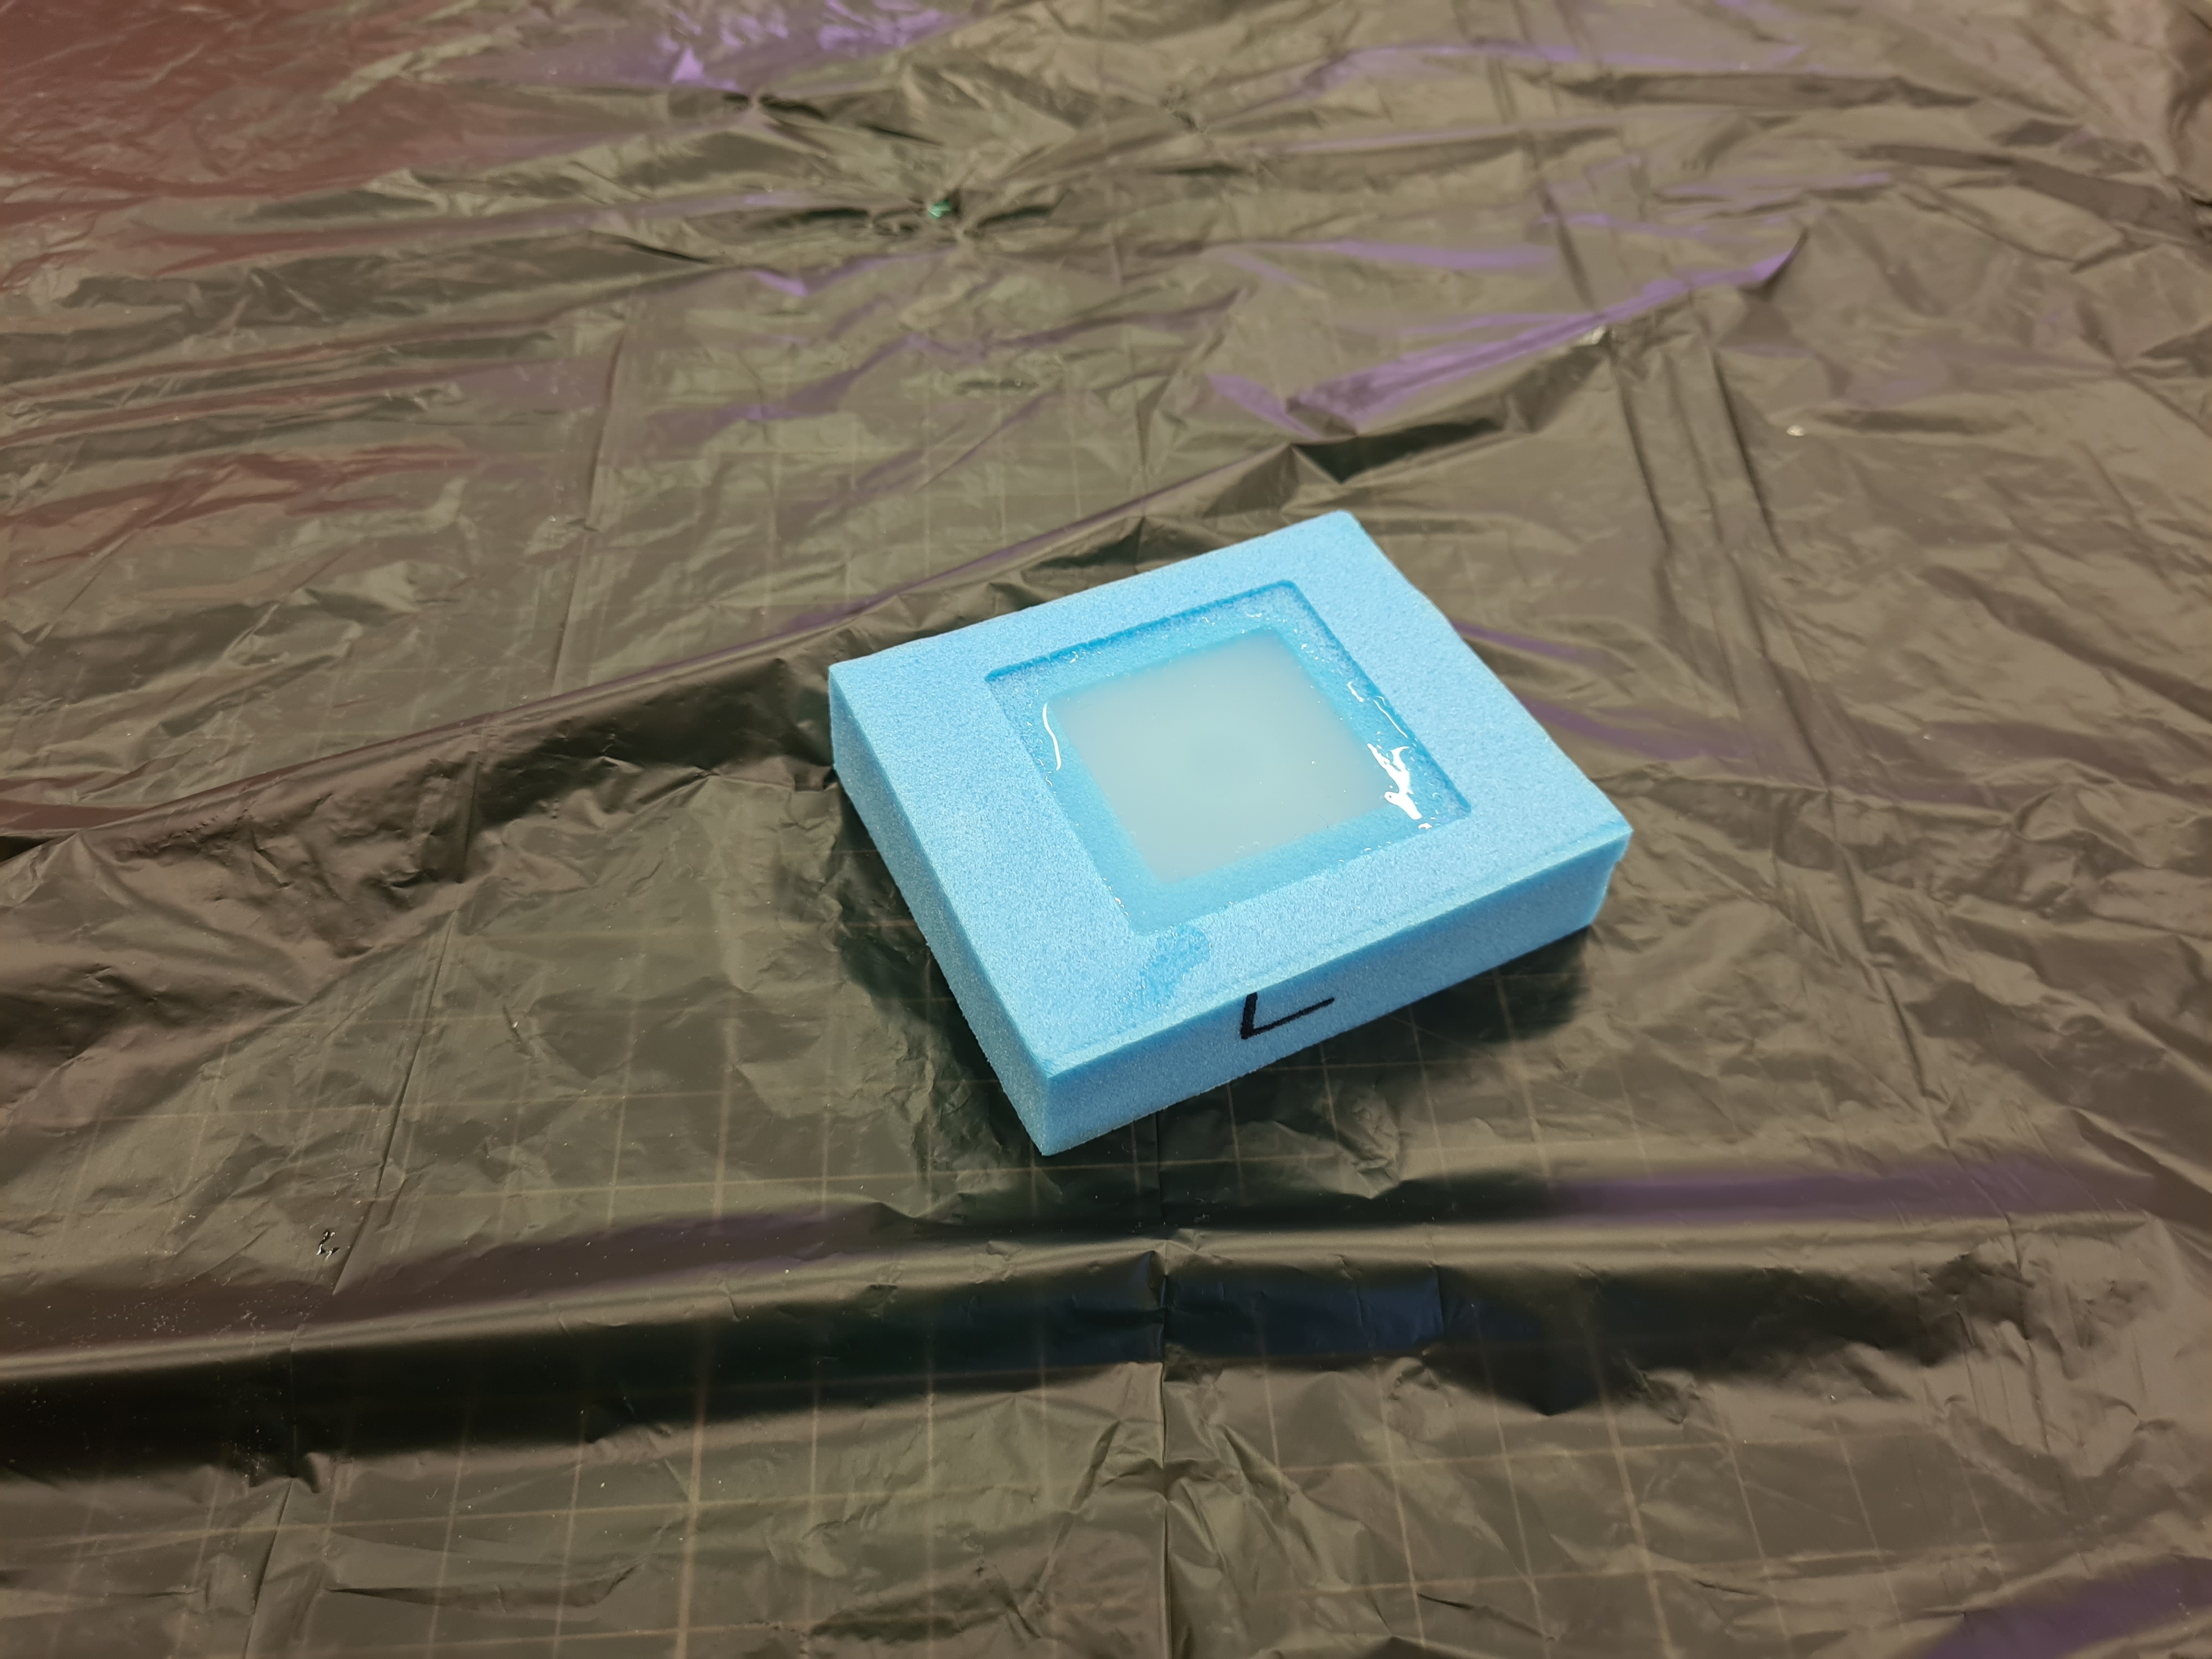
After pouring into the mold, I left it to dry in the FabLab for a few days.
Casting.
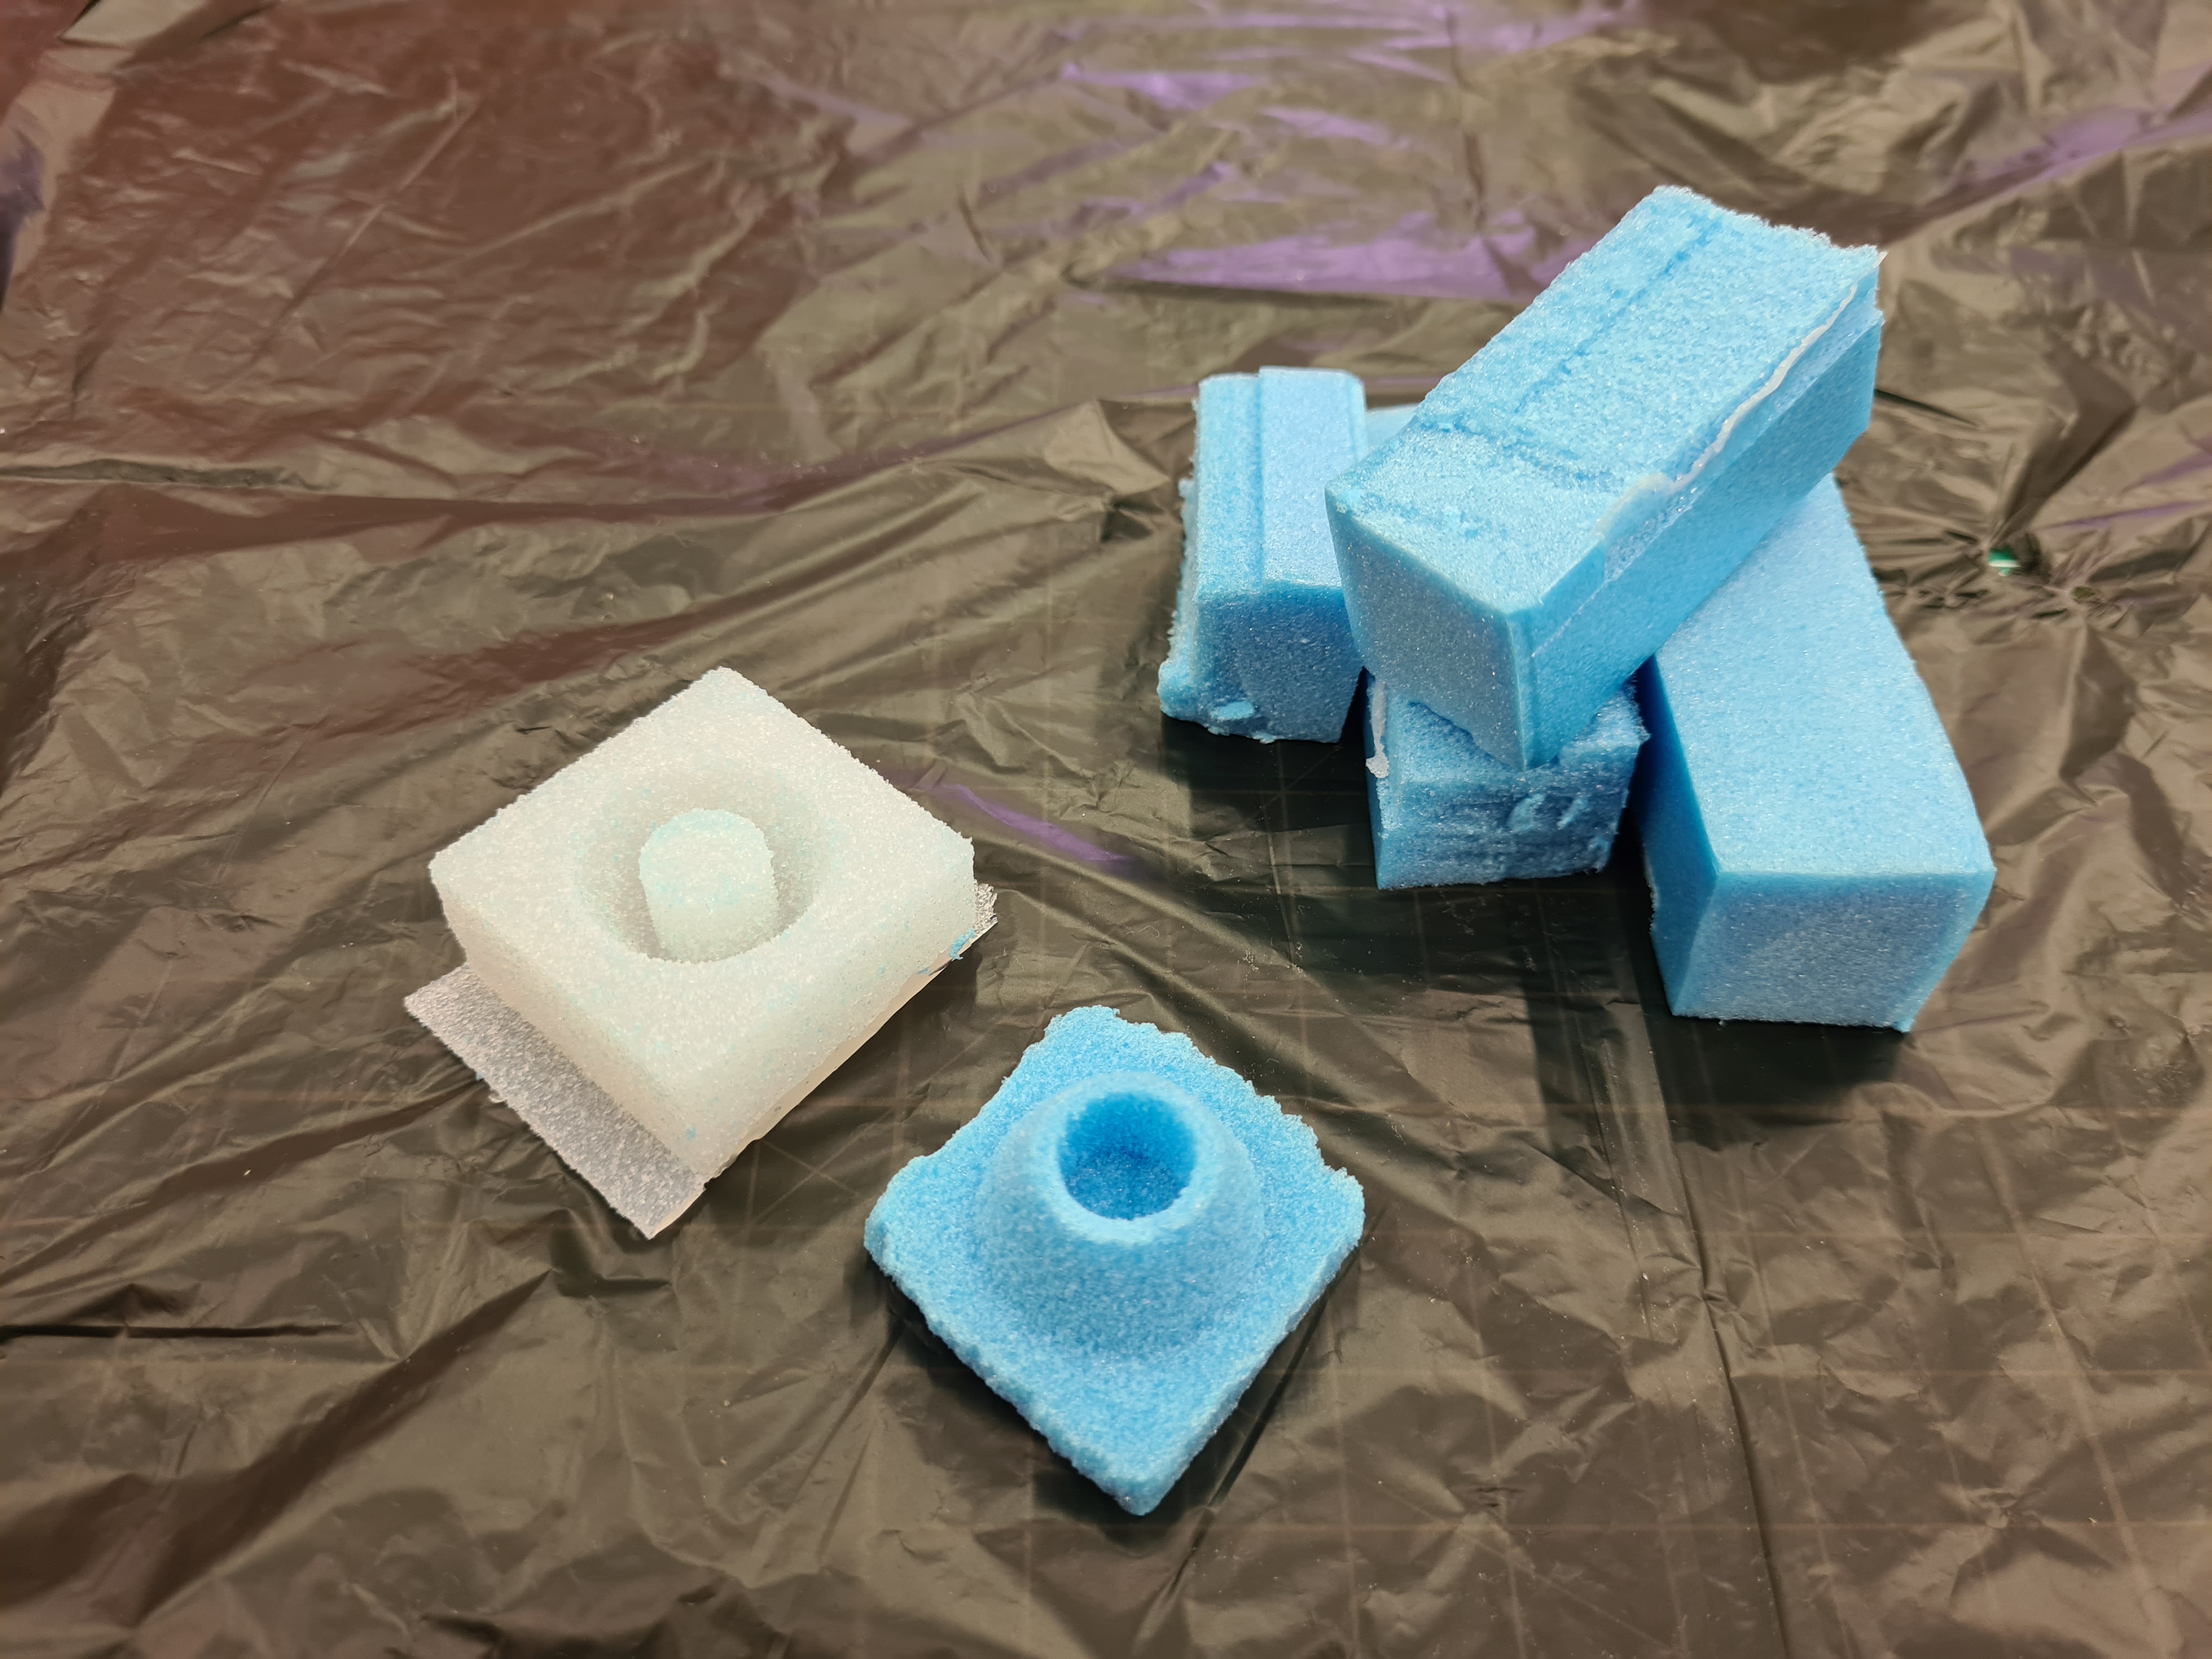
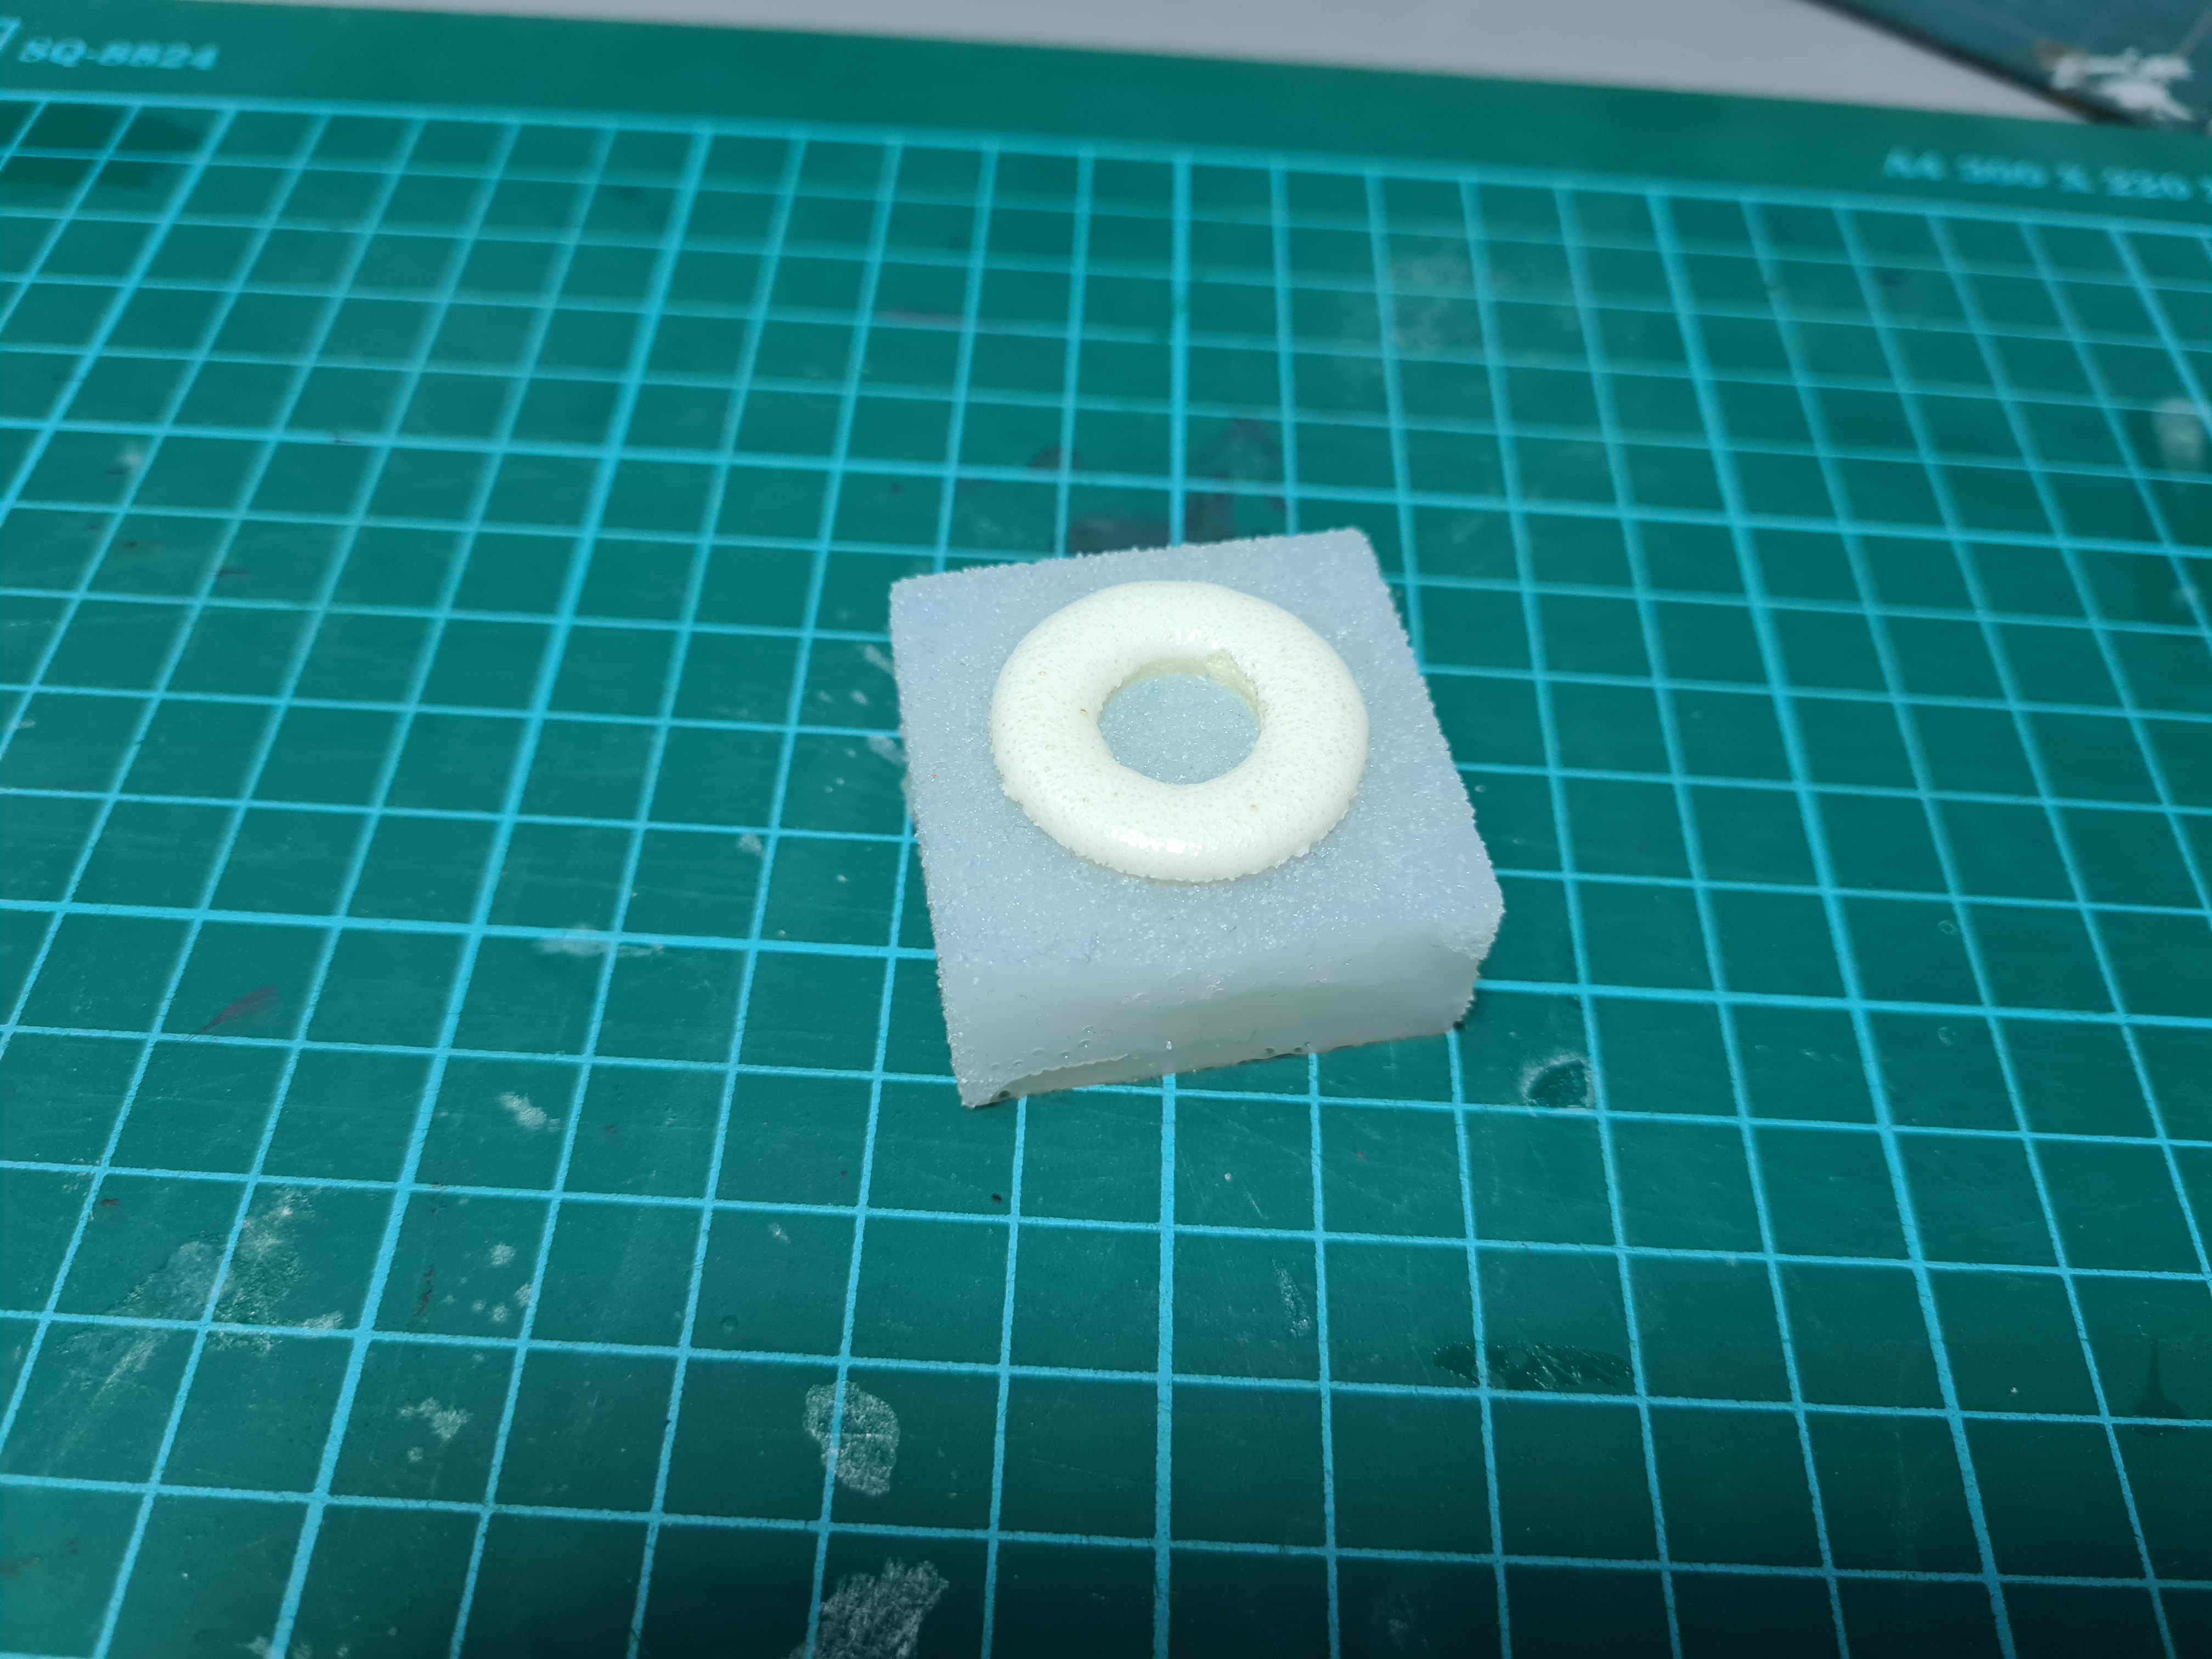
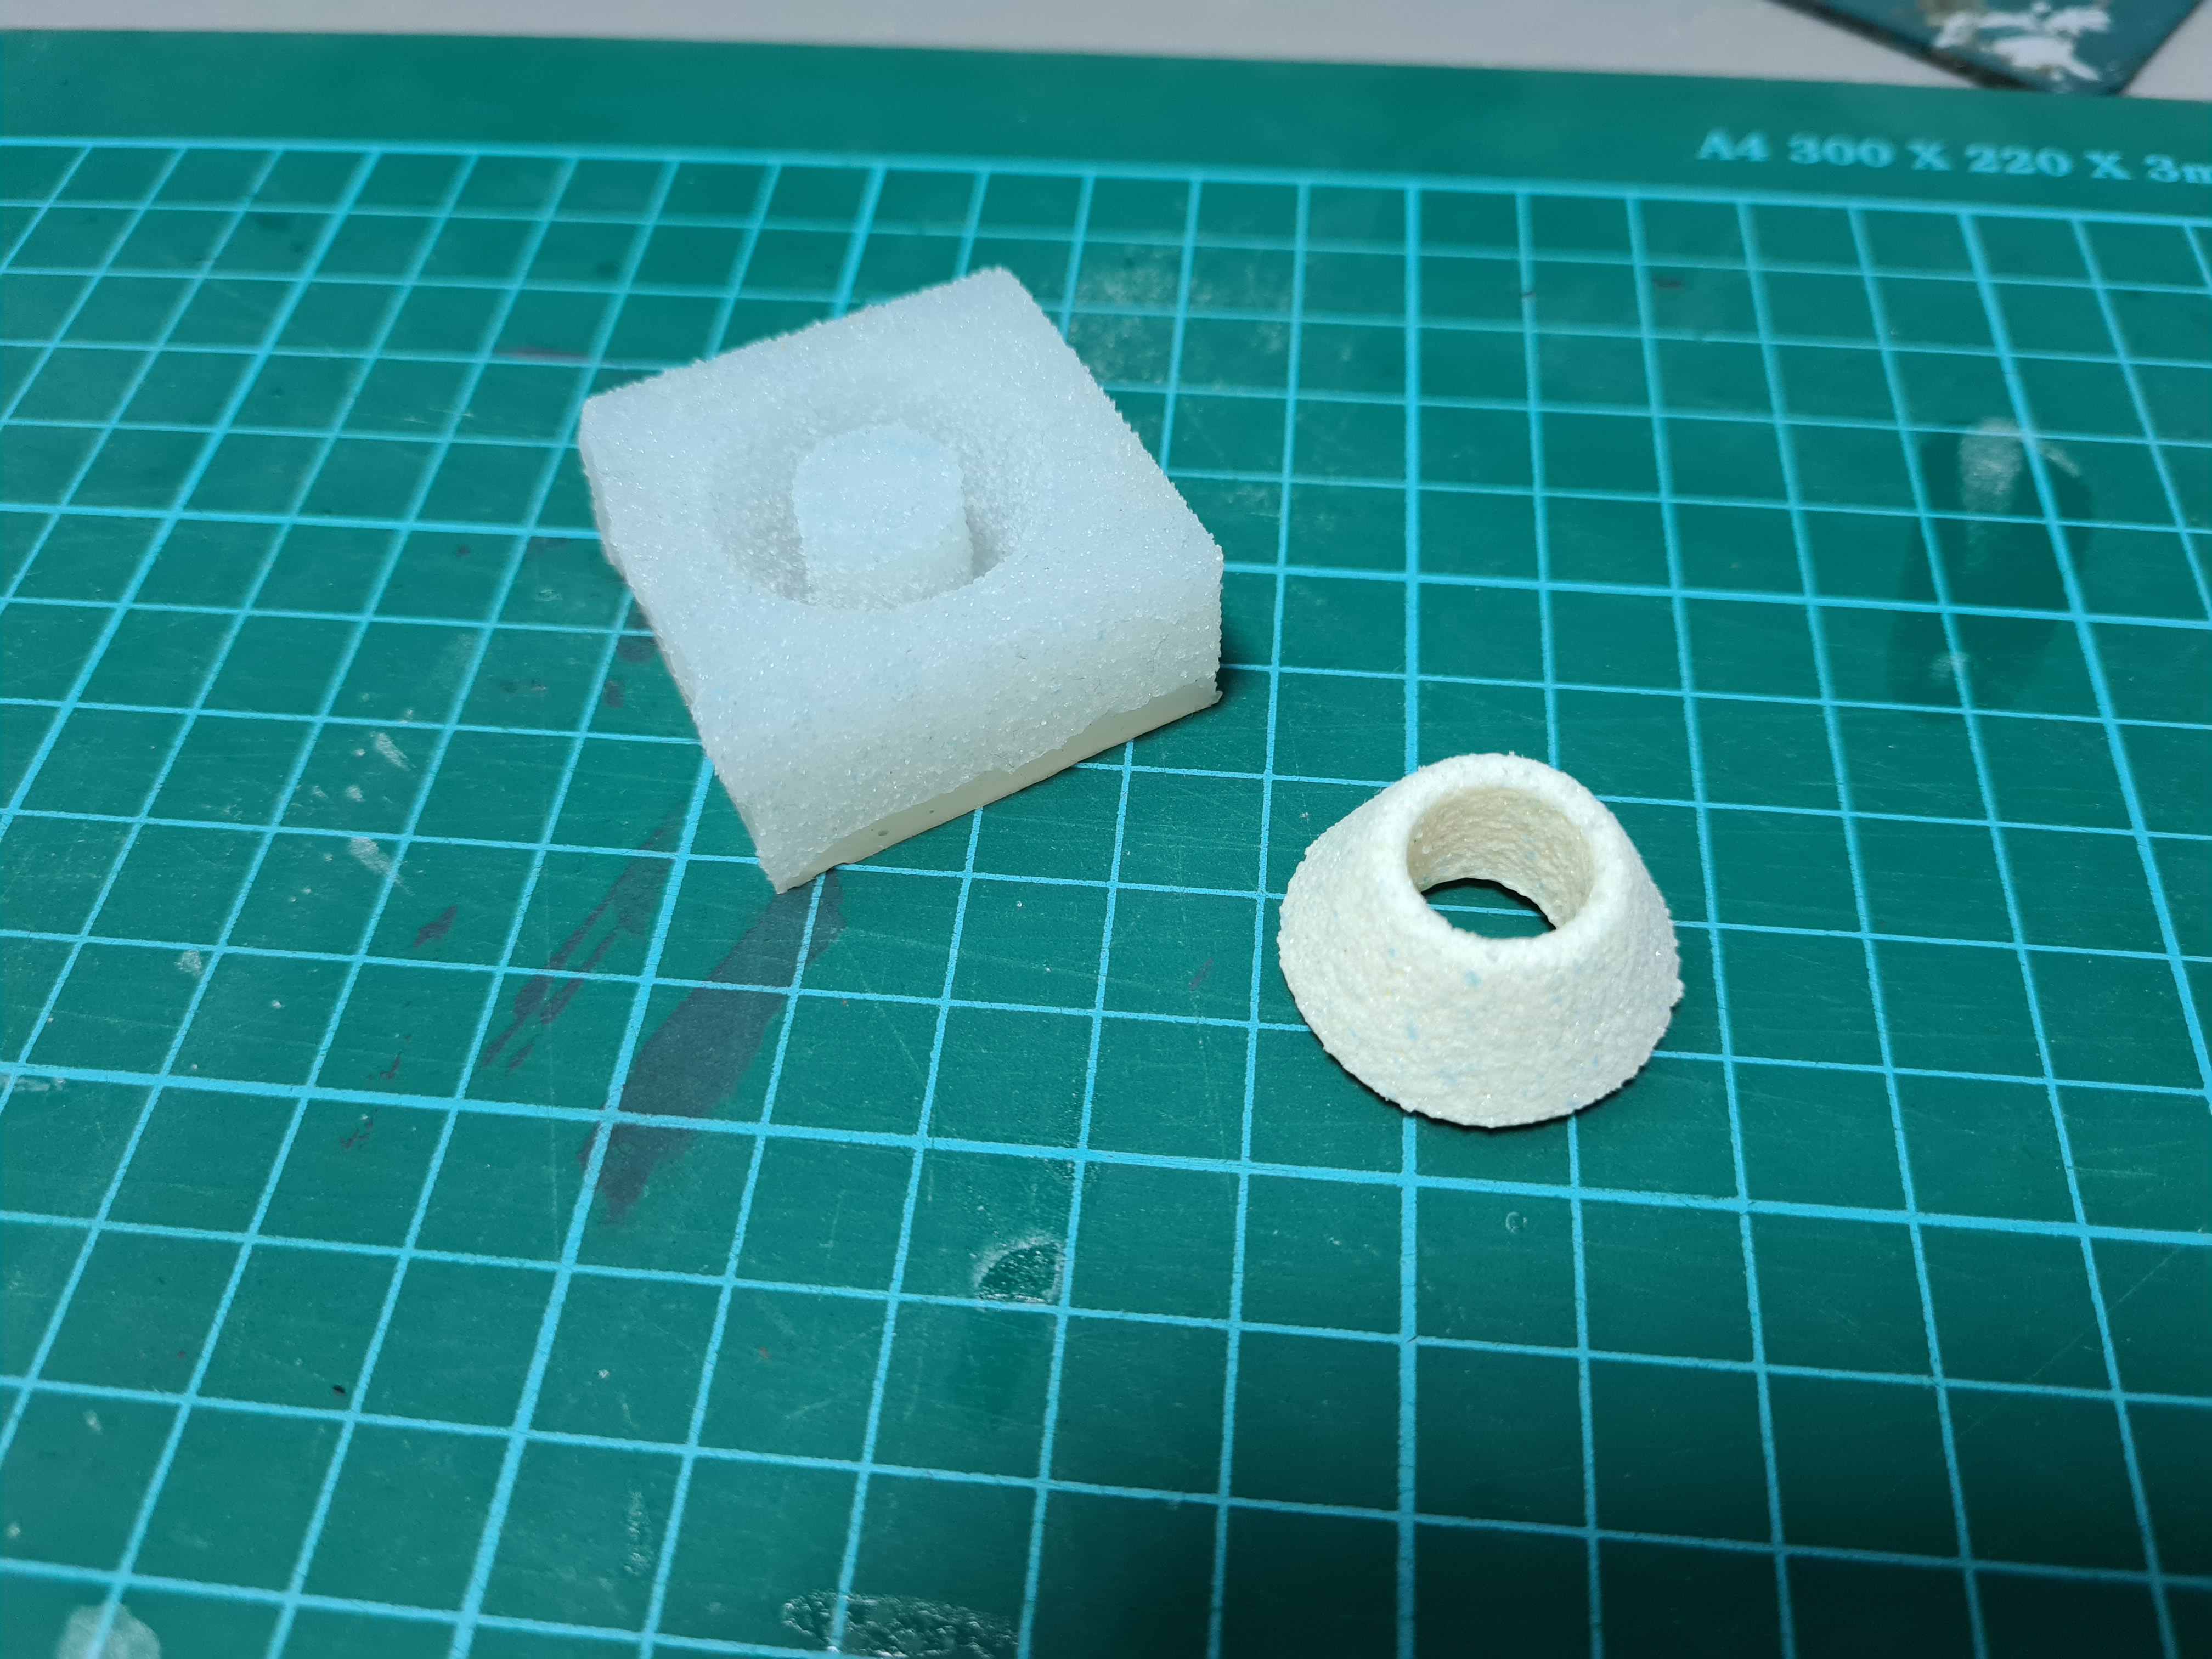
Once the silicon has cured, I had to break the foam apart to get to the silicon mold. The silicon cured with no bubbles affecting the mold and captured all the detailed fuzz of the cnced foam part.
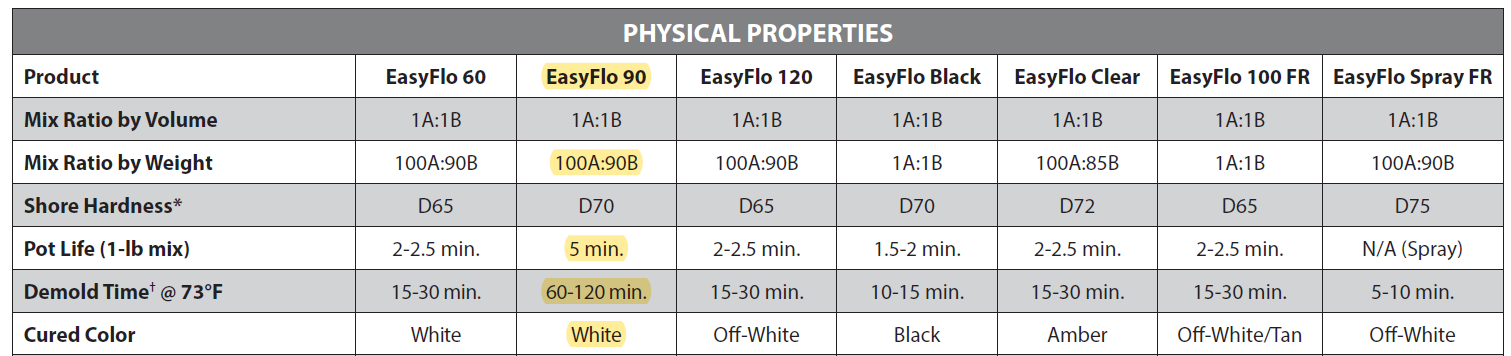
To cast the final part, I used Polytek EasyFlo 90, a 2 part liquid plastic. From the MSDS of the plastic found here, the EasyFlo90 needs to be mixed in the ratio 100A:90B by weight, has a 5 minute working time, will take up to 2 hours to cure fully and will cure to a white color.
Like for molding, I setup the same precautions and equipment. This time, instead of going by weight, I just estimated that I need ~20g of plastic to fill the small donut shape I have. I started by getting the bottles opened and ready.
I first zeroed out a plastic cup and poured in 12g of A into the cup.

I then zeroed the scale and poured 11g of part B into the cup (picture says 10g but theres a small amount added after the picture was taken). The ratio is not exactly 100:90 but close enough.
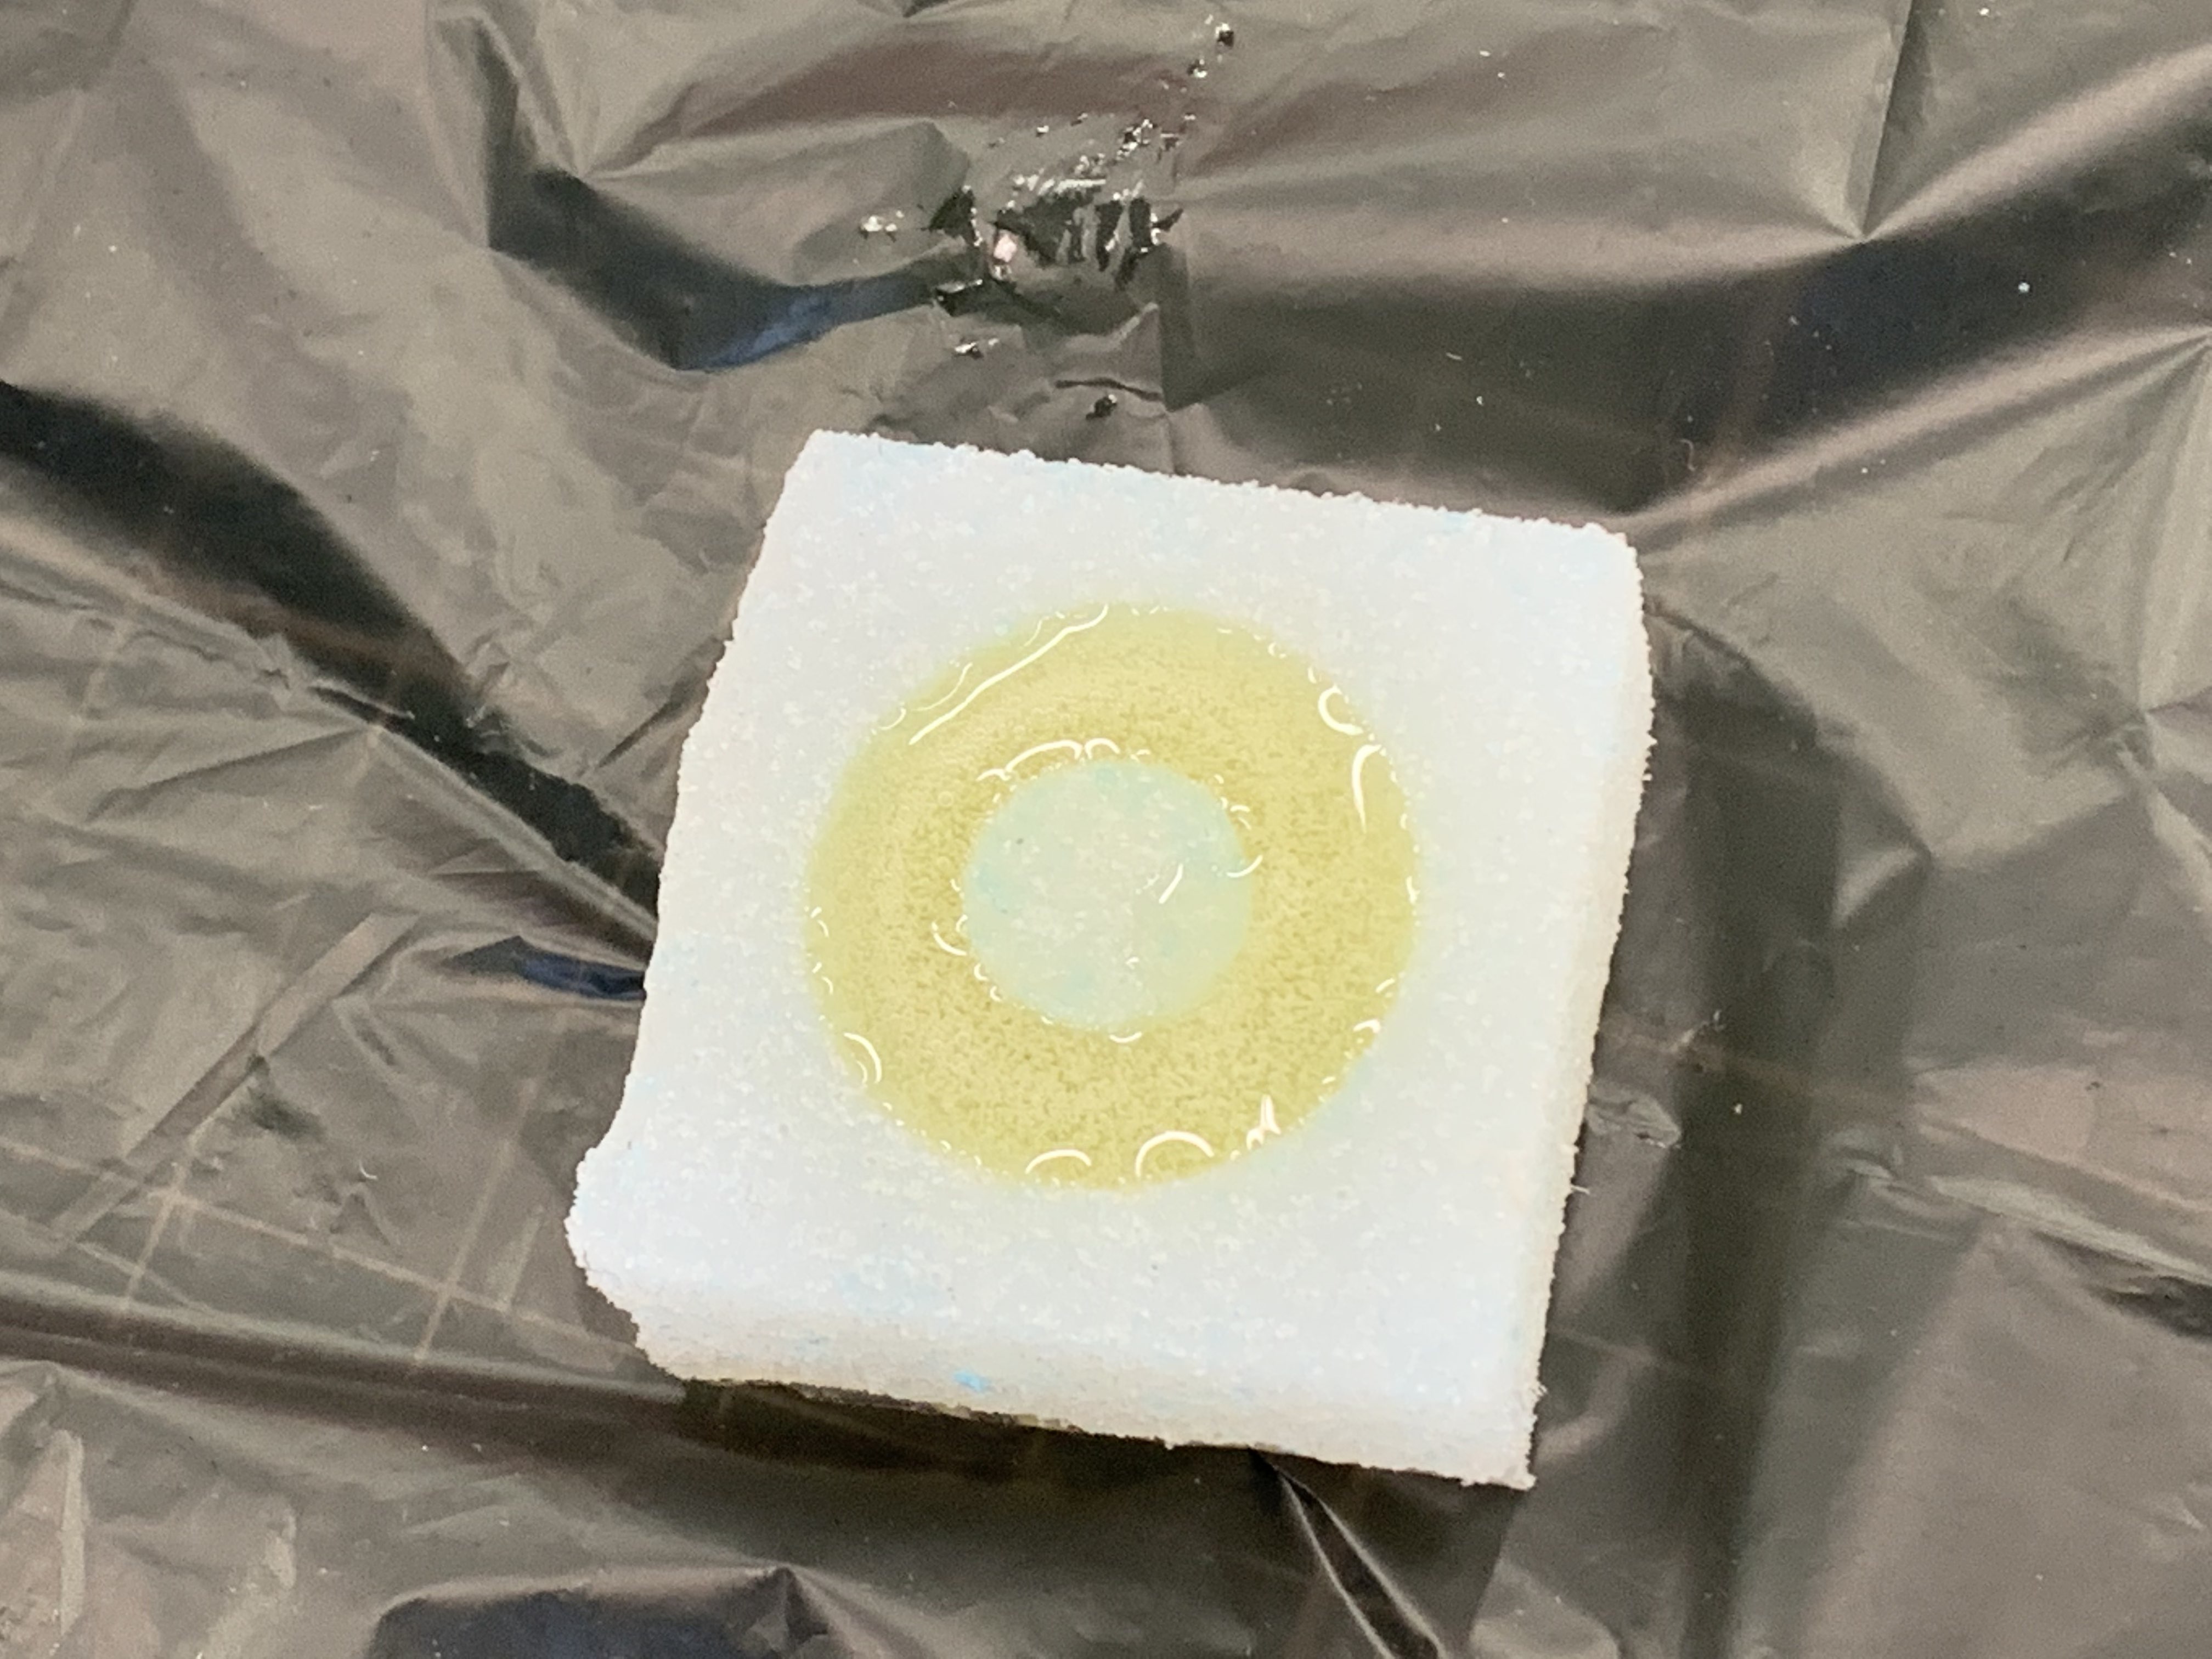
Afterwards, I mixed the 2 in the same way as the silicon, by folding and turning the cup. Again, like the silicon, it was hard to tell when the 2 parts have been mixed well as both are similar colours. Due to the 5 minute working time, I had to be quicker and started to pour the plastic in after 2 minutes of mixing.
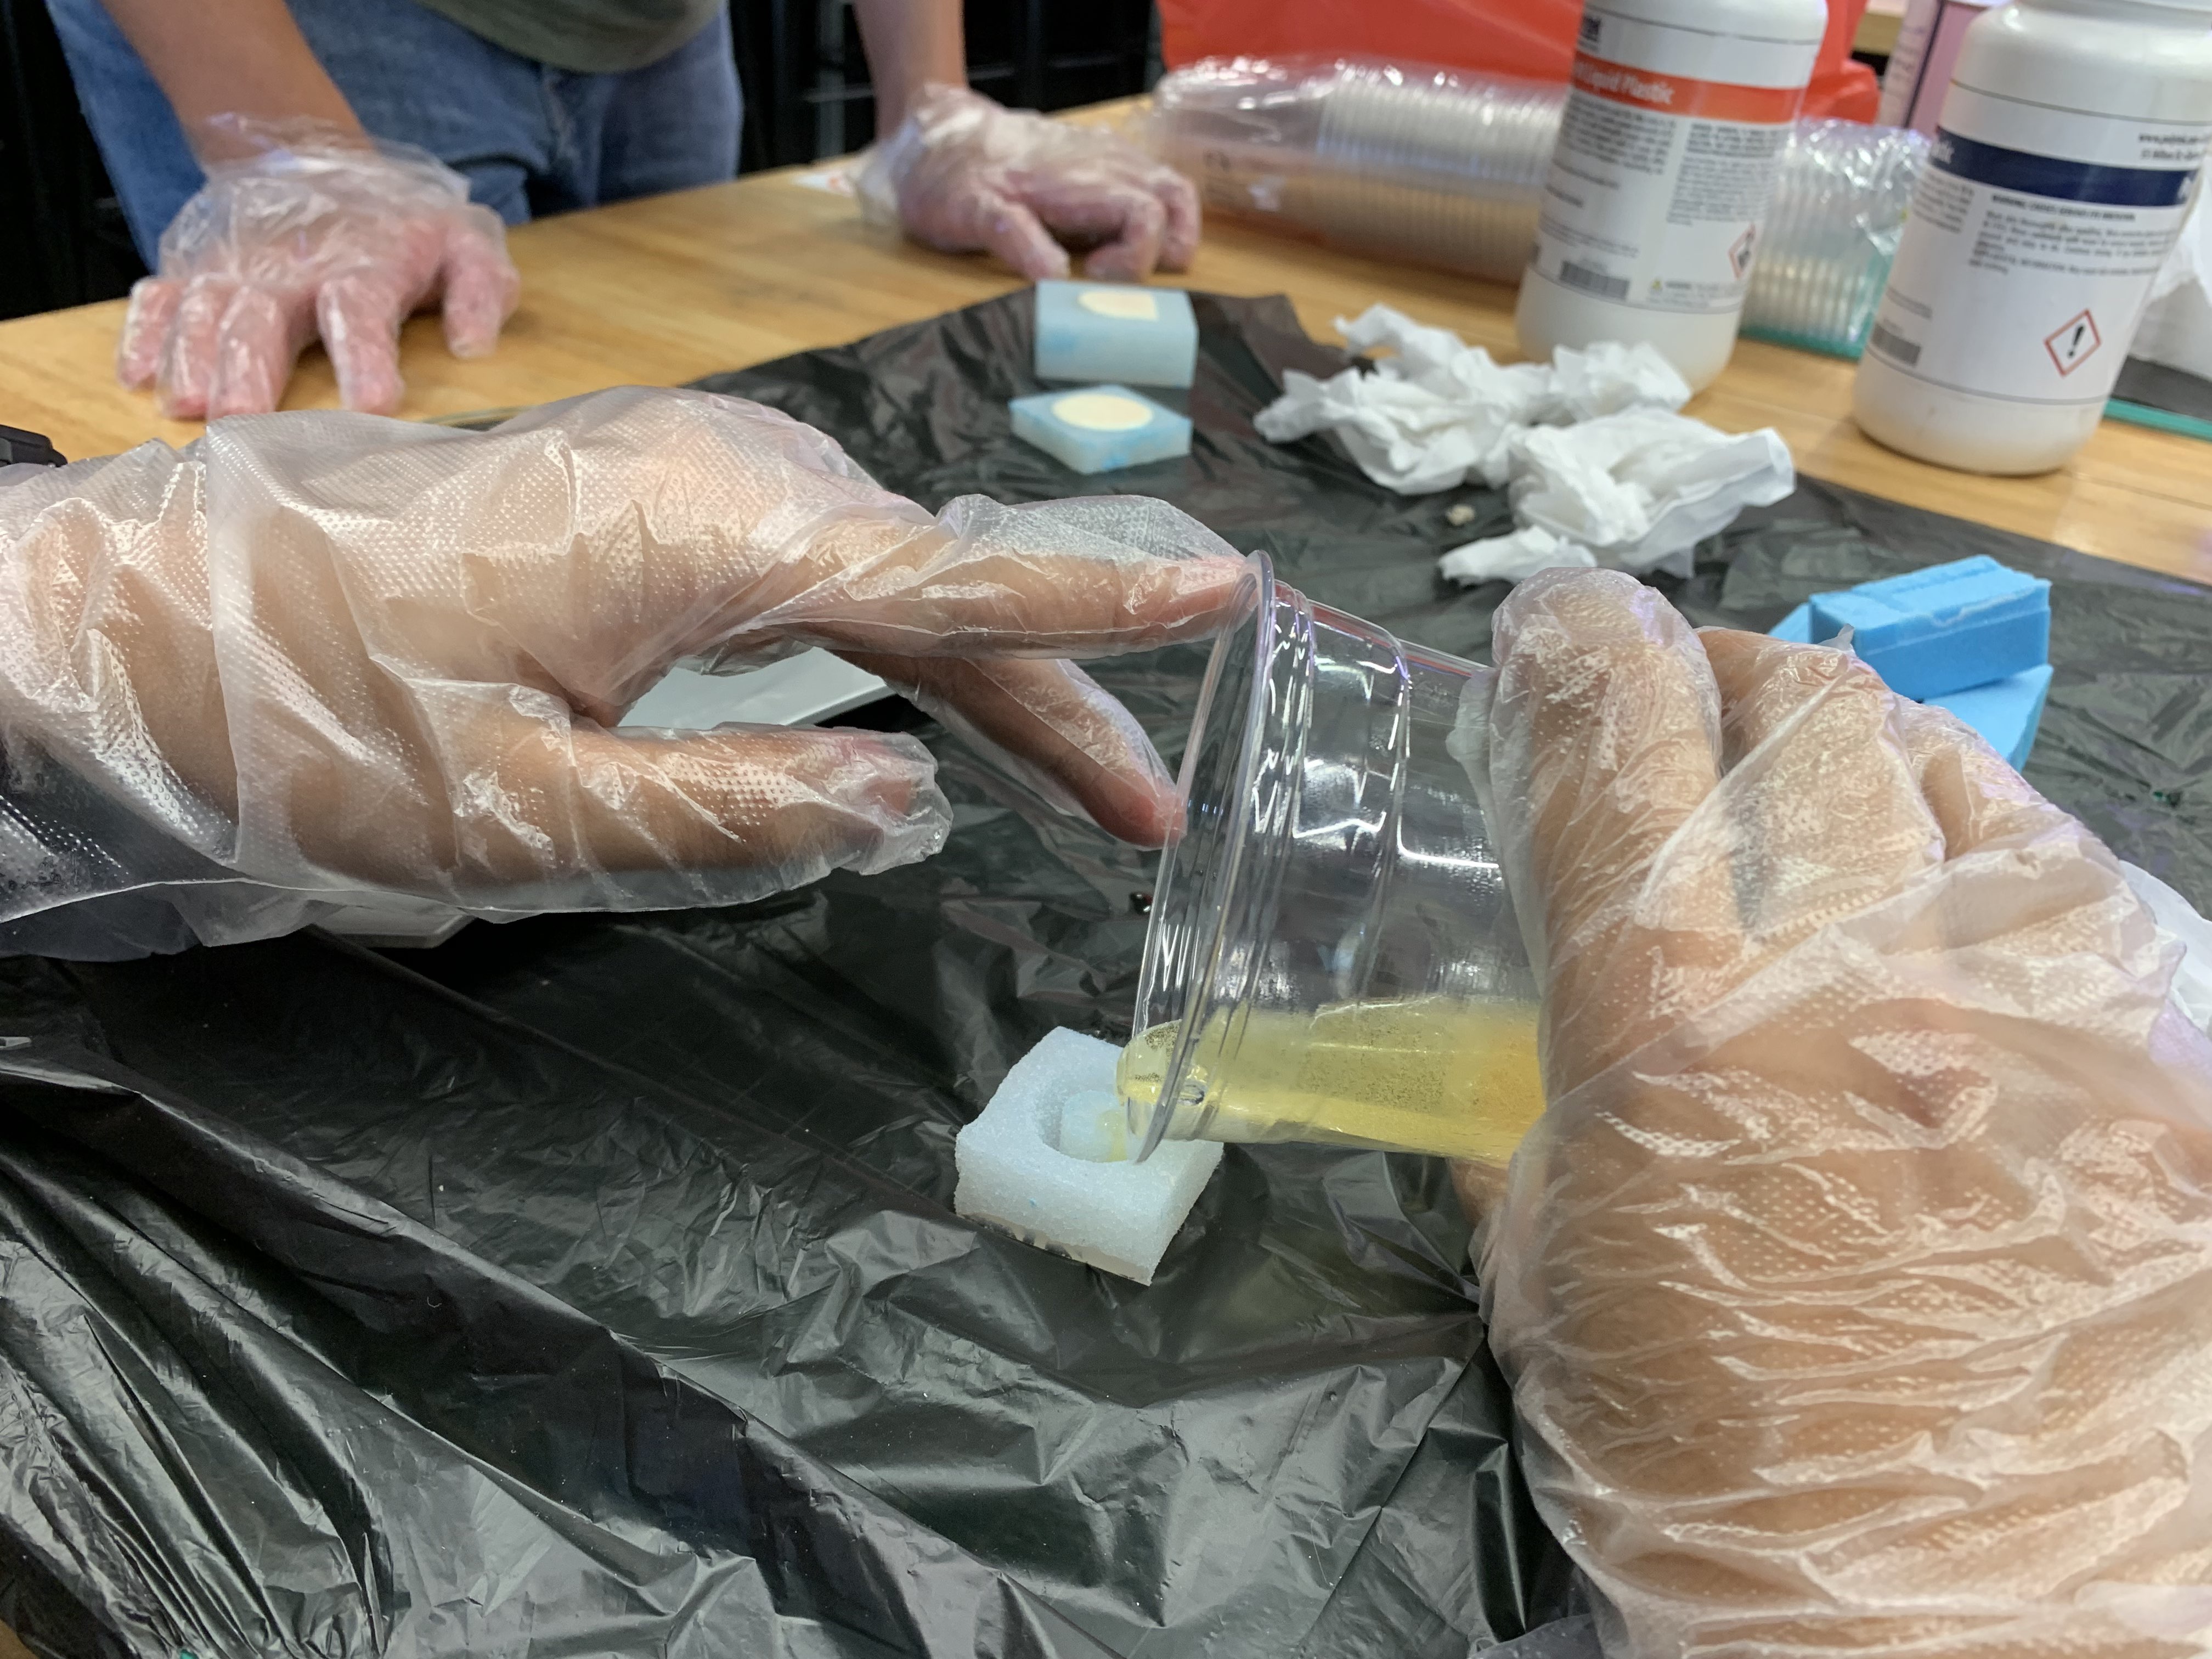
Again, like the silicon, I overestimated the amount needed, and some were left over in the cup after I used what I needed. Unlike the silicon, fumes started to generate from the mixture and the cup started to get hot as the reaction is exothermic, so I quickly brought the cup outside of the fablab. After it was poured, I let it cure in the fablab for a few hours and went for my other classes.
At the end of the day, I brought it home and demolded it. The final part came out of the silicon mold quite easily.
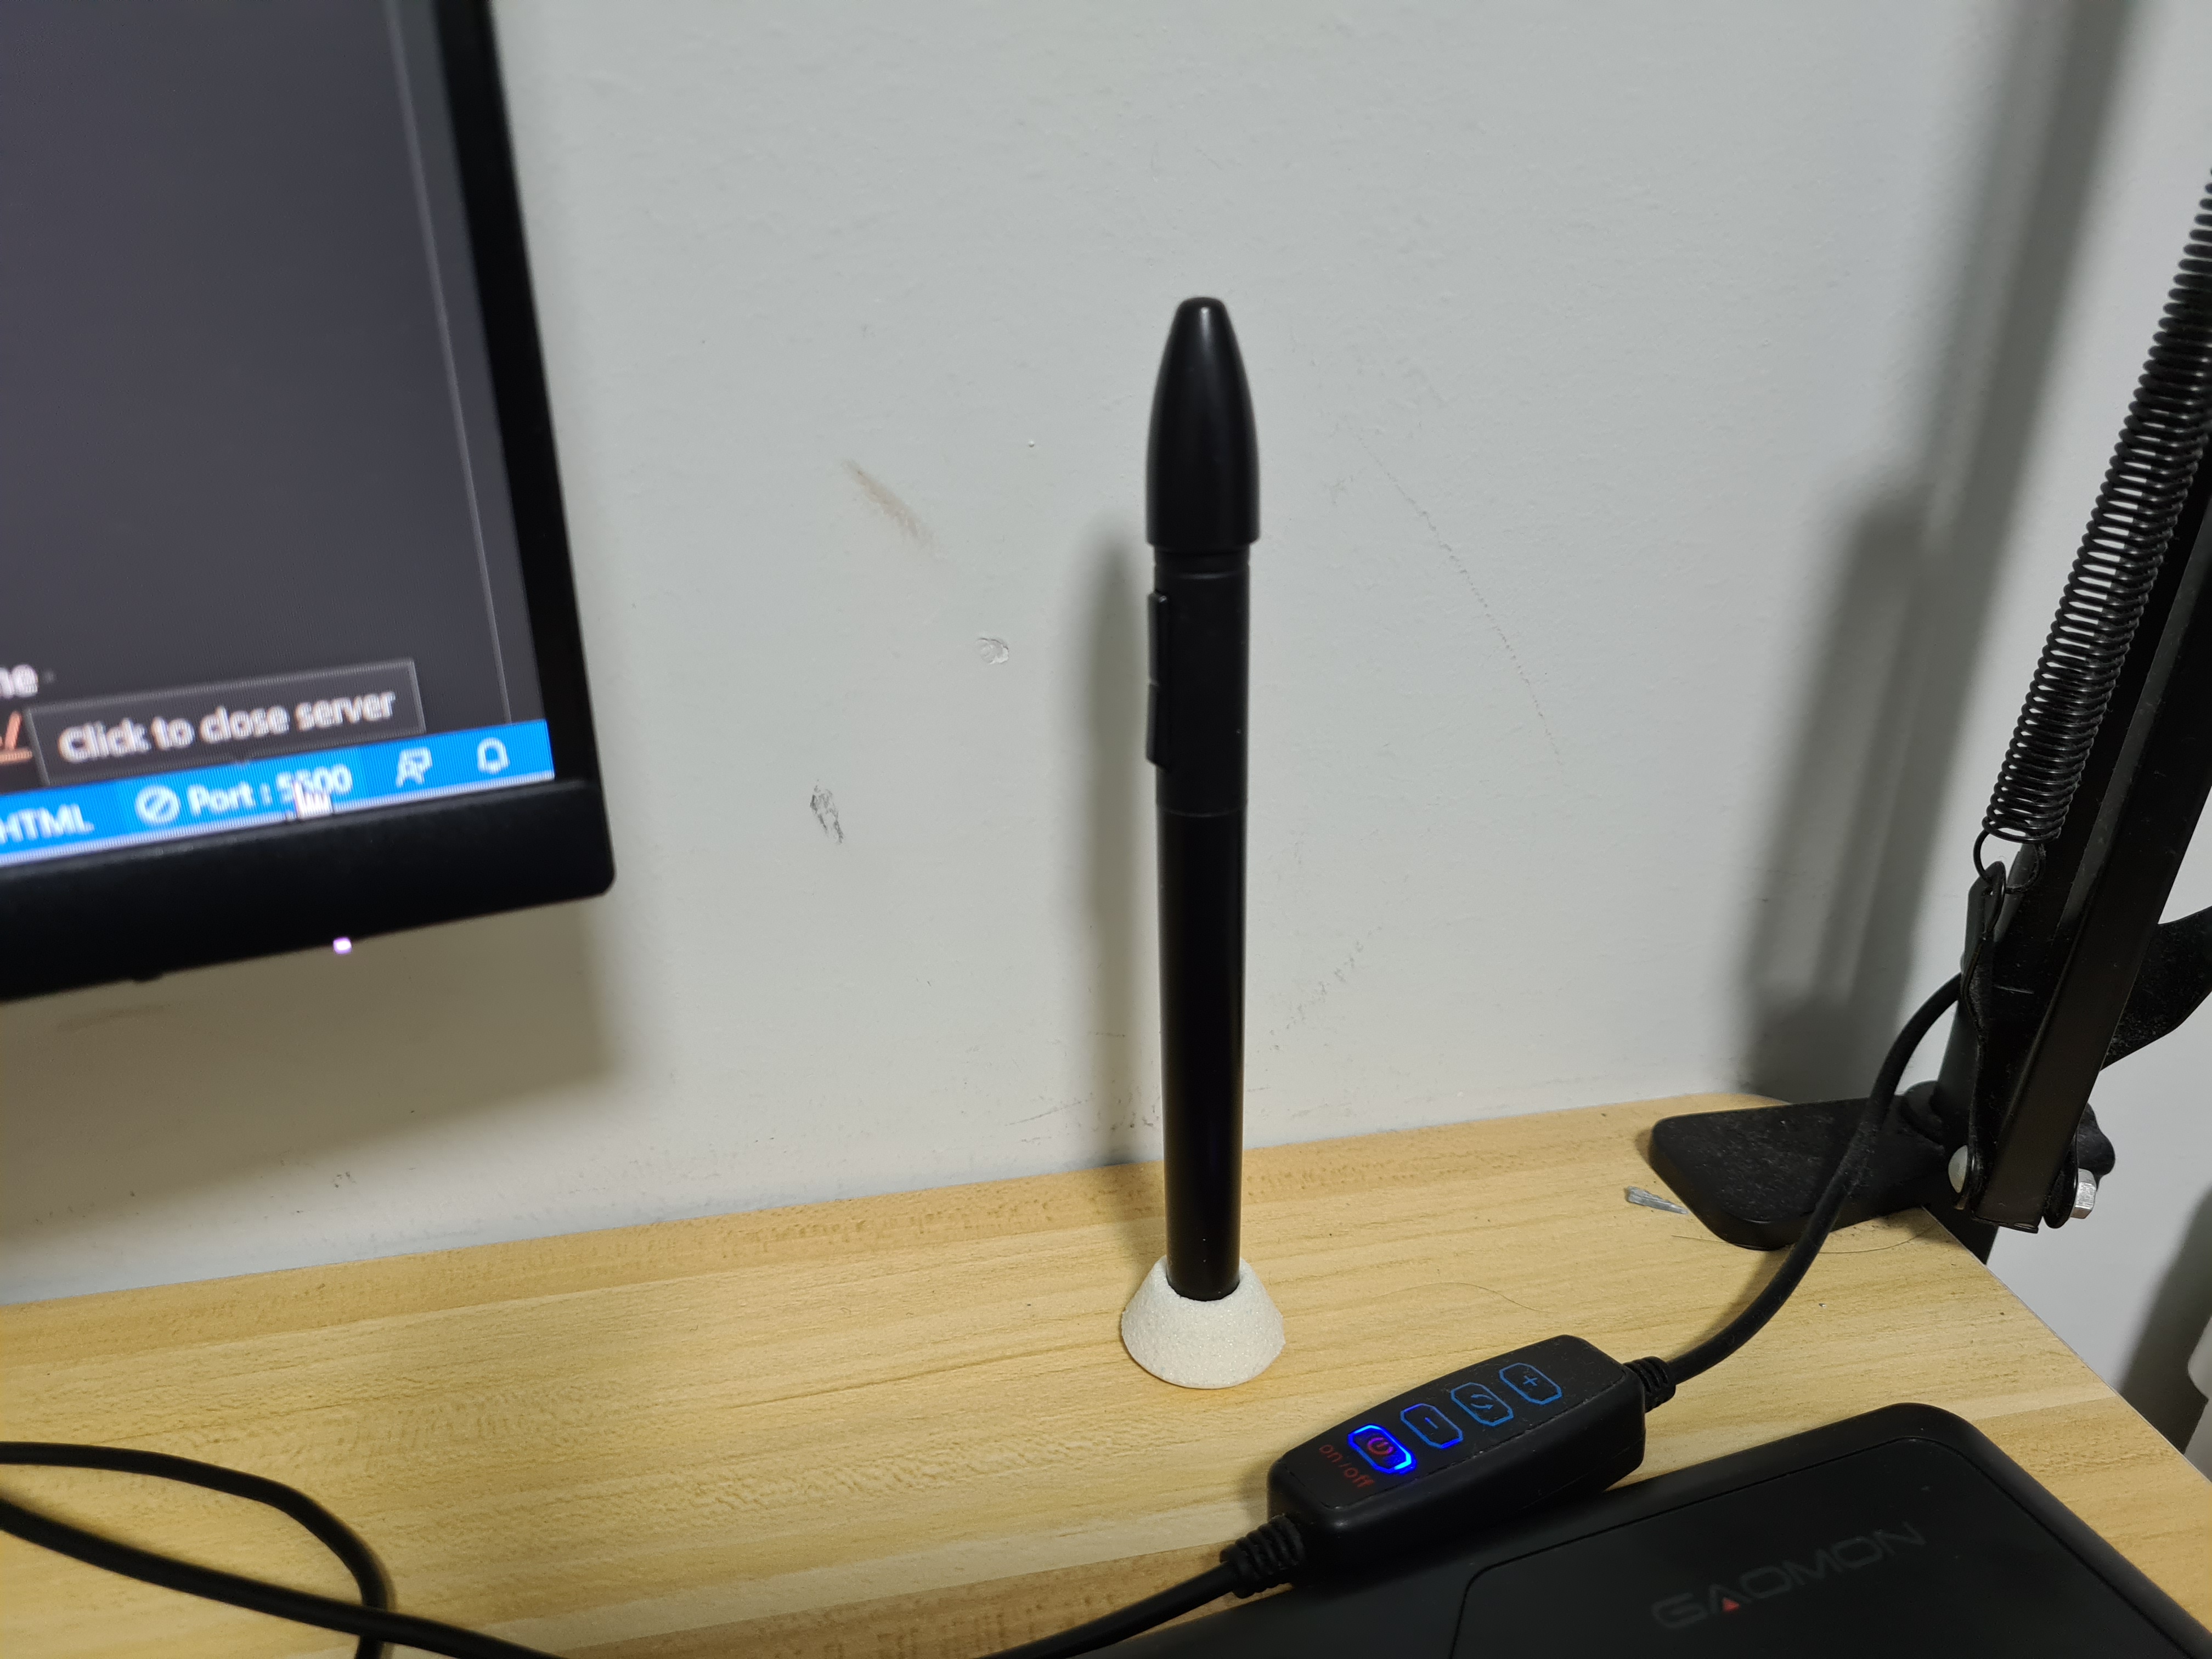
The part works well enough as a pen holder, it keeps it upright and prevents it from rolling off the table. Even though I poured too much of the liquid plastic and it expanded upwards, it still could lay flat on the table.
Thoughts
In the future, when I do molding and casting again, I would more accurately determine how much I need using materials like rice or sand. This would allow me to not waste material. Even though this is a good skill to have, I do not think I would be molding and casting for my final project.