Computer Graphics
Computer graphics can be split into 2 categories, raster and vector. Rasters deal with pixels on the screens and are used for photographs and images, while vectors uses mathematical functions and are characterised by clean lines.
In this module, we are tasked to do a simple raster and vector project to familiarise ourselves with the tools we are going to use later in the module.
Skip to:
[Raster][Vector]
[Jump to Vector]
Raster
Step 1: Choose one of my selfies.

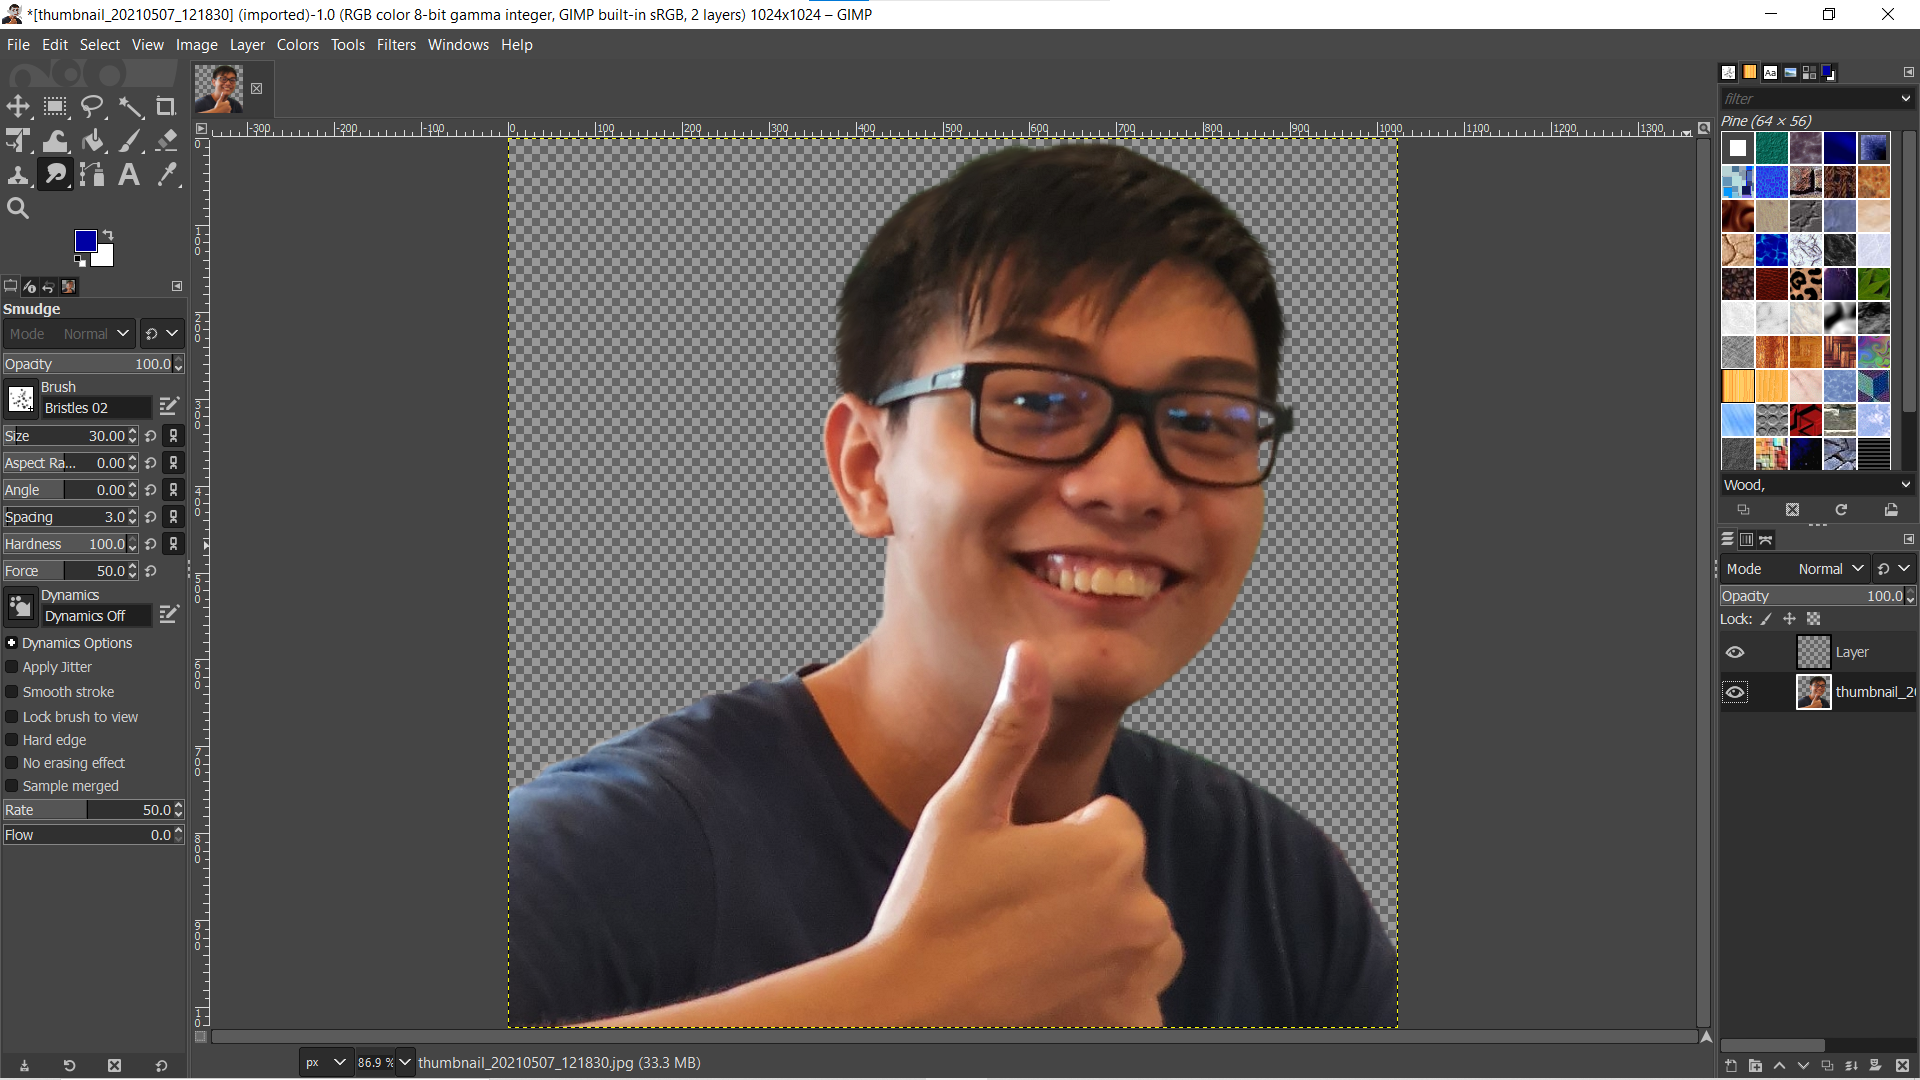
Step 2: Remove the background of the image.
This step was done using GIMP, a photo editing software, using mainly the free select tool. I followed a tutorial by the youtube channel "gimp workshop" which can be found [here]. In short, I just used the free select tool to trace around the image of me. Afterwards, I inverted the selection and deleted away the parts that were not needed.
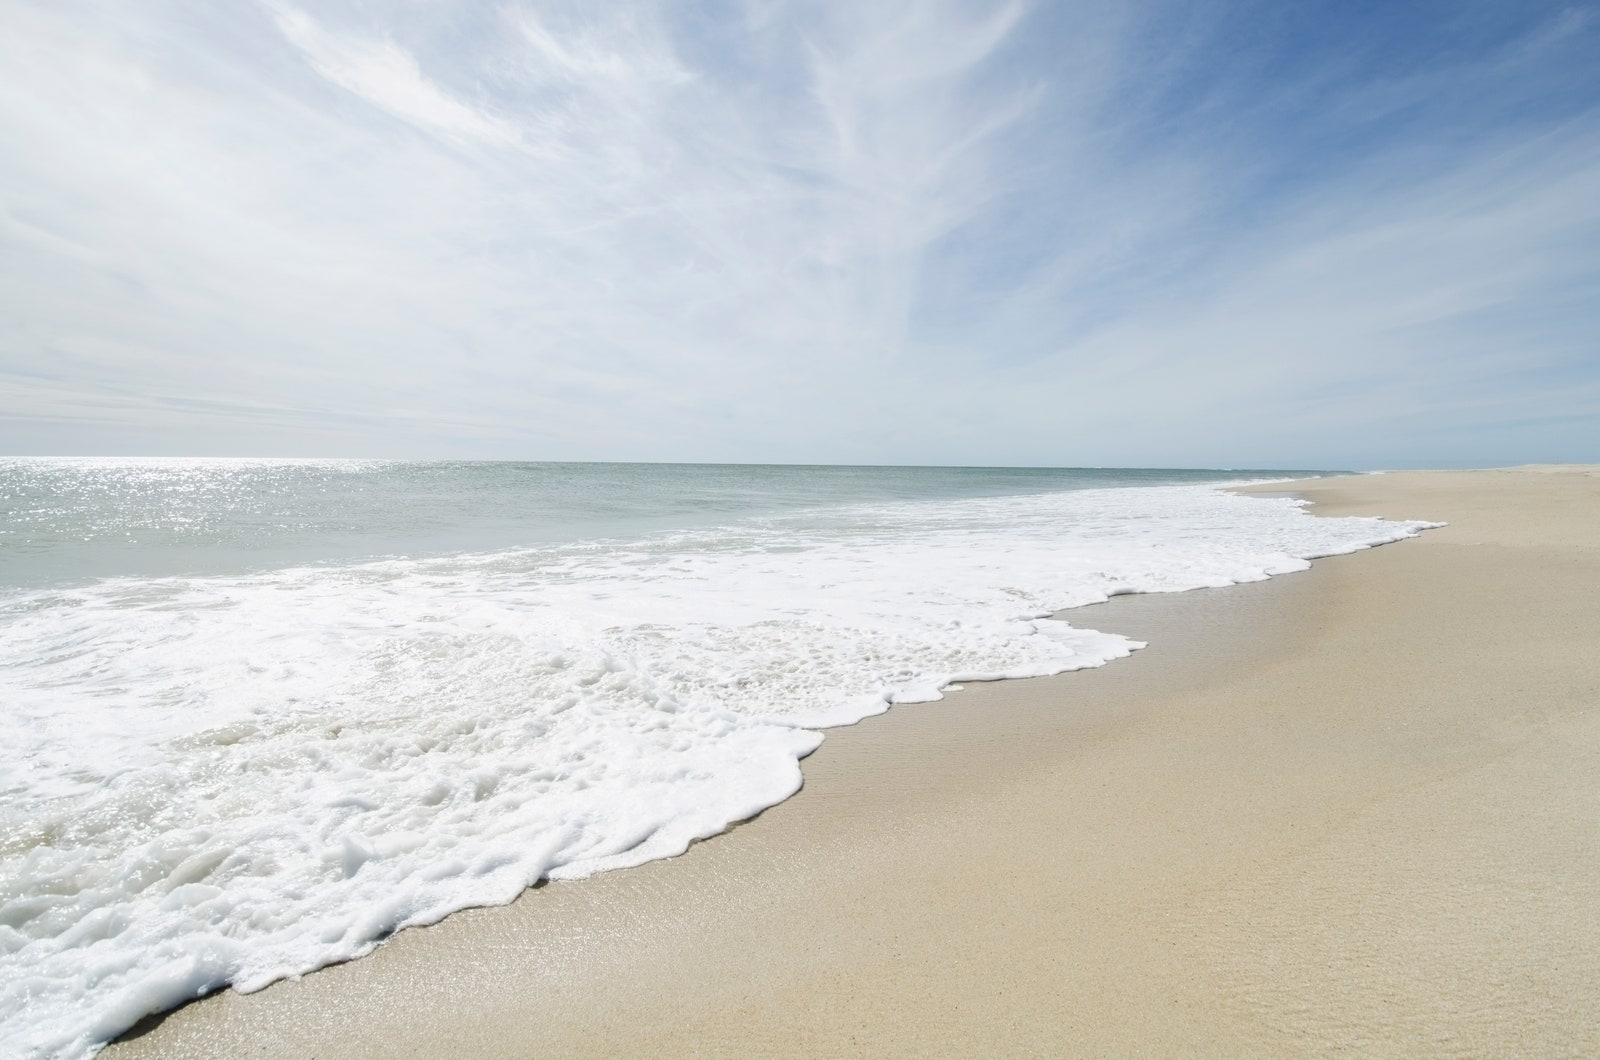
Step 3: Substitute with a seaside scene.
I found a nice beach picture from a list of best island beaches from CNTraveler which can be found [here]. Adding the background was simple, I just made a new layer and added the image on the layer, remembering to place the layer below the layer which contains my picture.
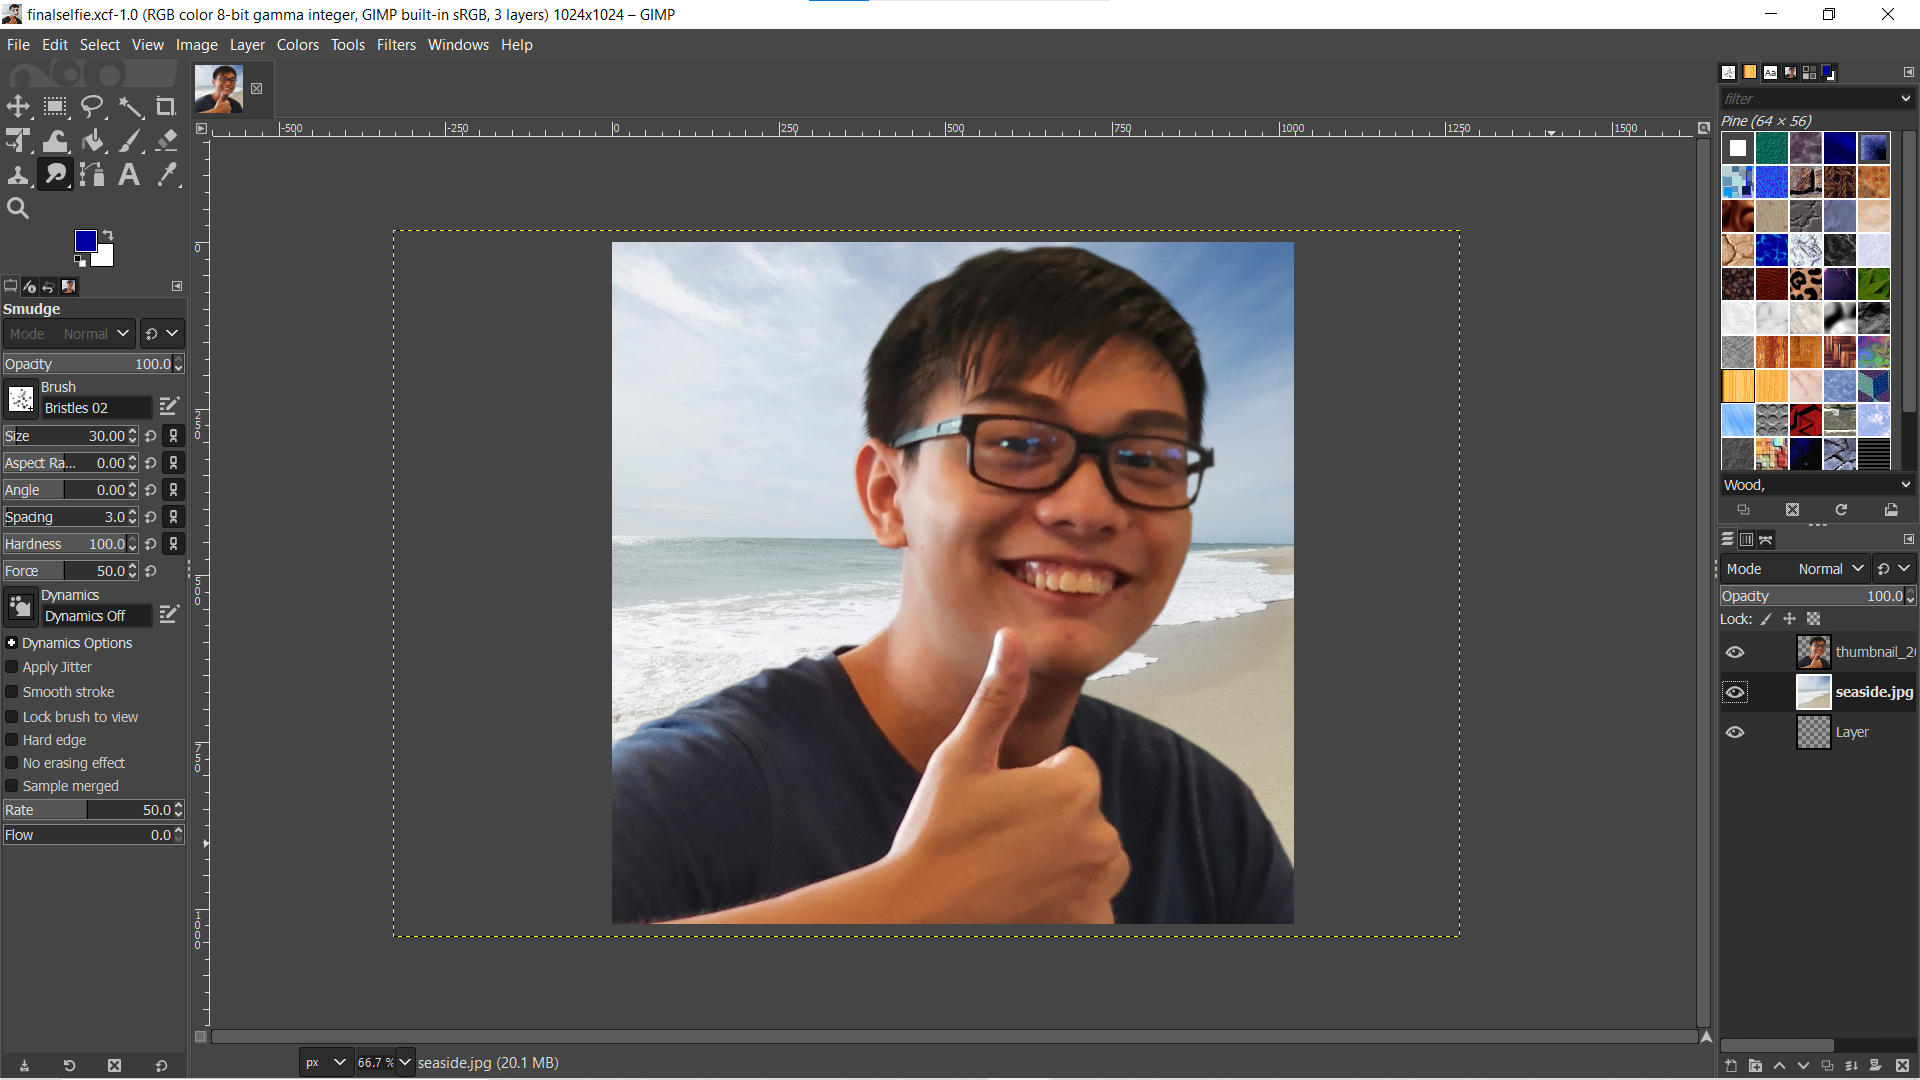
Step 4: Resize to a width of 1024 pixels.
Image was resized using FastStone Photo Resizer. The picture below is the final product and is now being used in my “About me” page.

Moving forward, learning GIMP would be greatly useful in my work as it allows me to edit photos and images to my liking. Moreover, GIMP is a free open source program, which allows me to continue using it even after I graduate and get into the workforce.
Vector
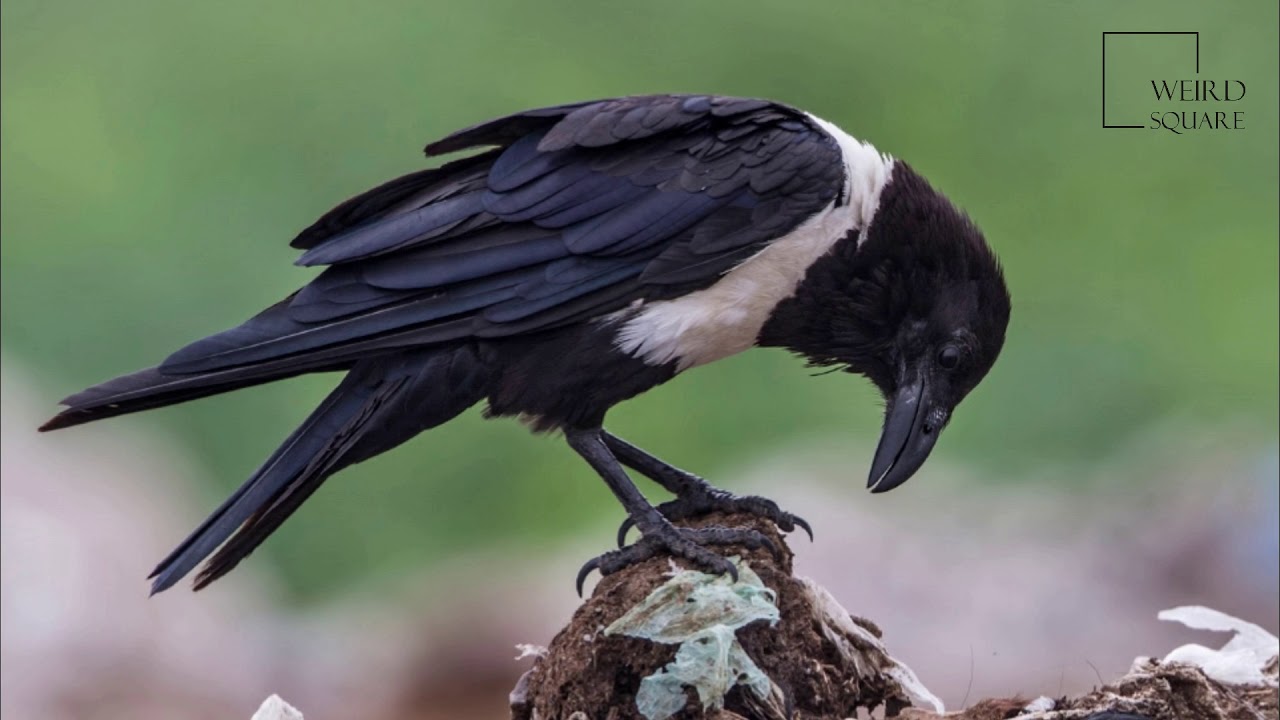
Step 1: Find a picture of an animal.
Simple enough, I just chose one of my favourite animals, the crow. Specifically, the pied crow, which has a distinct white coloured chest. After searching google images for a few minutes, I came across a picture from a youtube video by "Weird Square" that looked good, which can be found [here], and decided to use that as the base.
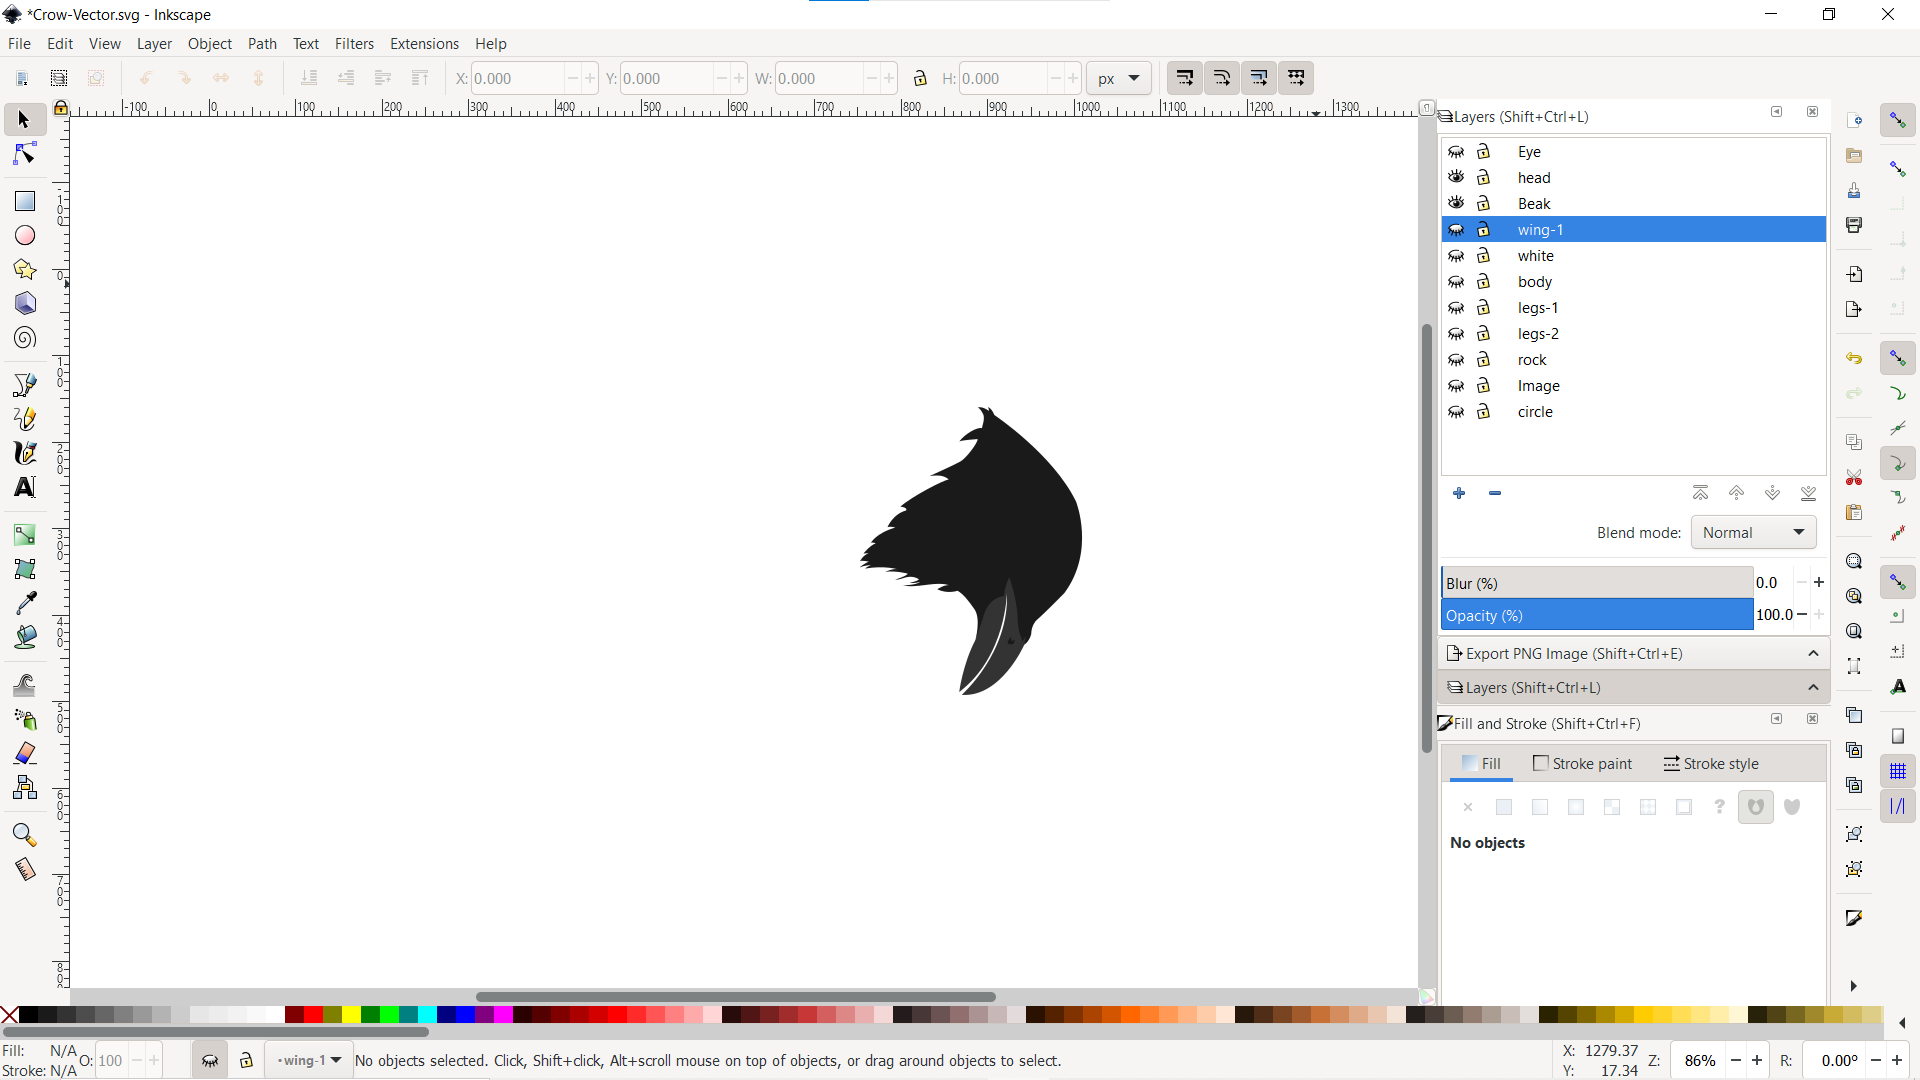
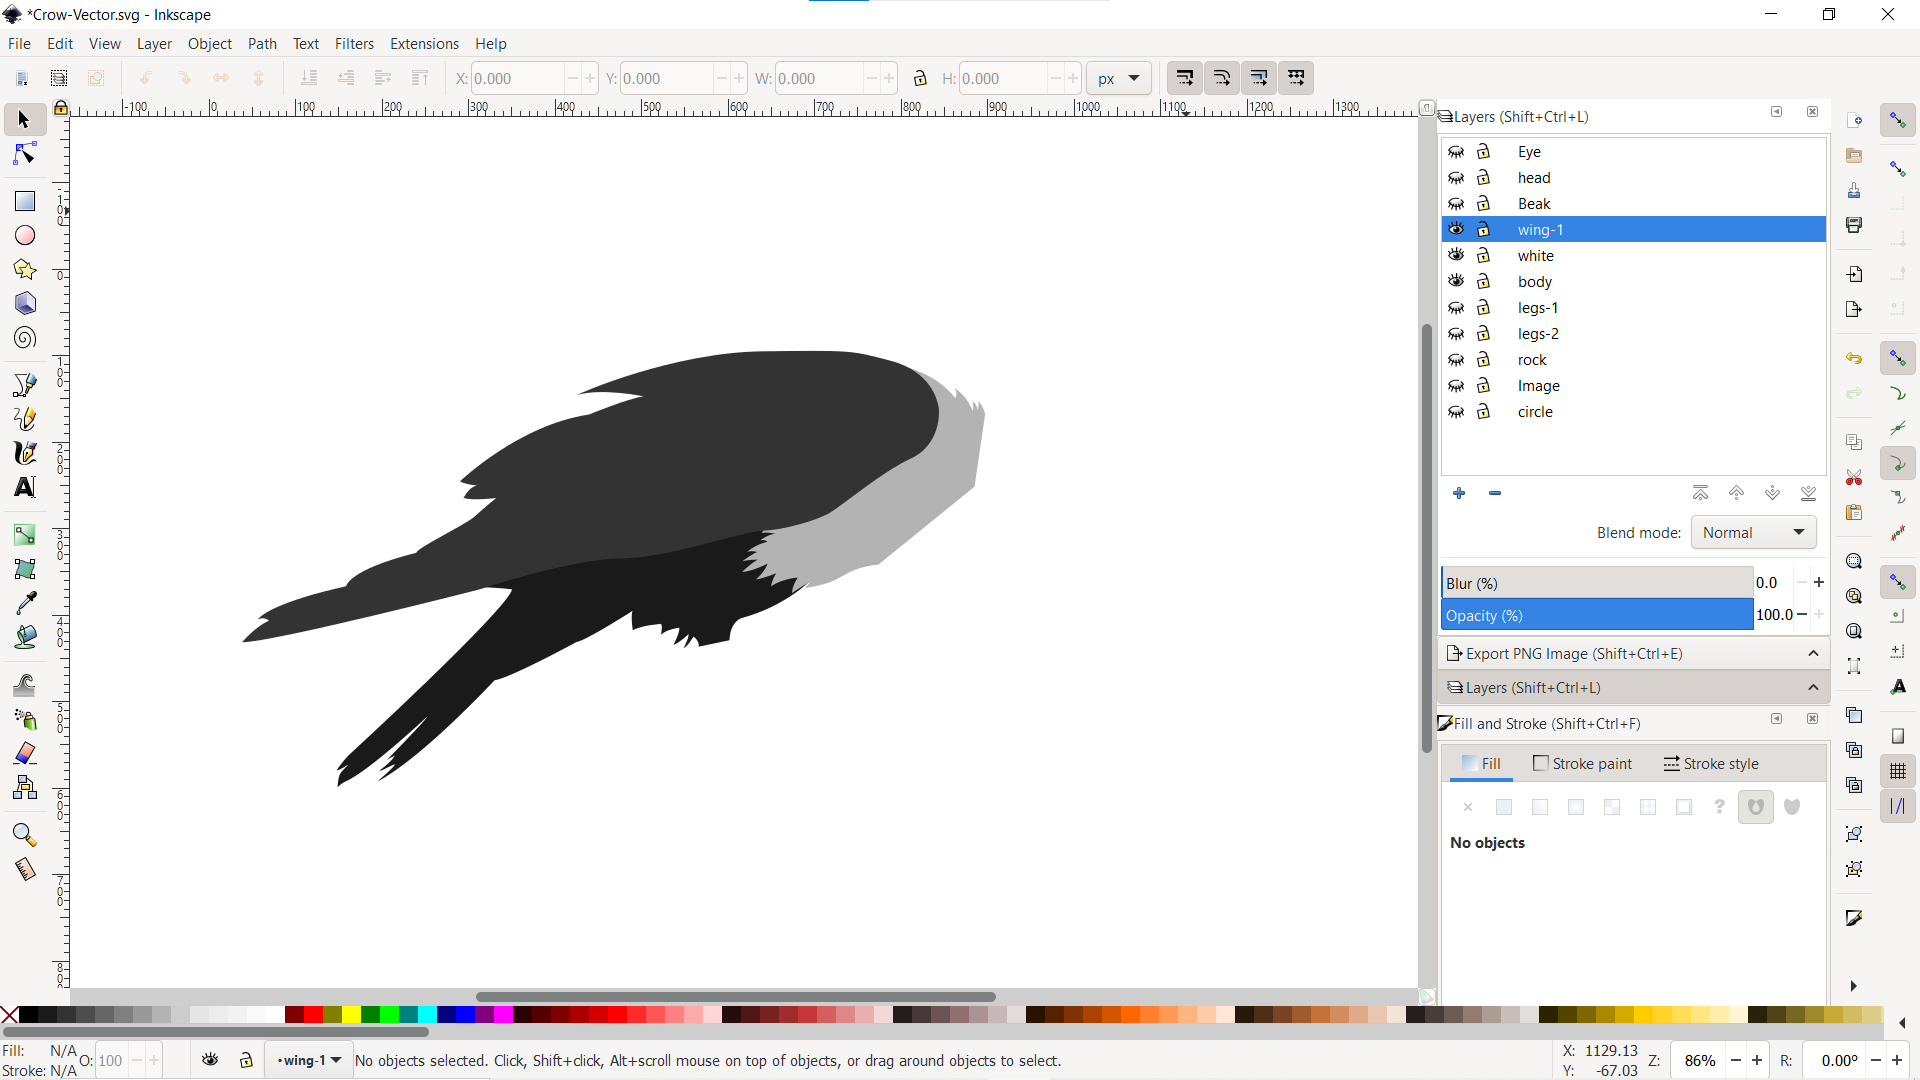
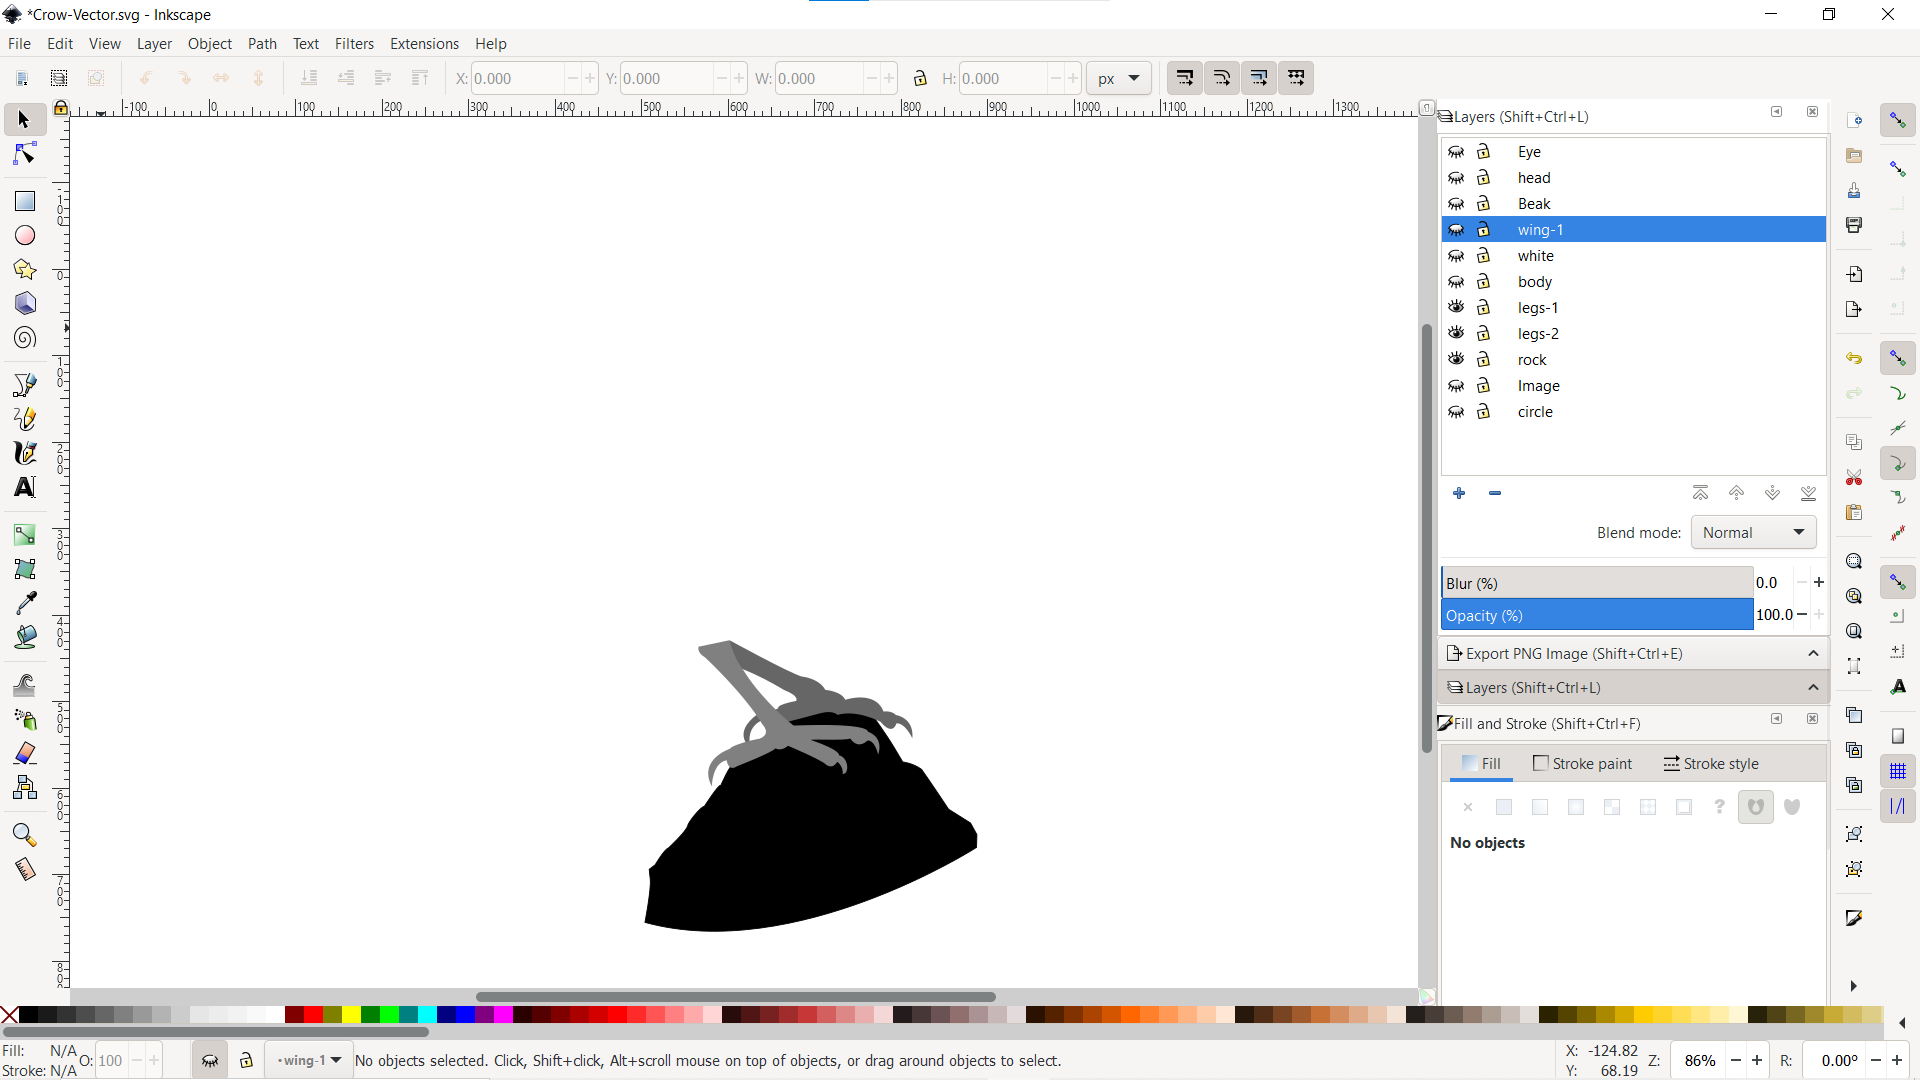
Step 2: Tracing the outline of the image to form a vector art.
This step was done using Inkscape with mainly just the Bezier tool. I followed a tutorial by the youtube channel "Logos by Nick", which can be found [here]. The Bezier tool was used to trace the curves of the bird. Different parts of the crow were traced out on different layers, such as the beak, body, wing etc. Each layer was given a different colour to differentiate it from the other layers. Pictured below are some of the different layers and the final picture is how the final art looks.
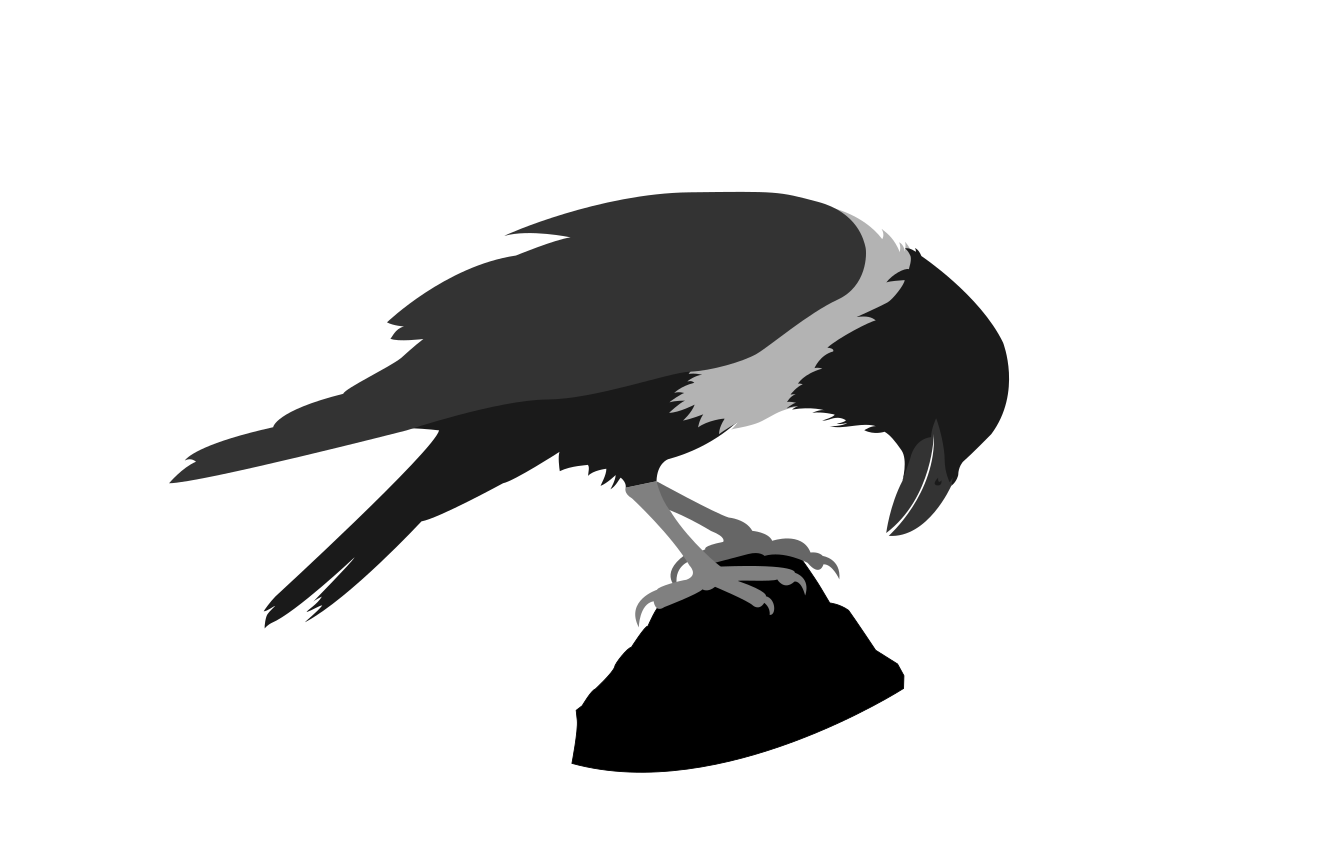
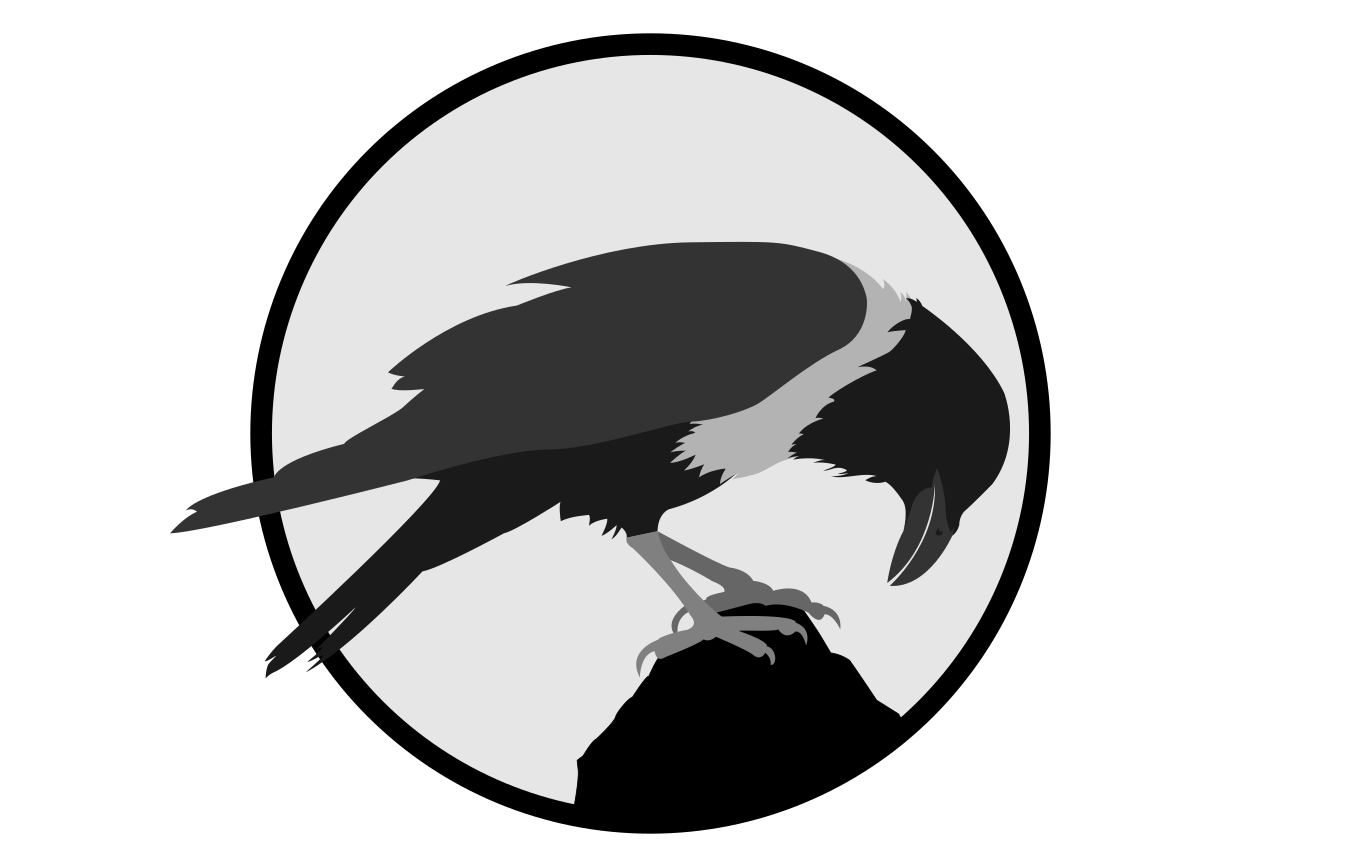
Step 3: Making a logo with the art.
As the crow art itself already looks decent enough, I just added a circle with a thick stroke surrounding the crow. A light grey background was chosen to contrast the dark theme of my website. Once it was done, I exported it as a png and set it to a height of 70px using CSS, and is now in the top left corner.
Inkscape would hopefully prove to be useful in the future for design and engineering drawings. Moreover, just like GIMP, it’s a free software, allowing me to continue using it in the future.