Web Development
Skip to:
[Why make a website?][Basic HTML]
[Basic CSS]
[Additional Javascript]
[Using Github]
[How I developed the Website]
Why make a website?
This website serves to document my journey through the EP1000 module, not only for me to refer to but also for everyone else to view. Documentation allows us to collect and archive what has been done during our projects. It allows us to log our achievements and mistakes in a way that is easily accessible. This way, if in the future I need to do something I have done before or face a mistake I have previously made, instead of re-learning everything again, I can just refer to my old documentation to save time.
Basic HTML
HTML is the standard markup language for web pages and describes the structure of a page. In short, HTML defines the content.
Here is the list of things I learnt about HTML:
- Structure (Headings, Paragraphs, Body)
- Styles
- Fomatting
- Colours
- Comments
- Images
- Hyperlinks
- Absolute and Relative Links
- File Pathing
- Lists
- Tables
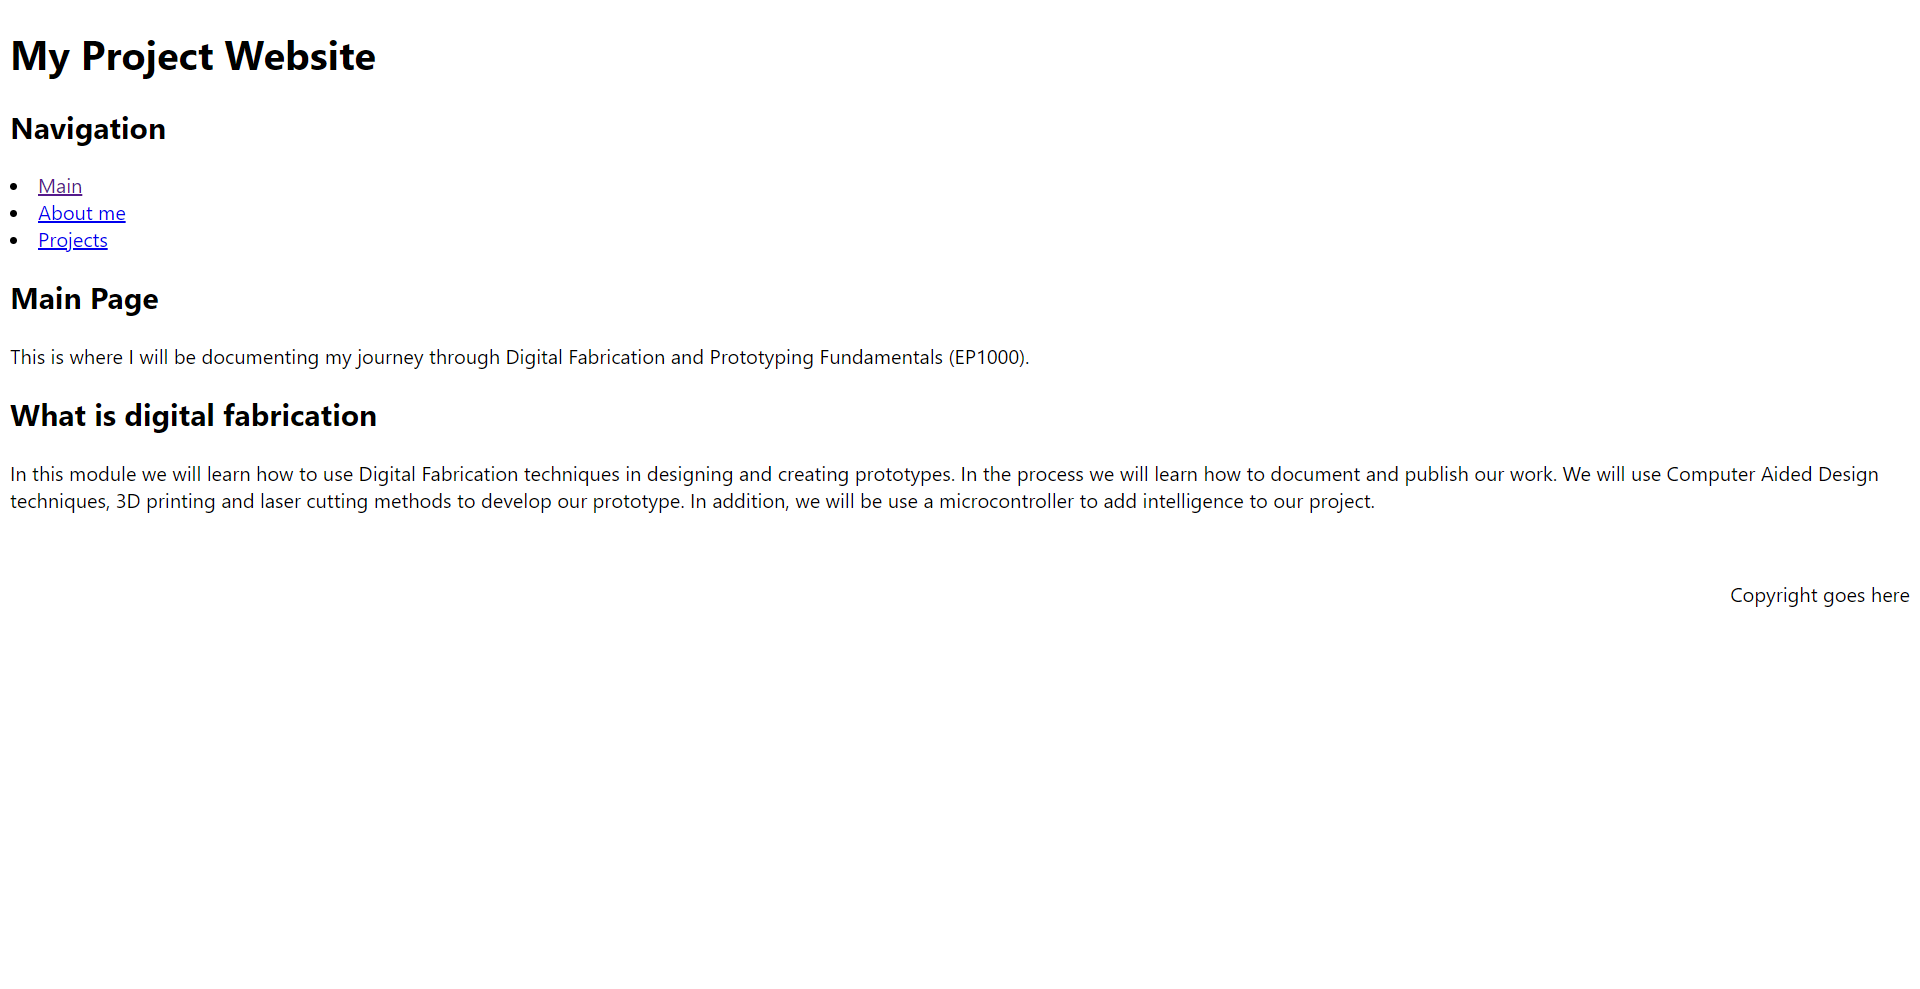
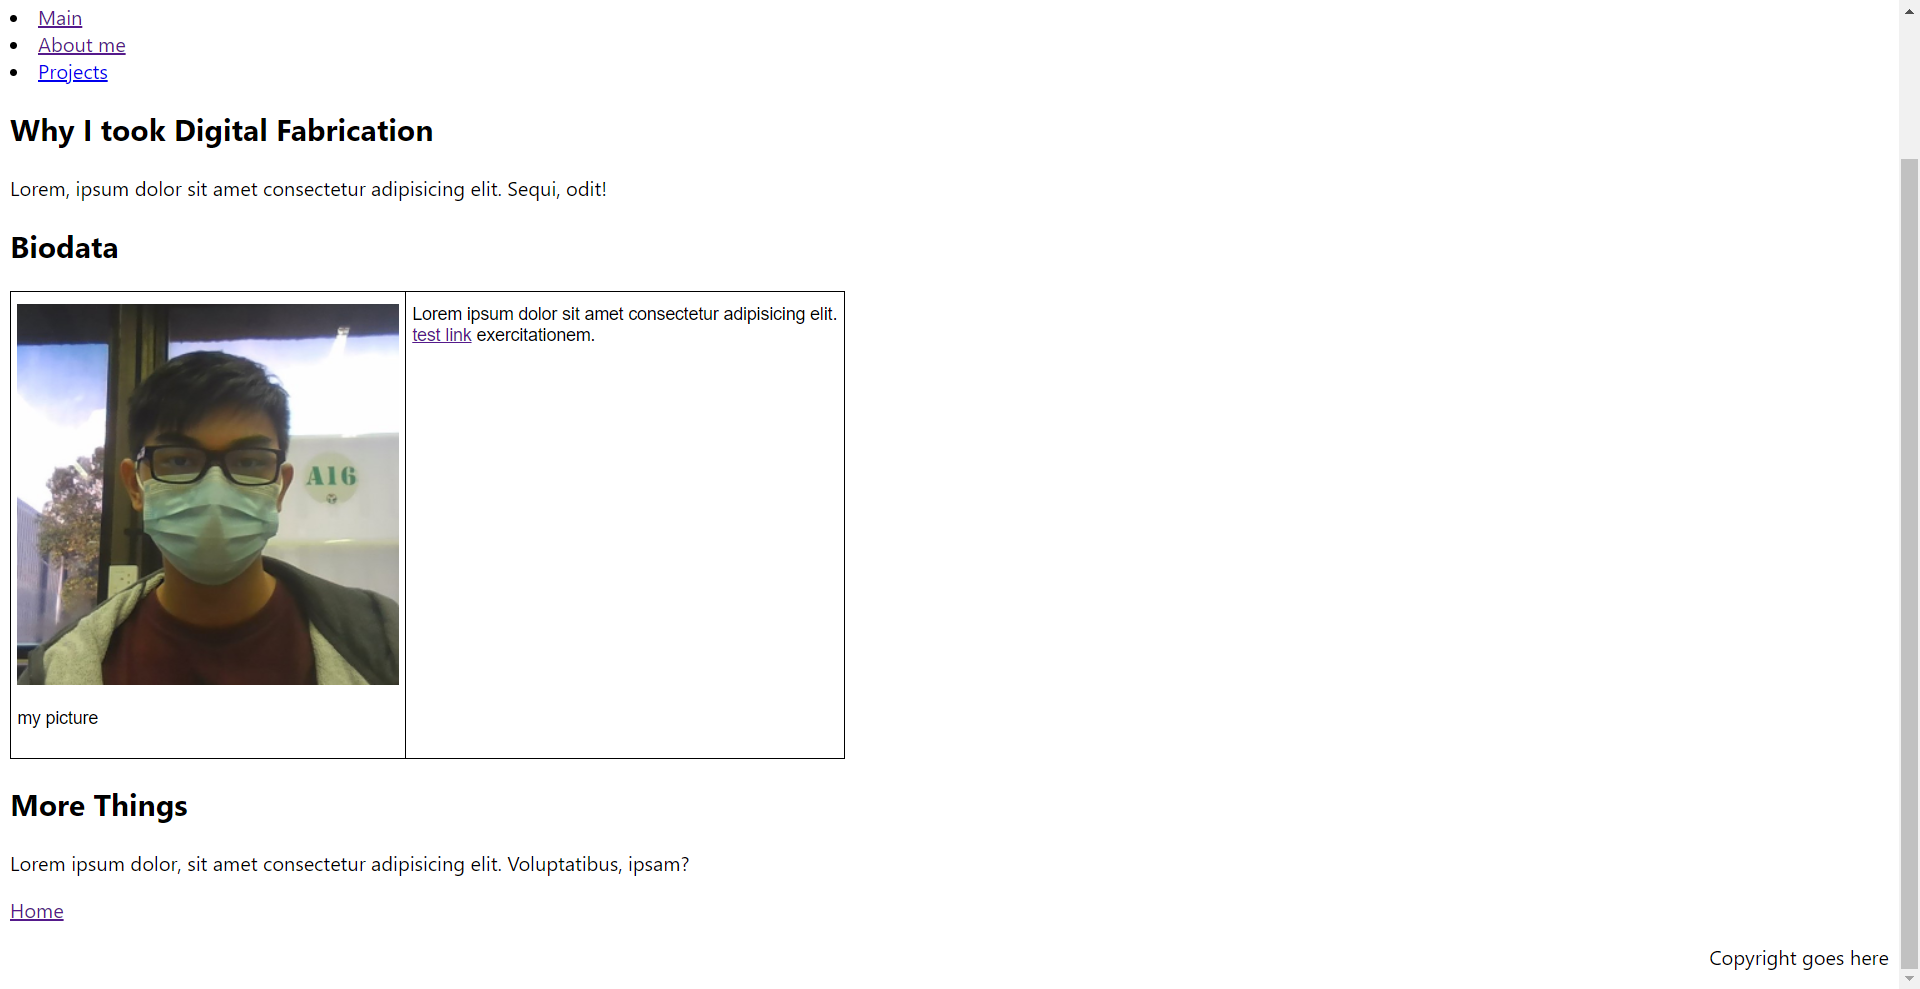
With this, I constructed a simple website to put what I learnt into practice.
Basic CSS
CSS is defined as the layout and style of the page. It takes the content from the HTML and changes the layout, colours etc. of it. By adding a separate CSS file, I can cut down on the clutter on the HTML files, focusing only on the content.
Here are the list of things I learnt about CSS.
- Class and ID
- Padding and Margins
- Element and Image Alignment
- Font Family
- Height and Width
- Display
- Colours (carried over from HTML)
- Navbars
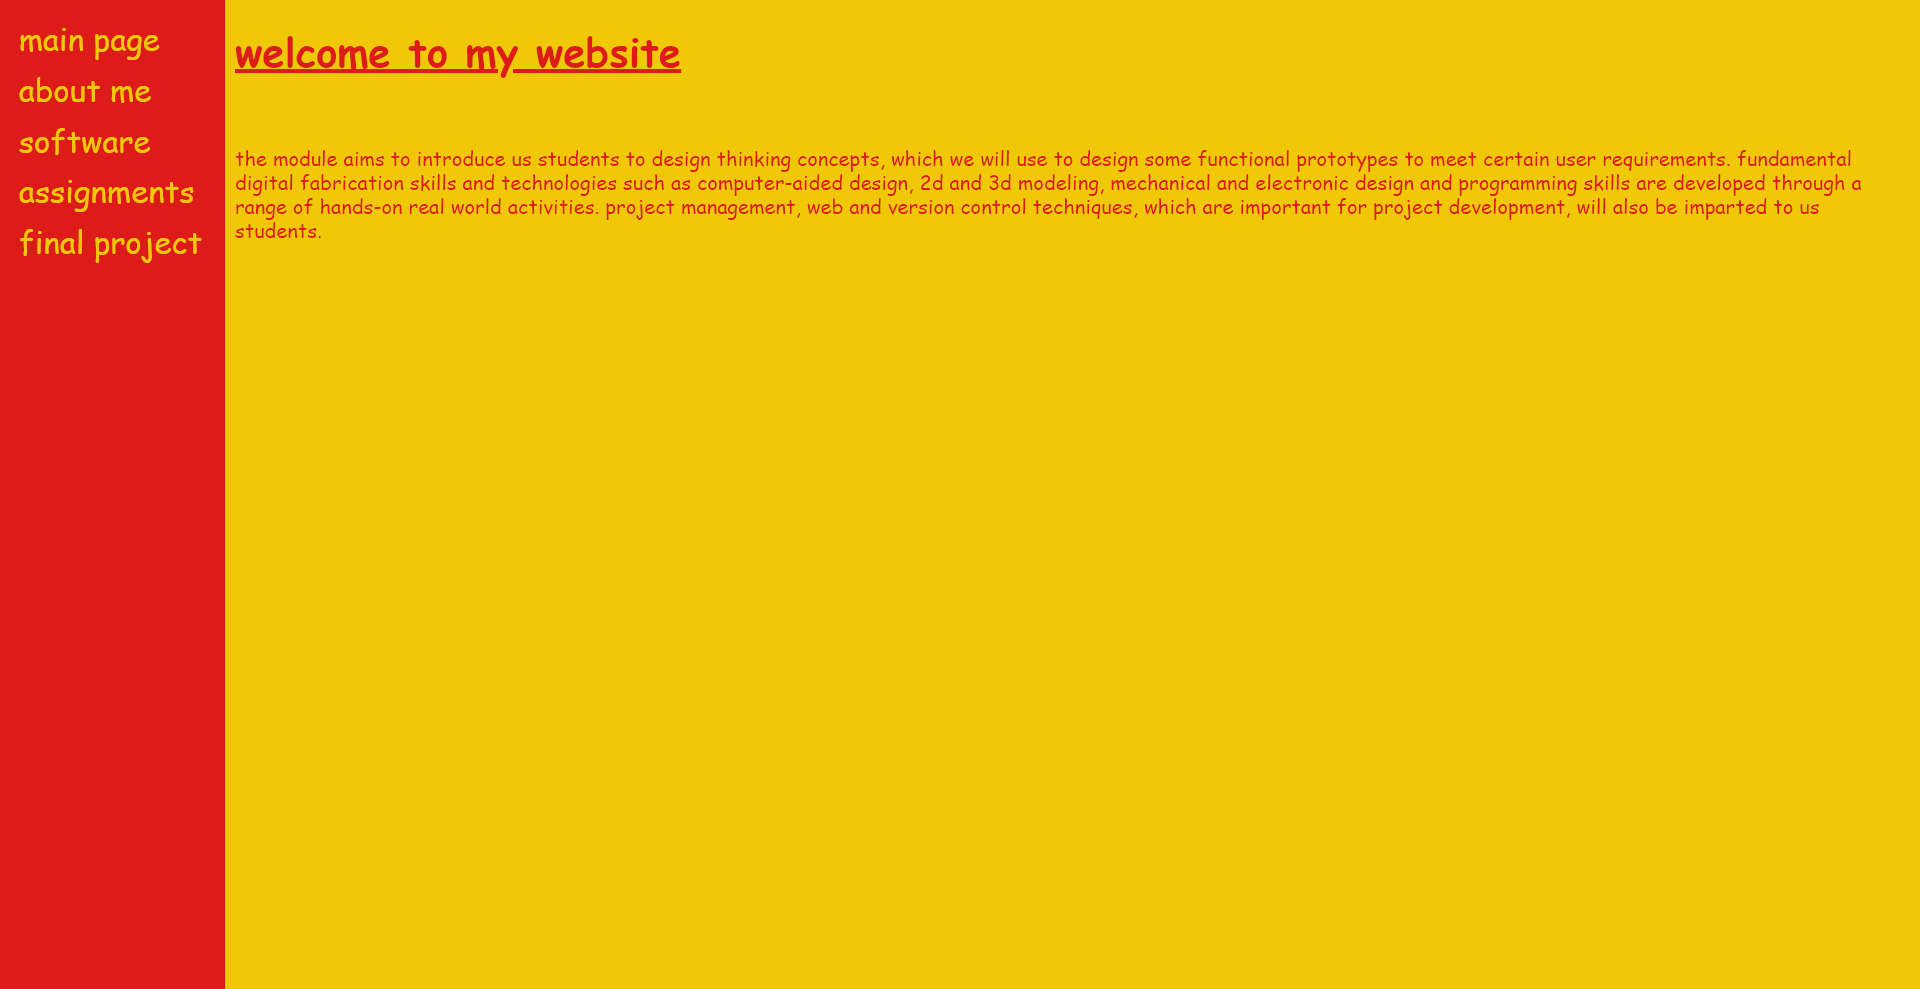
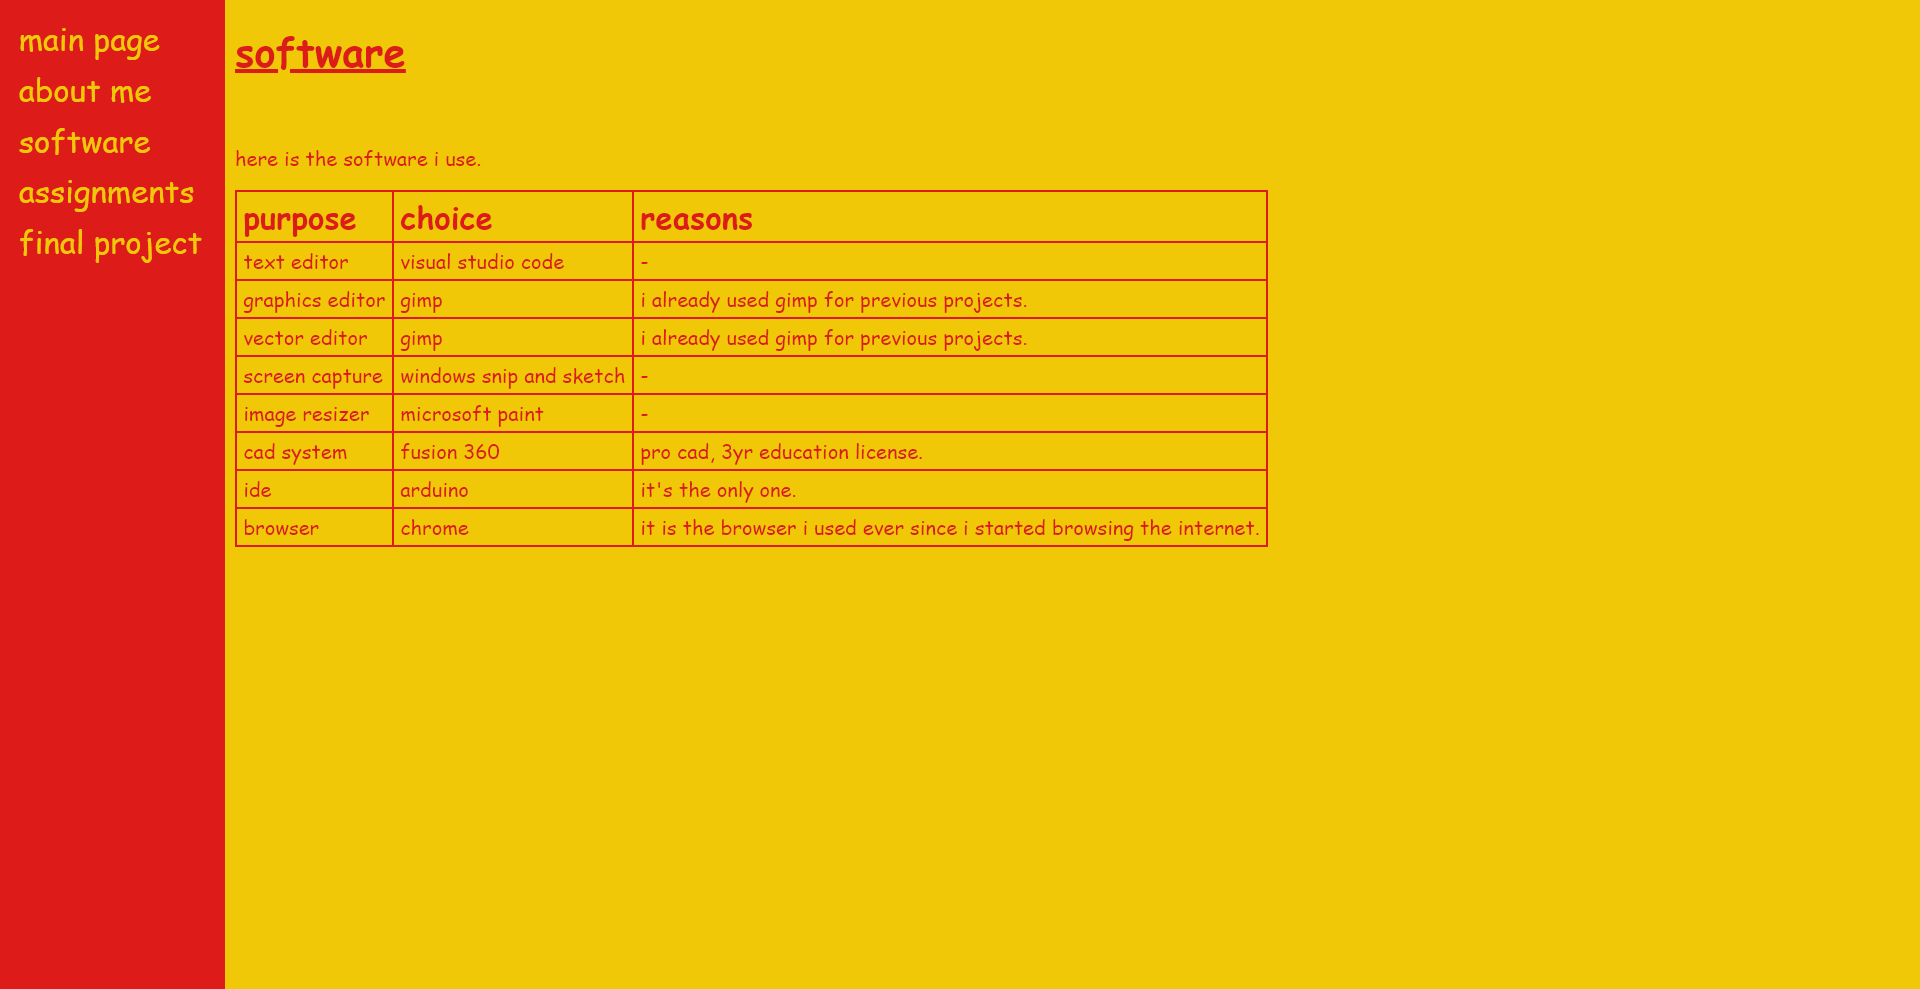
With CSS, the styles and colours in the HTML files can be removed to make it easier to view and edit. I added CSS to my original website and below is the result. I made the colours jarring so that changes are more apparent as at this stage, I was still playing around with the values and seeing what does what.
Additional Javascript
While making the rest of the pages, I realised some of them get very long, and as the navbar is at the top, it may take a while to scroll back up sometimes. As such, I wanted to add a “Back to top” button that sticks to the page as the user scrolls down. Javascript was needed for this task.
Initially, I just searched for a “back to top” button tutorial by W3 schools and added the necessary elements into my code. At first, to test it out, I just embedded the script into my html to see if it was working. It worked, so I set out to make a separate js file. This was when I encountered a problem where the js script was not being read by the html, even after adding the link at the top of the file.
It was finally fixed when I found a [Forum Post]. The issue was that the script was loaded at the top of the page before the button was loaded, as such no button appears. The issue was resolved by adding the link to js at the end of the body.
Using Github
Github is a cloud-based service that allows developers to store, manage and track changes to their code, while also hosting publicly accessible web pages.
Here are the steps I took to get my website on Github.
- Creating an Account.
- Making a Repository.
- Hosting the repository as a website using Github Pages.
- Acquire Link from Github Pages
After getting the website link up, I downloaded Github Desktop in order to track versions of the webpage, as well as roll back versions whenever necessary. While using Github Desktop, I learnt 2 very important commands, which are commit and push.
Commit saves all the changes and work done on the local device; push synchronises the changes with the remote repository. With these 2 commands, I can edit and publish my website without going onto the Github website
How I developed the Website
Most of my website was built with no template in mind, just using bits and pieces of code from W3 schools, most of which being basic things. Here is a list of the more substantial elements I referenced from W3 schools.
*All code referenced has been altered to fit the theme of the website.
One problem I faced in terms of the layout was the alignment of the dropdown menu in the navbar. The pictures below displays the problem.
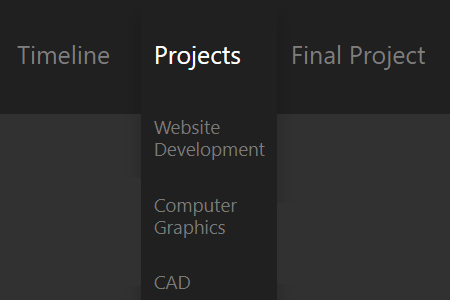
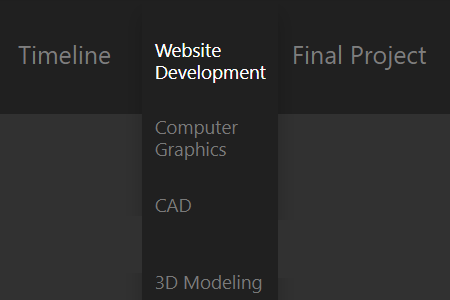
As the name suggests, the dropdown menu is supposed to drop down below the button, as shown in the first picture. However, in my case the alignment was wrong, and the first link on the dropdown menu ends up overlaying the button on the navbar. Even after hours of trouble shooting, I was still unable to fix the problem, but I did find a solution.
The solution I implemented was to add a new, unclickable link to the top of the navbar menu, and use padding to align it with the button in the navbar. The added link has a new ID and a different set of CSS in order to match it to the pre-existing button on the navbar.
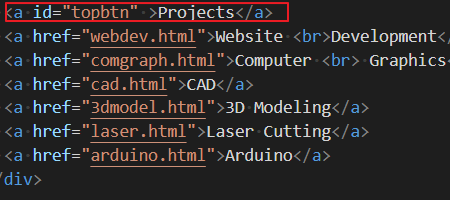
Although the solution wasn’t an elegant, proper solution, at least it works and achieves what I initially wanted it to do. Other than this and the Javascript issue, there were no other major issues I faced while building this site.
