Laser Cutting
Preparation
First, the thickness of the material used was measured and the parametrics of the [Lasercut Box] was changed accordingly. The sketches of the shapes I wanted to cut were then exported to DXF.
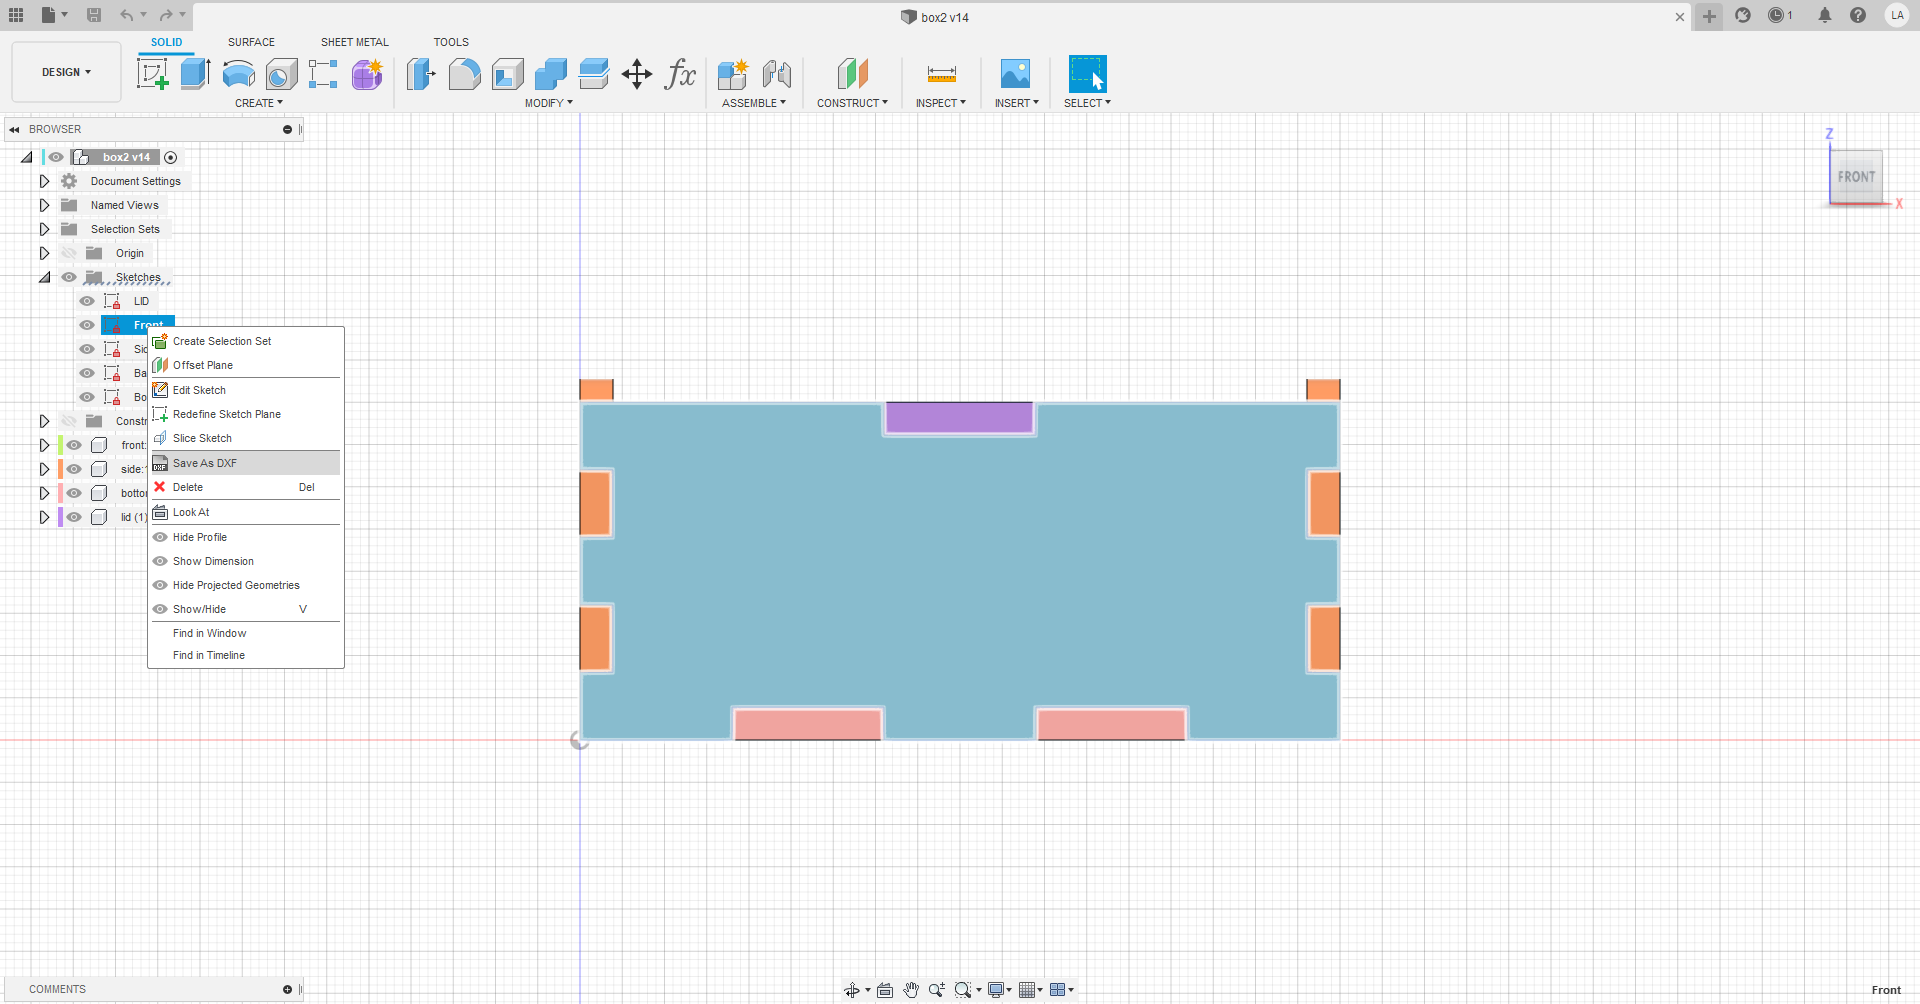
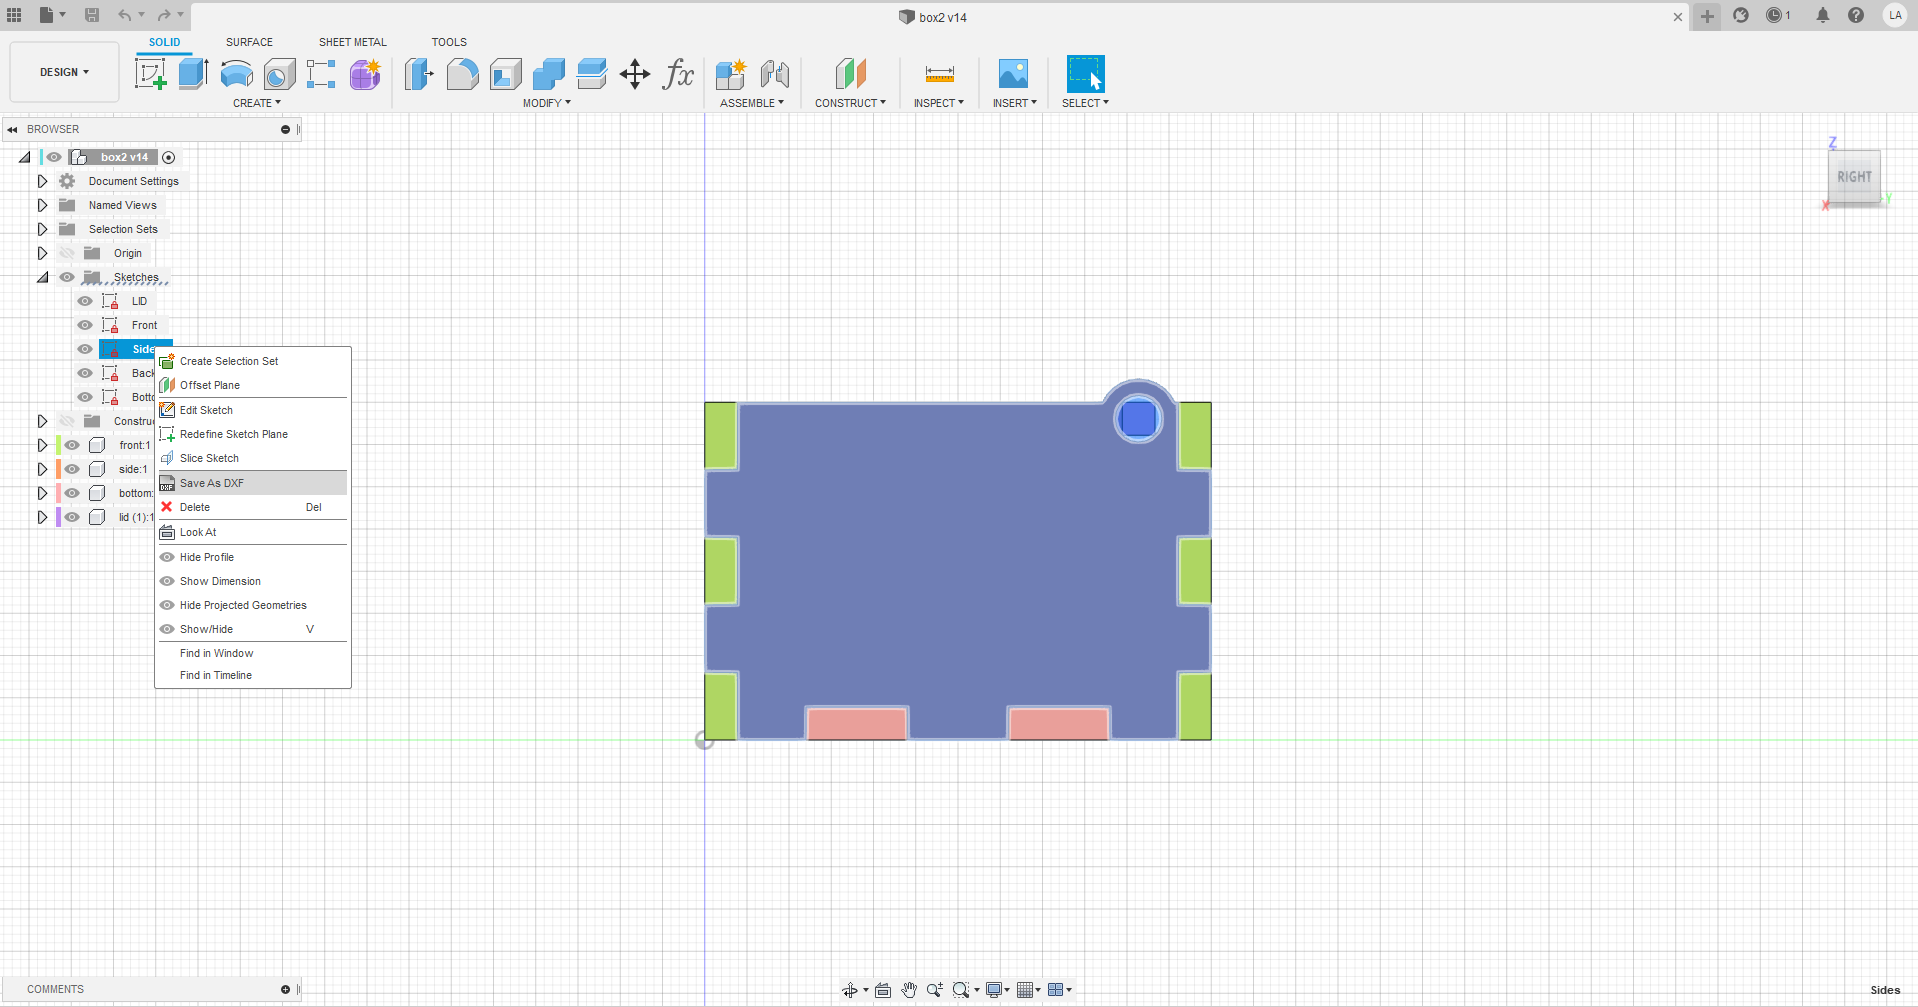
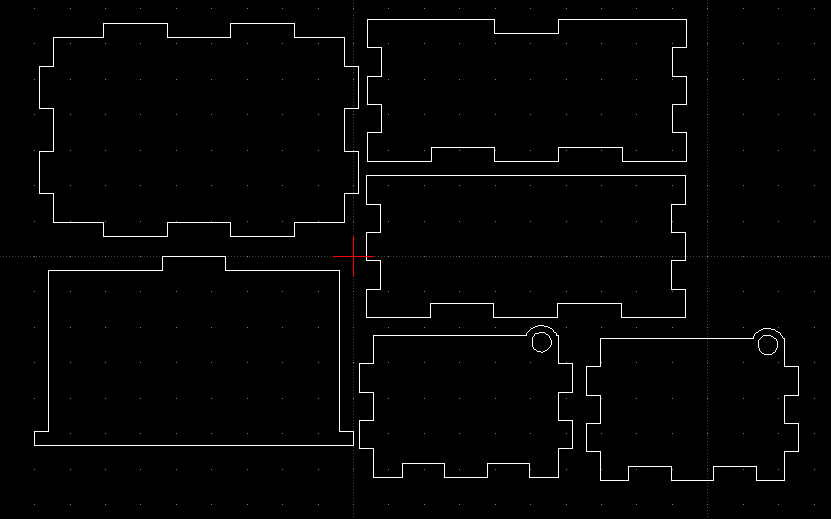
The files were then imported into LibreCad and collated into one file to be lasercut. This file was then brought to Coreldraw, where the final preparations were made, such as changing all the settings to those in the table below, and adding decals, such as my logo on the lid.

Machine and settings used.
| Machine | Epilog Fusion Pro | 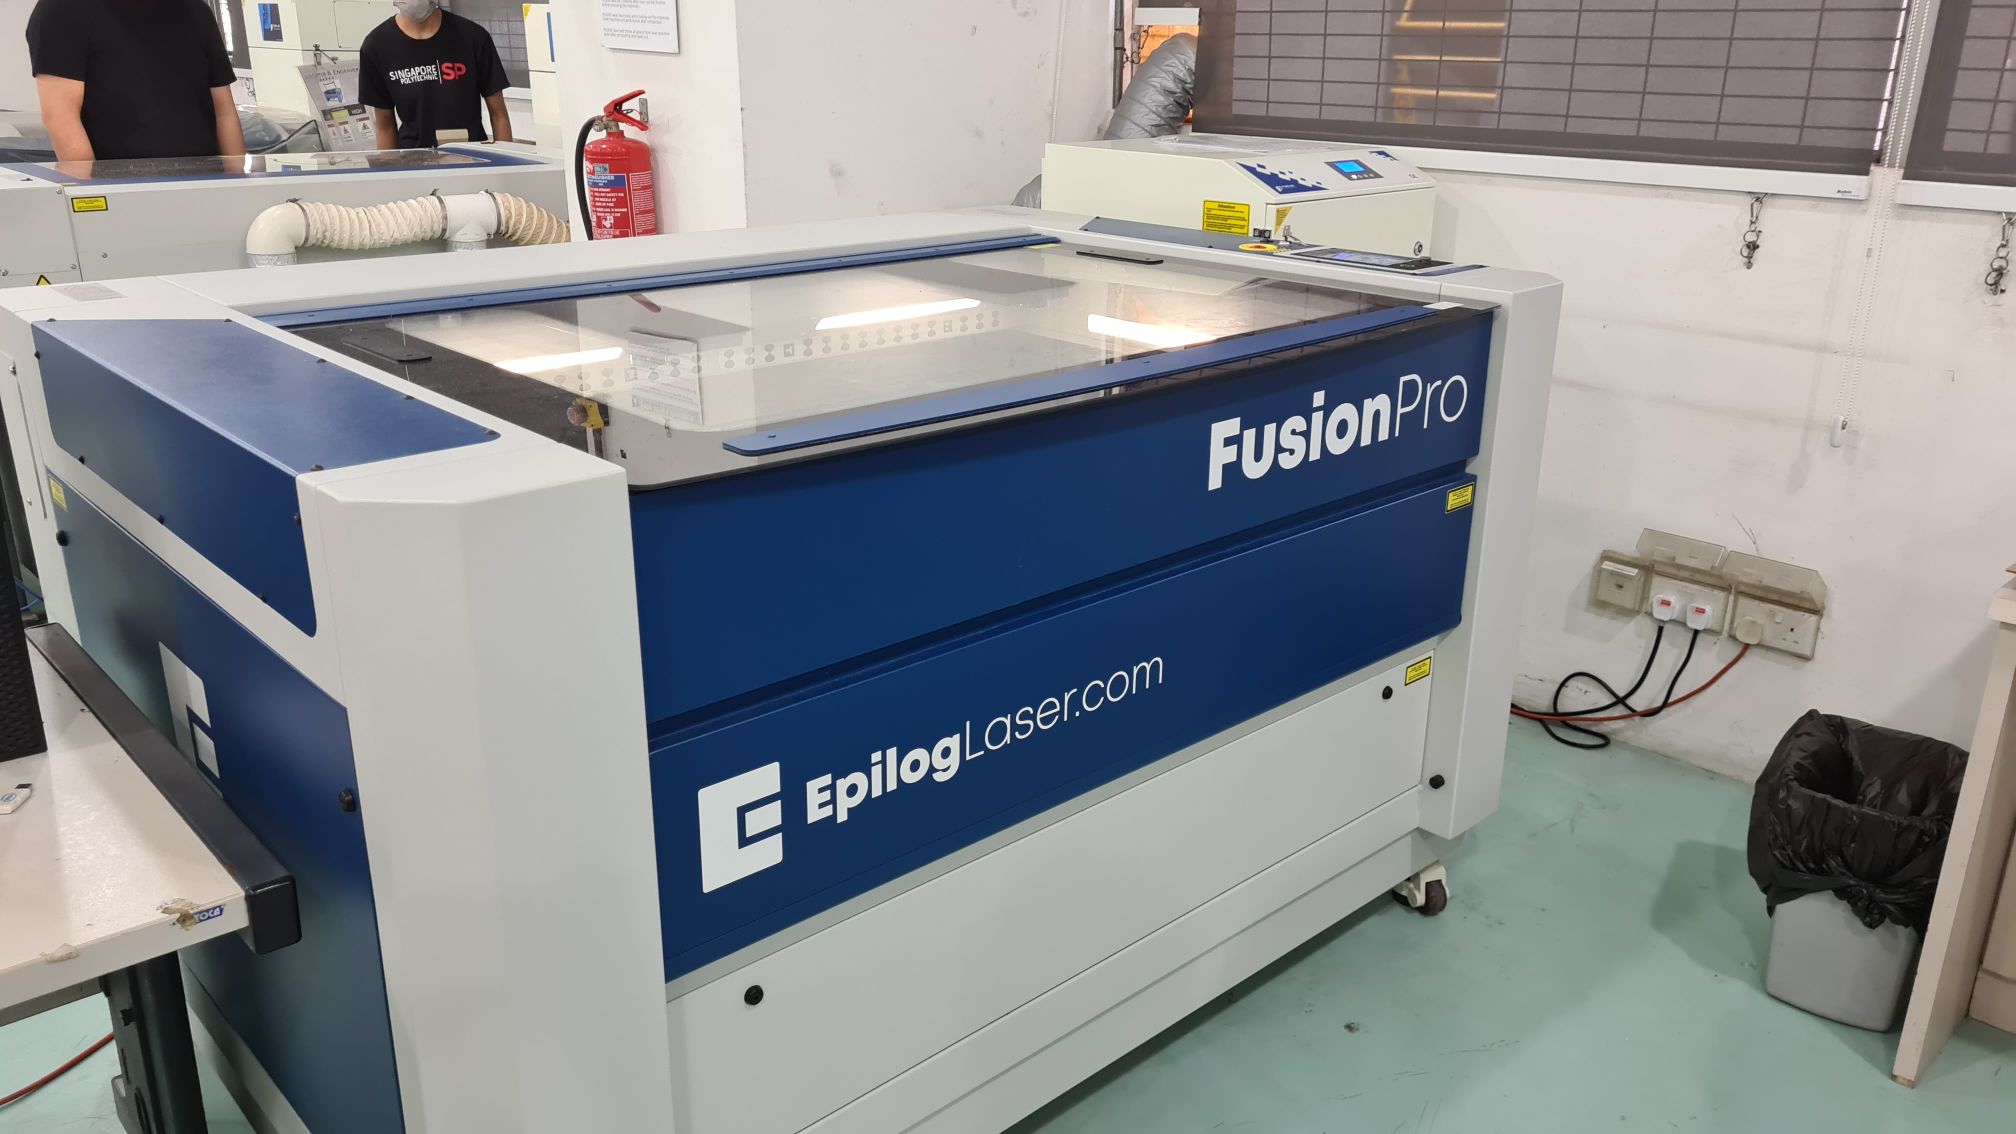 |
| Material Thickness and Type | 3.9mm Plywood | |
| Cut Settings | Speed - 25 | |
| Power - 80 | ||
| Frequency - 20 | ||
| Engrave Settings | Default |
Final Product
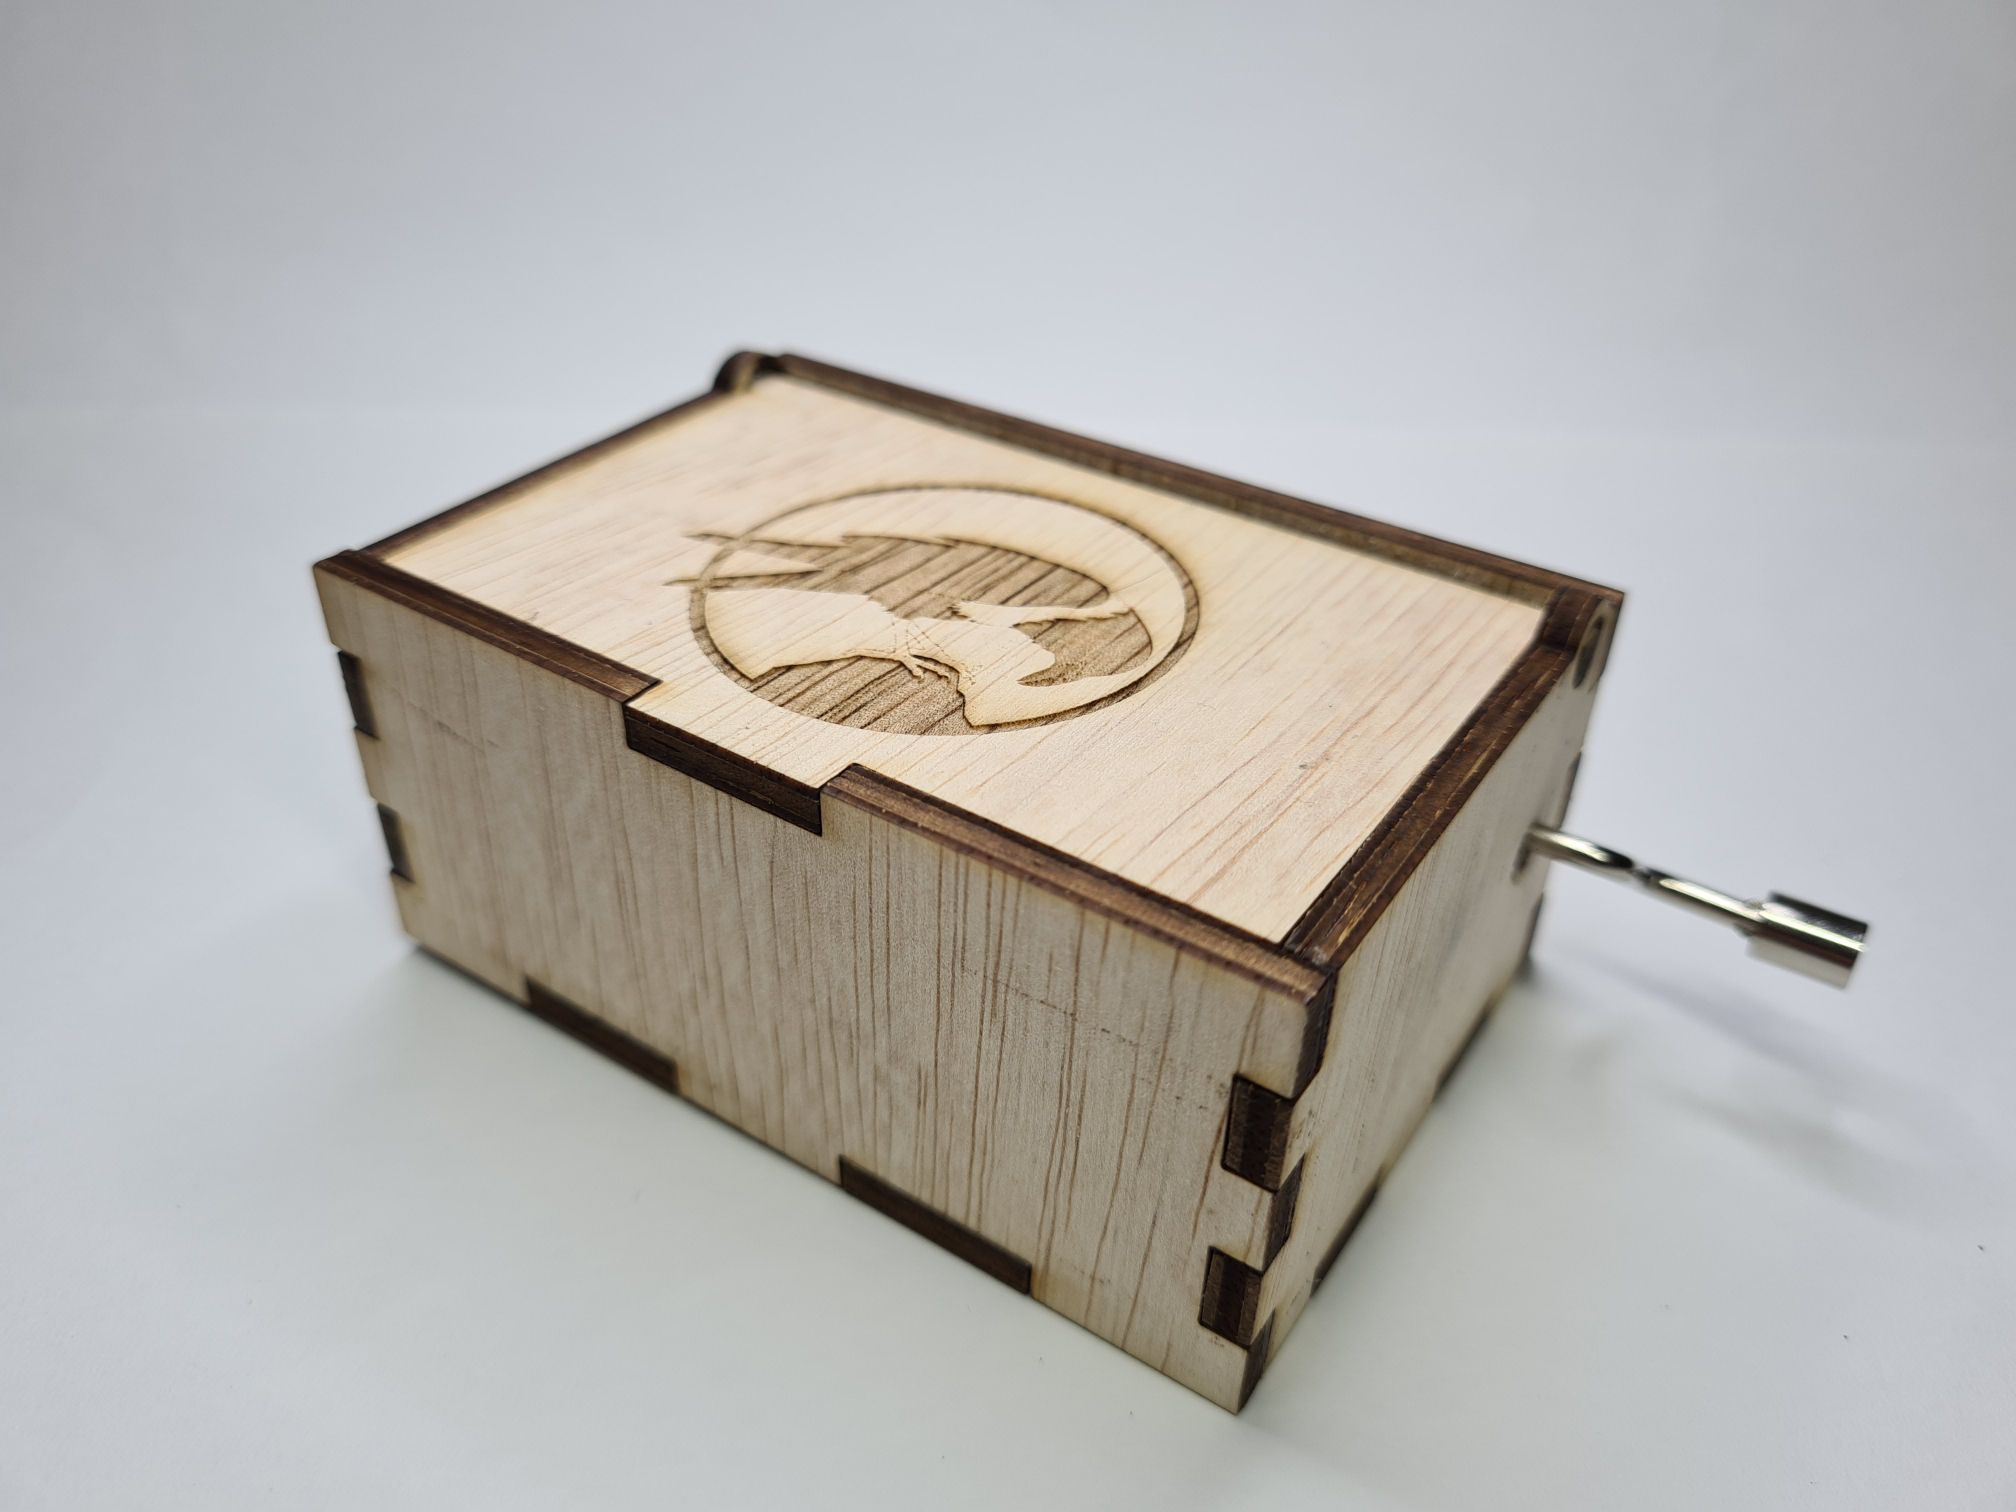
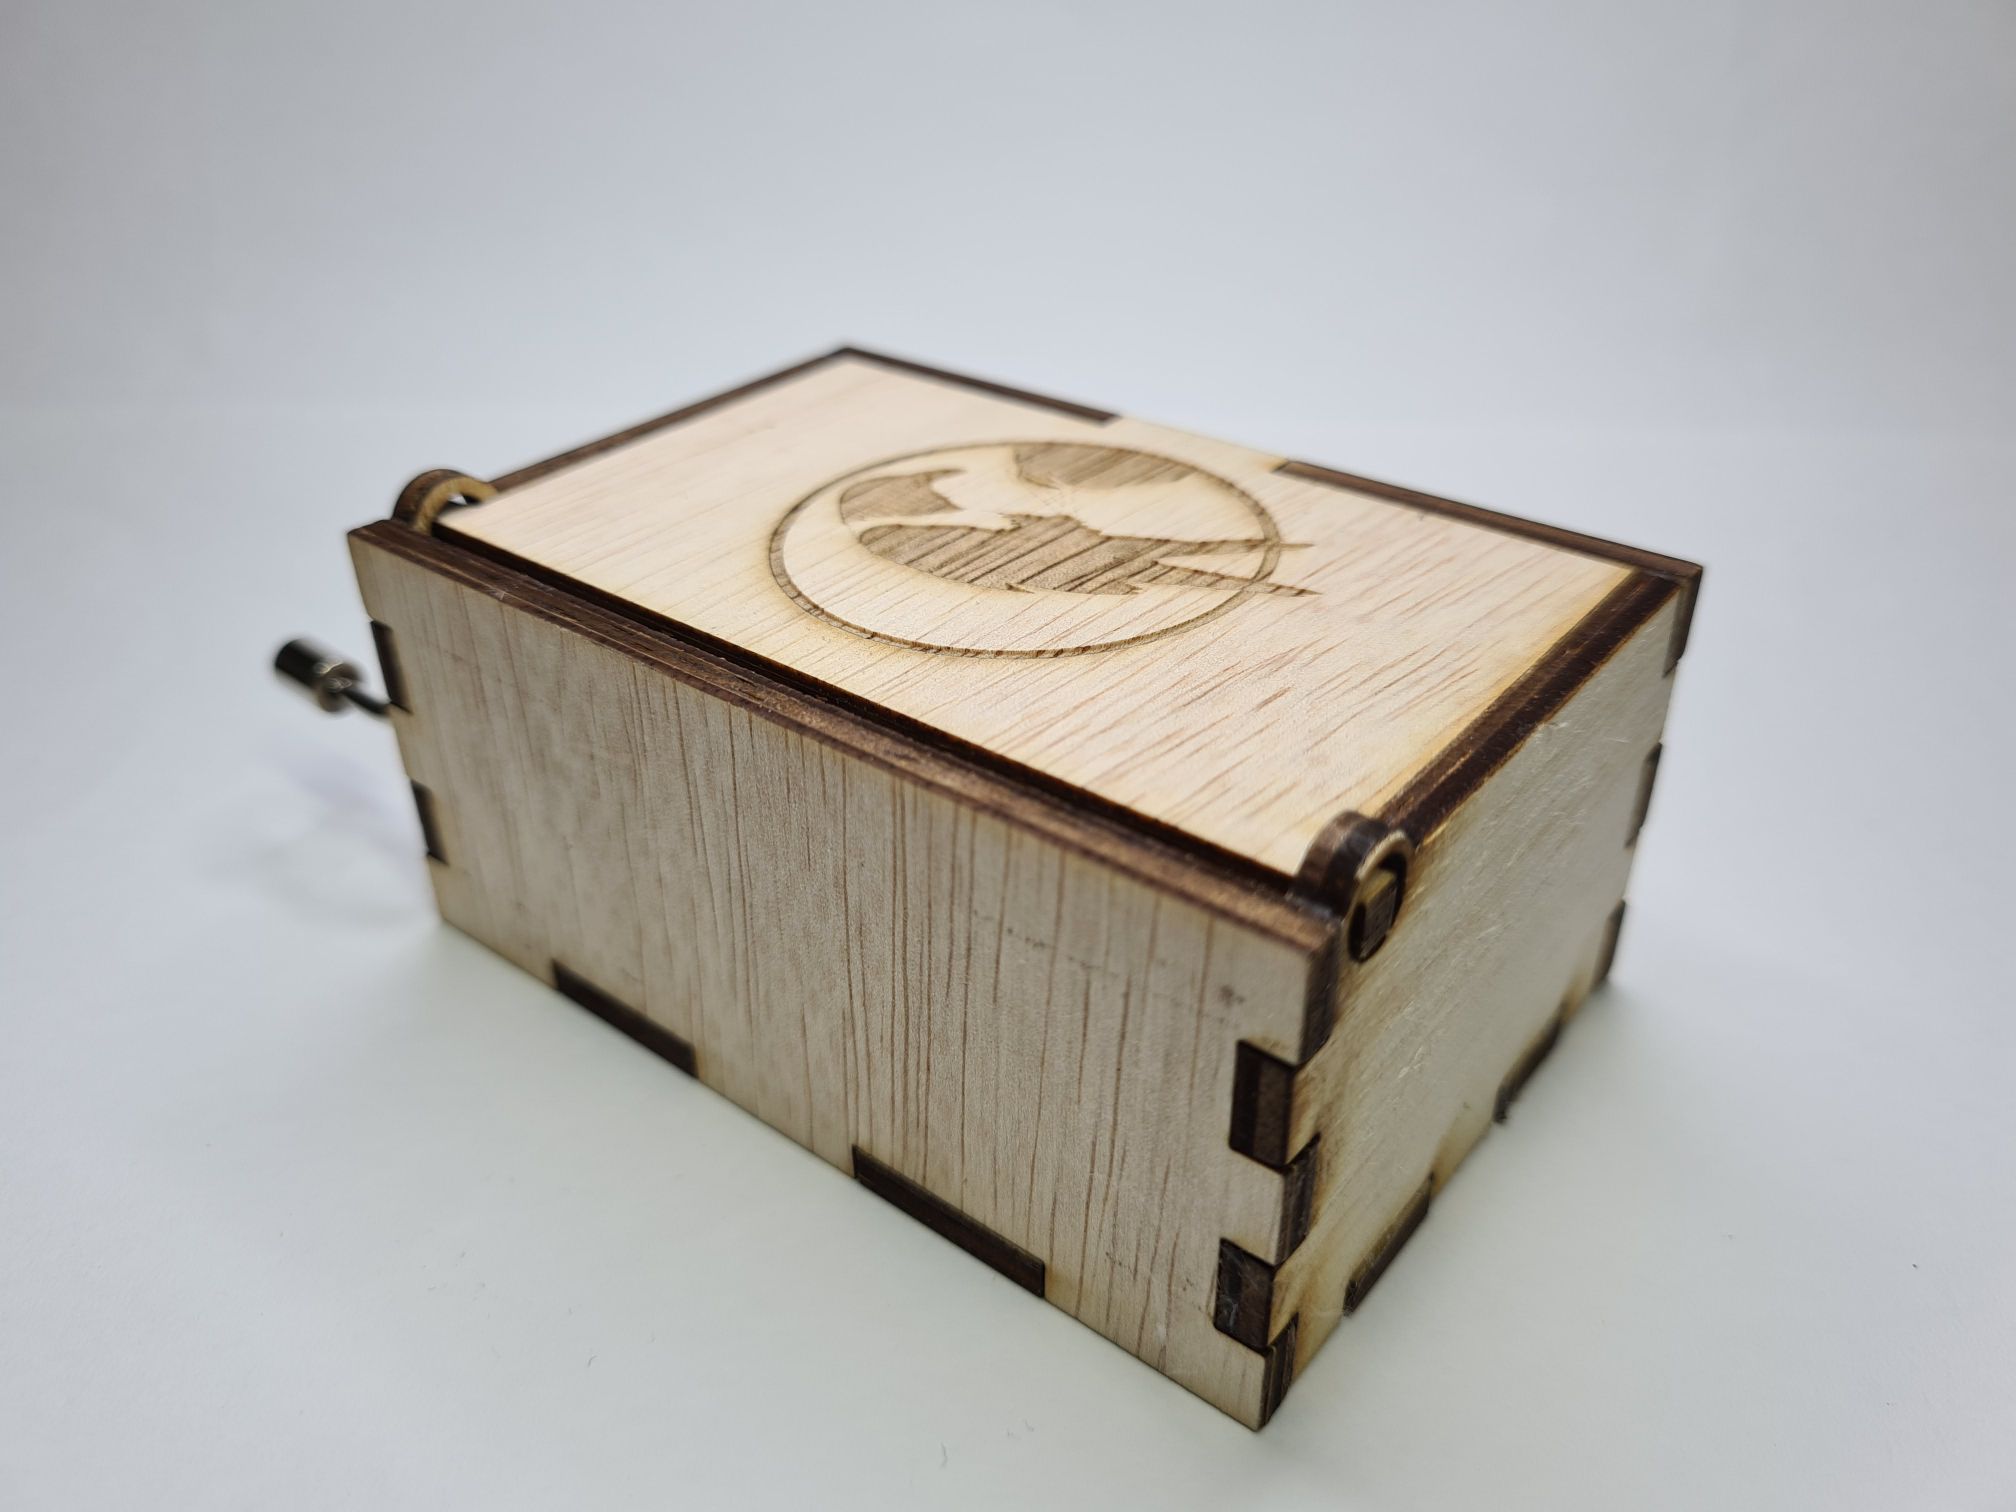
What went wrong
One error I made during the laser cutting process was forgetting to flip one of the sides before laser cutting. As the wood had a "nice" side and a "bad" side, without flipping, one of my side pieces had to be used with the "bad" side facing out. This is something I will keep in mind in the future.
Another error I made was not thinking about how small the logo was going to be in the final product. As such some of the outlines were too thin and werent properly engraved in the lasercutter.
3D Printing
Preparation
The 3D file of the [Knight Chess Piece] was exported as an STL file and opened in Cura to slice it.
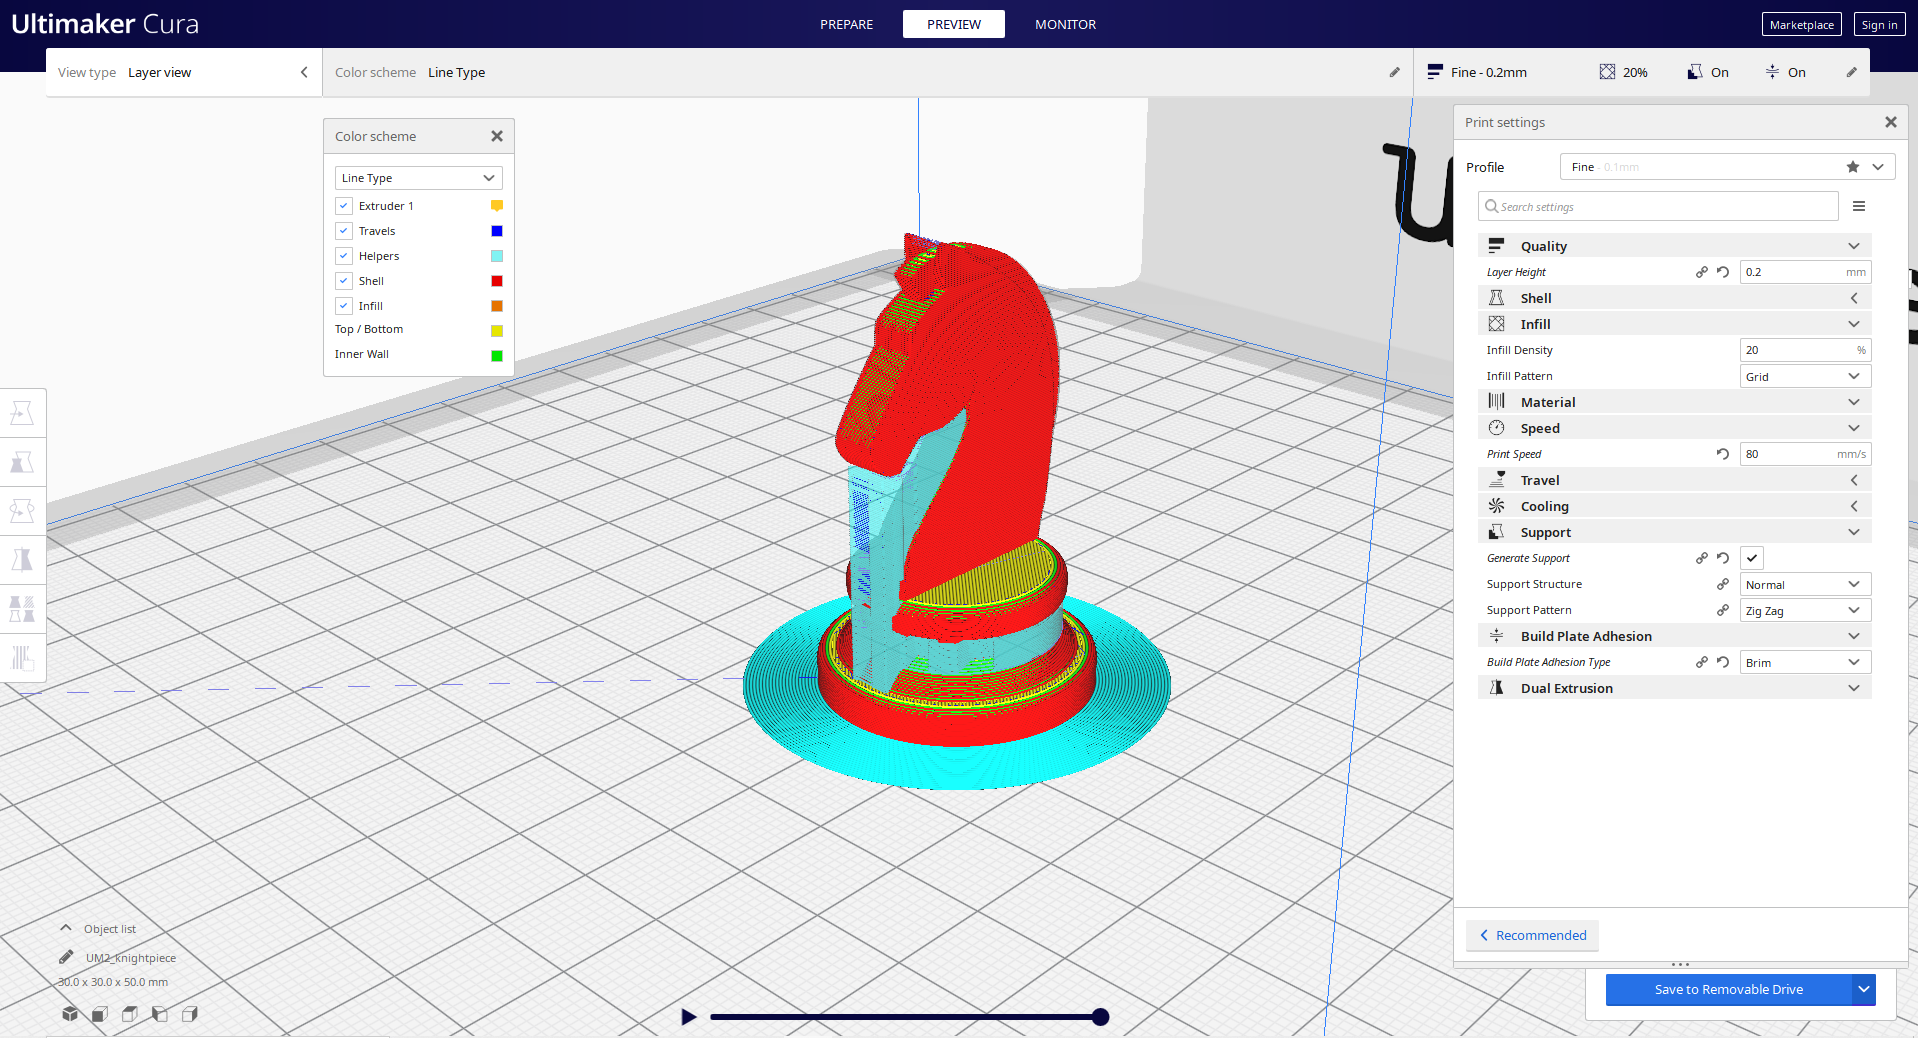
Machine and settings used.
| Machine | Ultimaker 2+ | 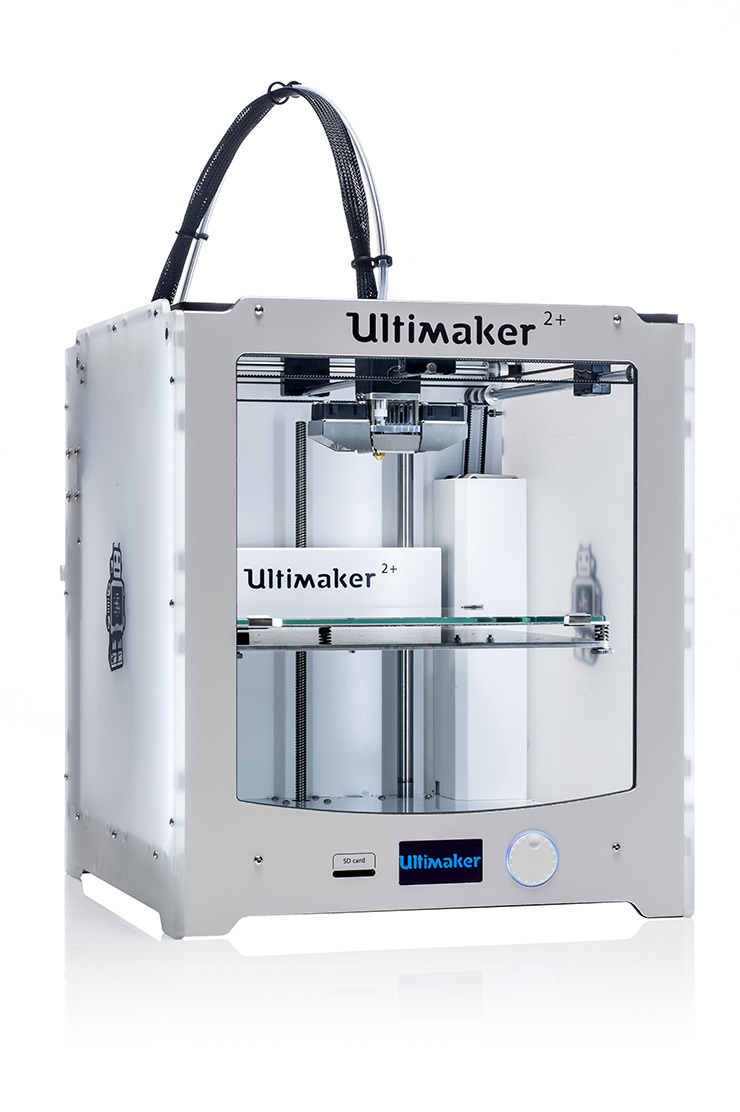 |
| Material | Green PLA | |
| Layer Height | 0.2mm | |
| Infill Density and Pattern | 20% Grid | |
| Supports | Zig Zag | |
| Build Plate Adhesion | Brim |
Final Product
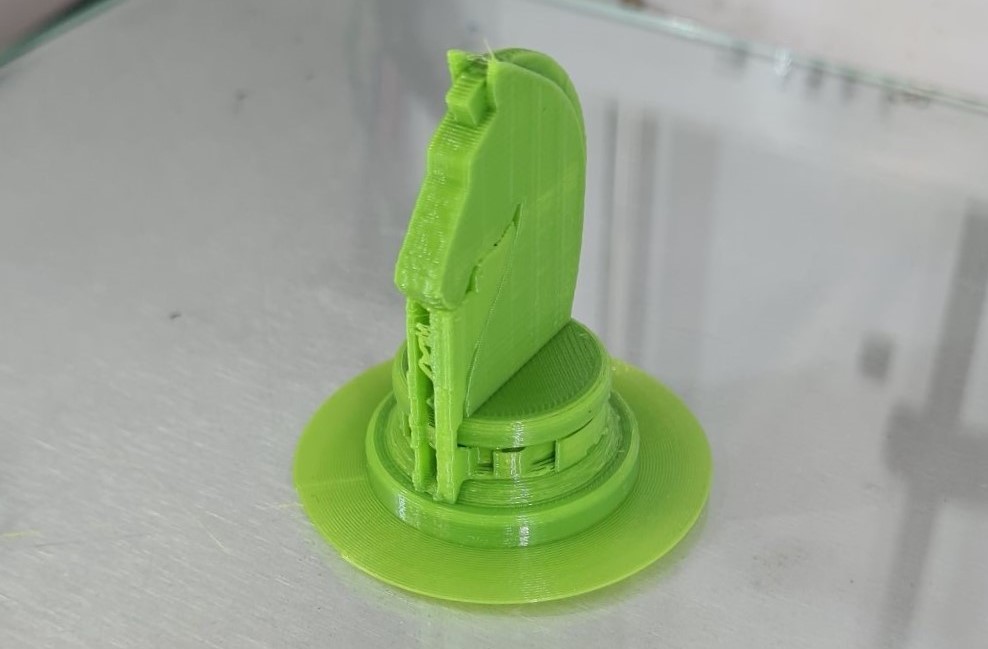
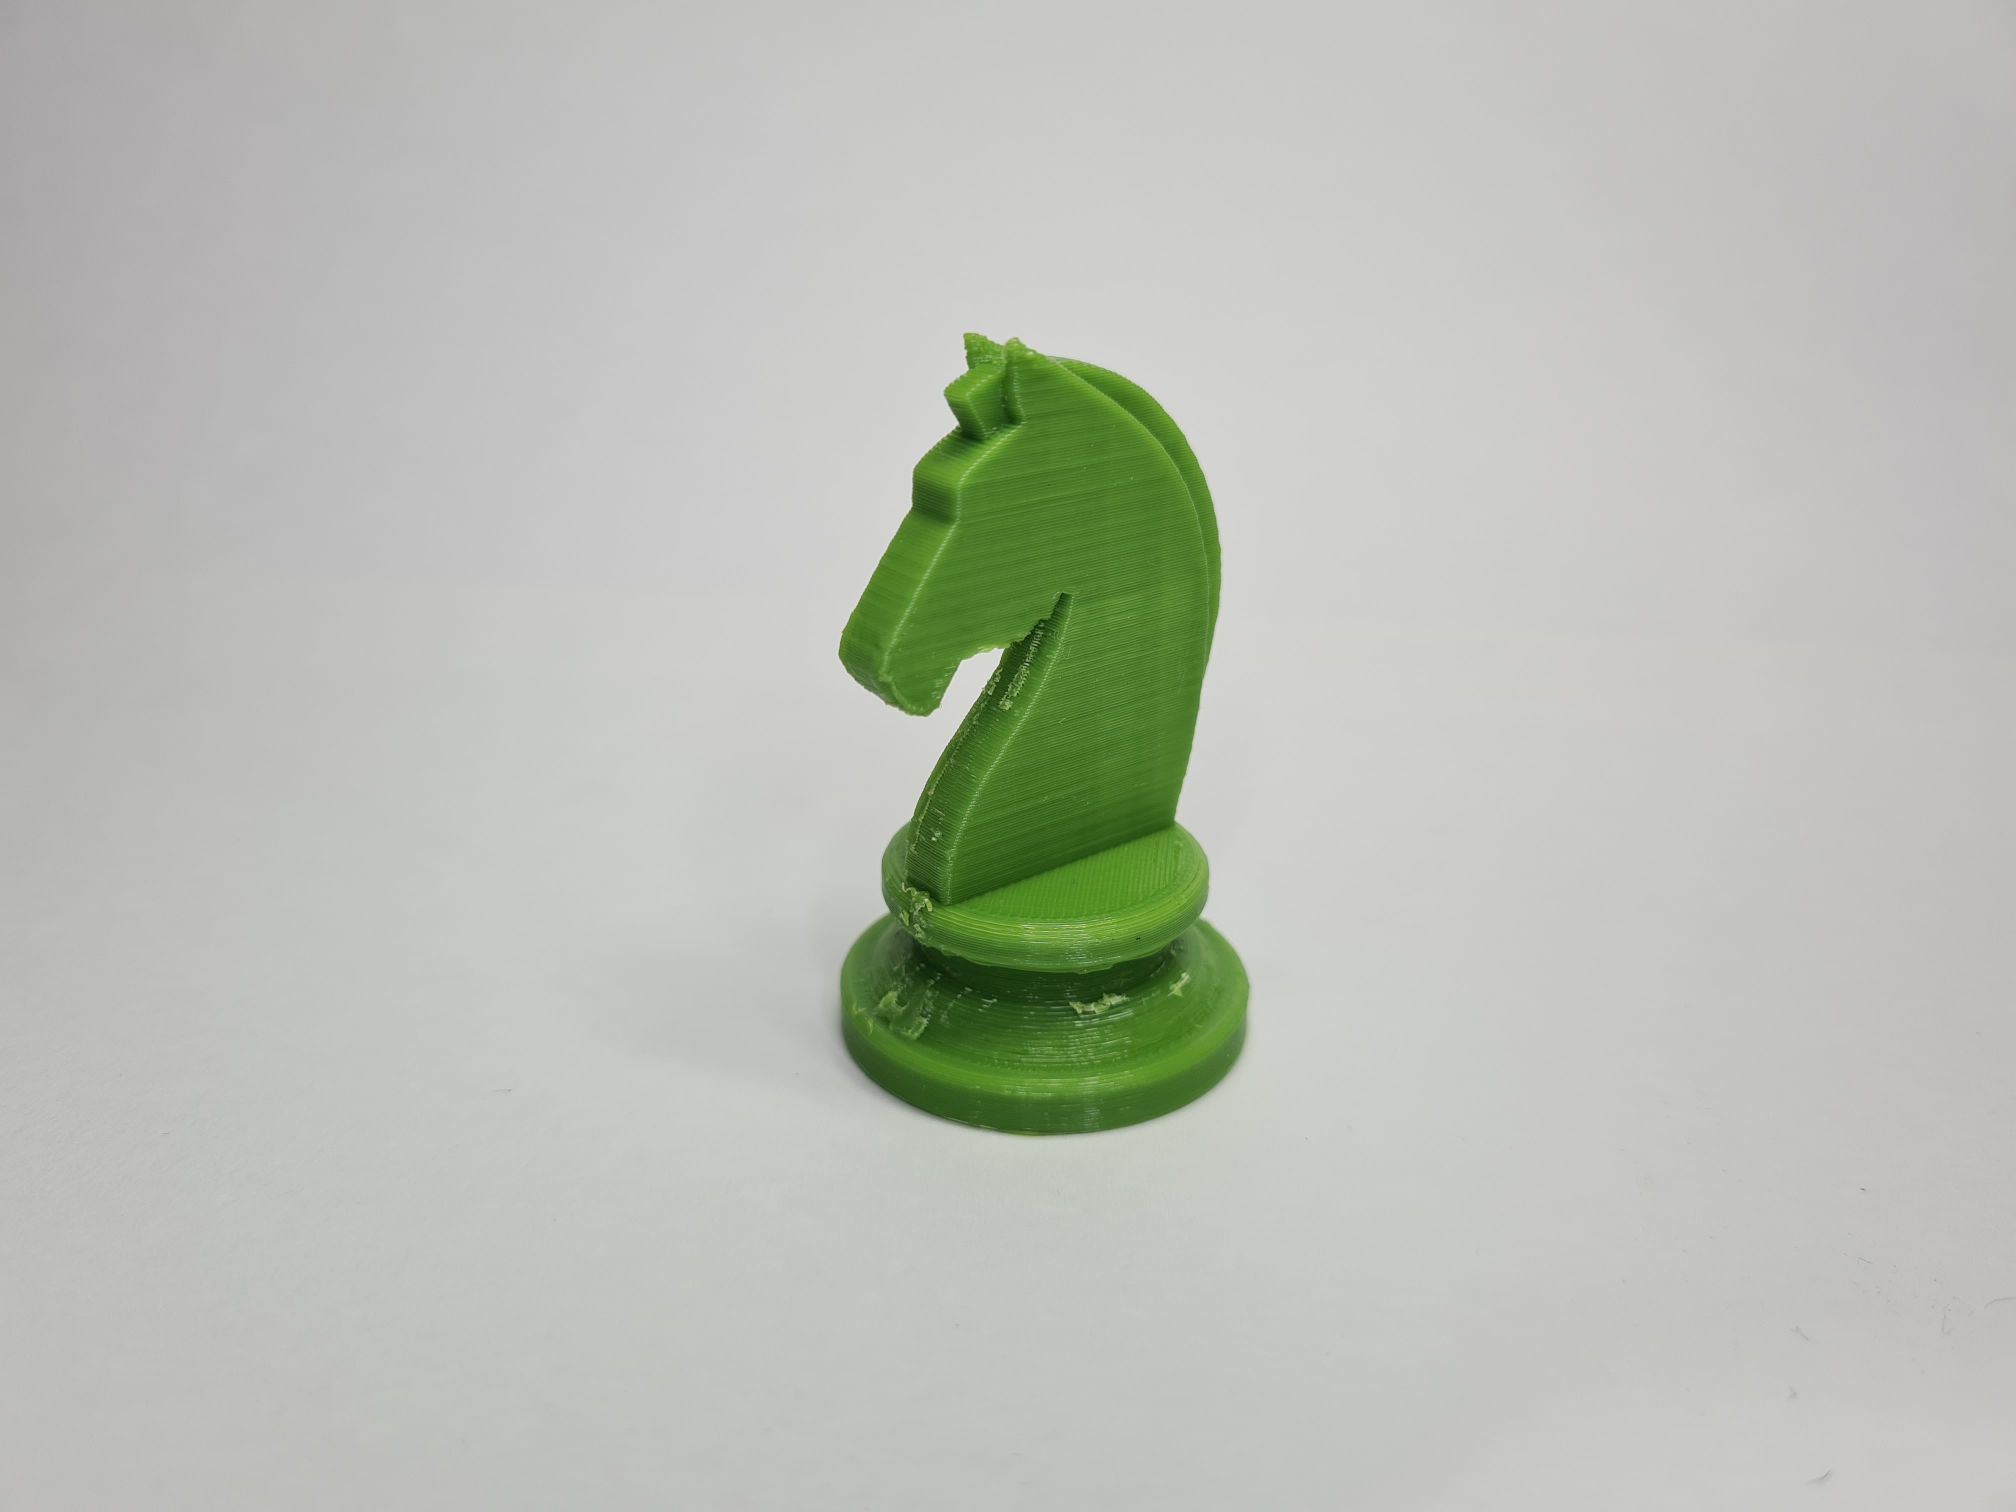
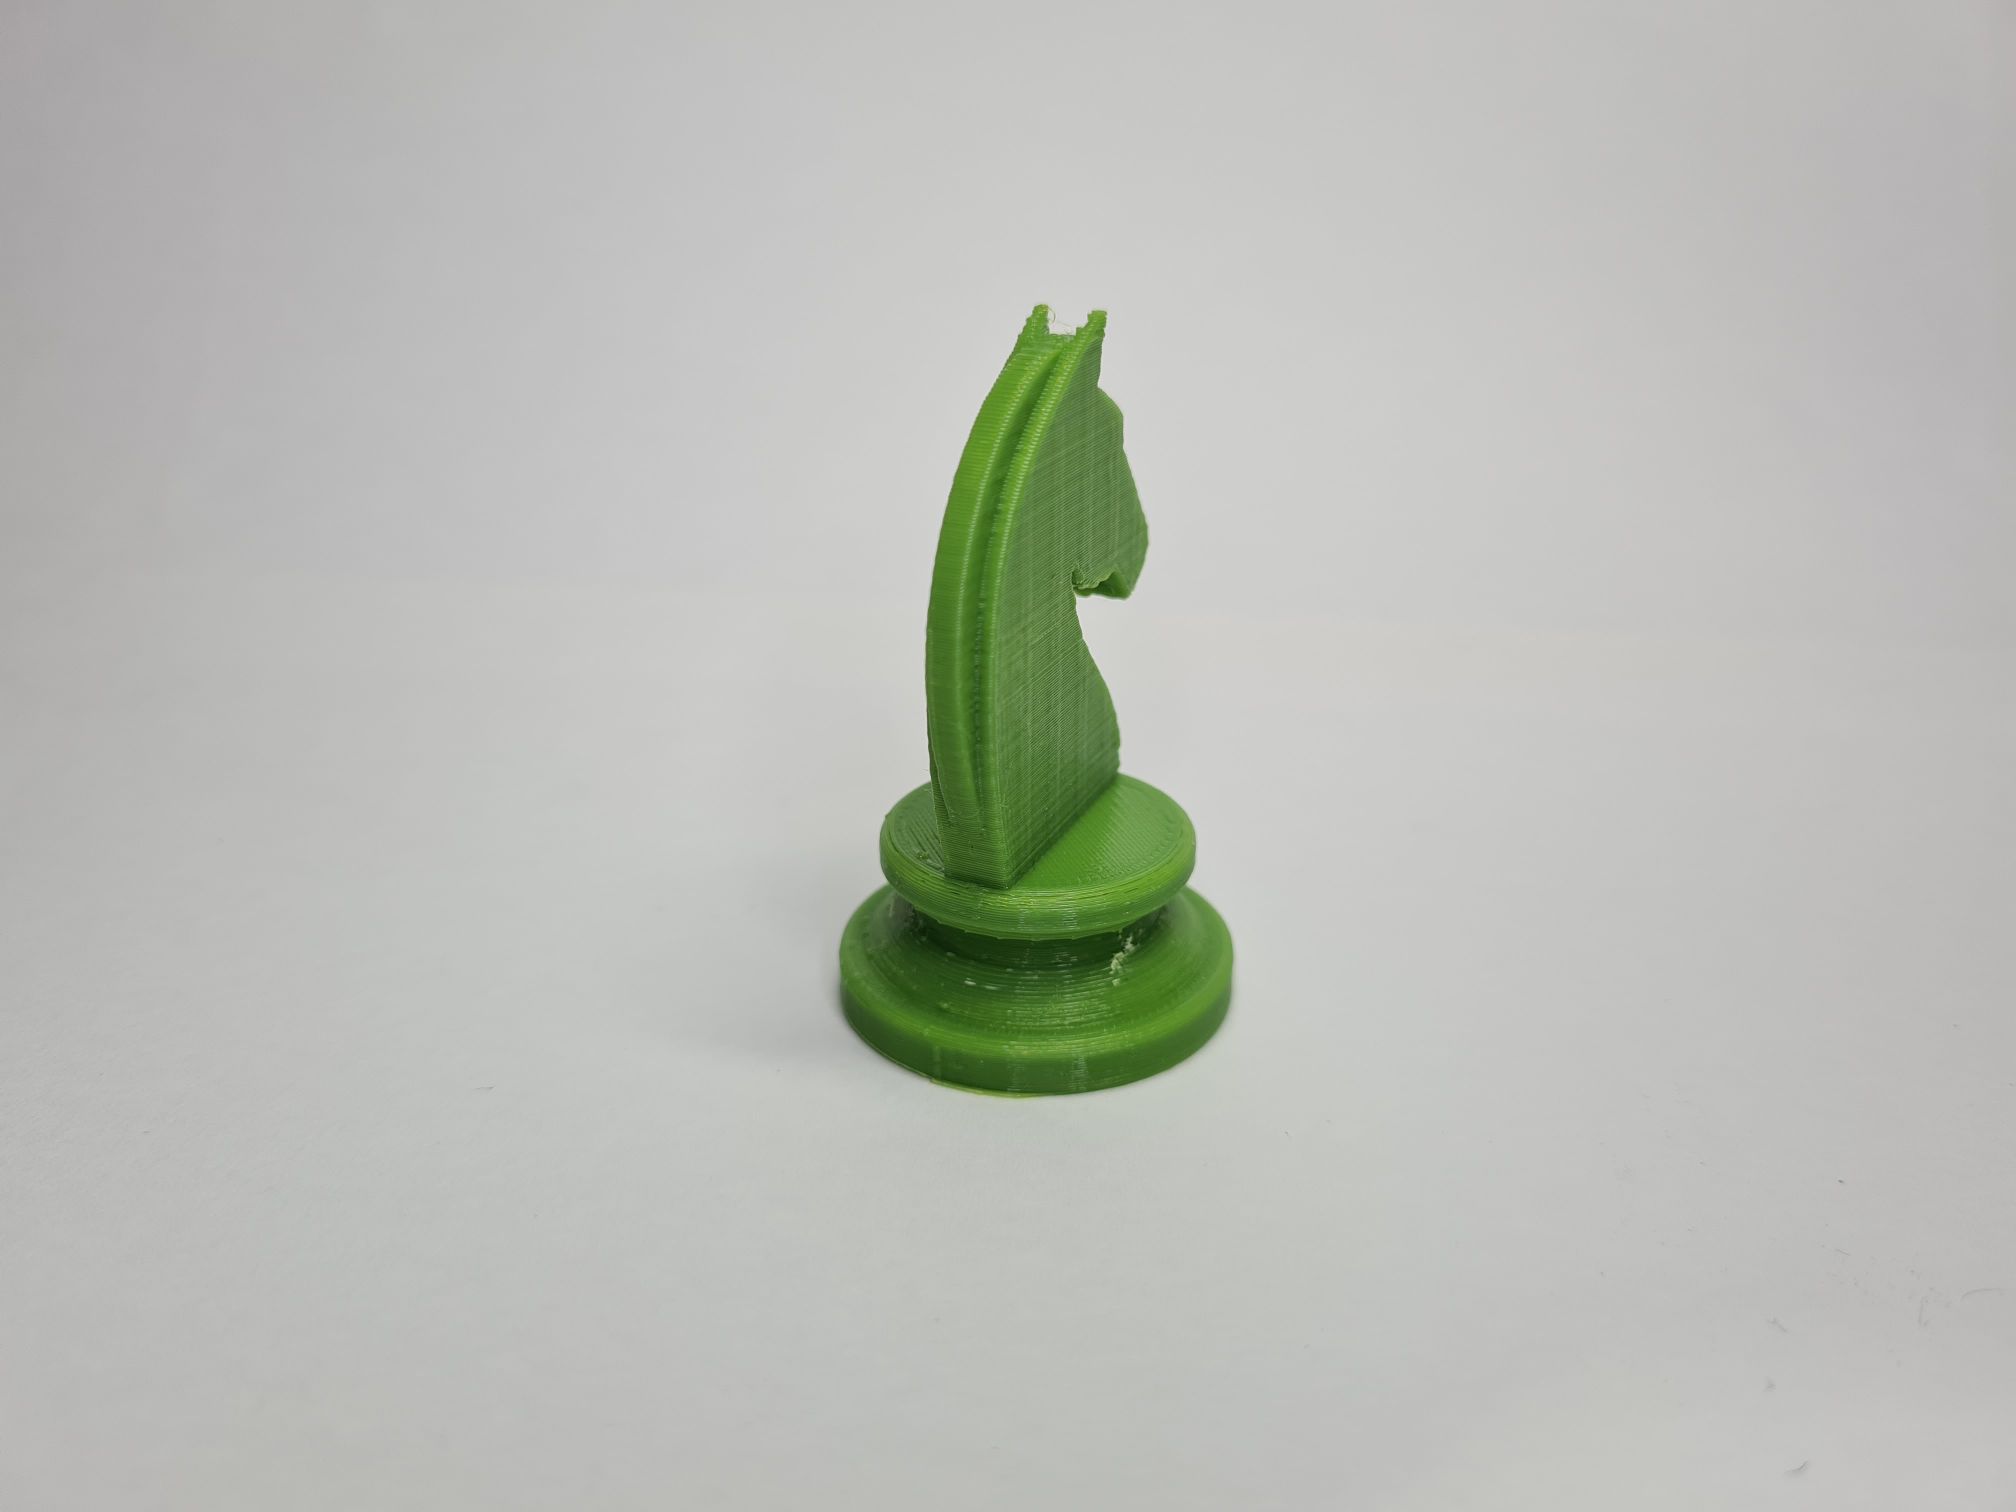
What went wrong
The issues that occured during the process are all due to the presence of supports. Supports took a large portion of the time to print and even after printing, the support material was hard to remove, resulting in bad surface finishing. In future prints, it will be beneficial to reduce the amount of supports used and I will have to design 3D models with this in mind.